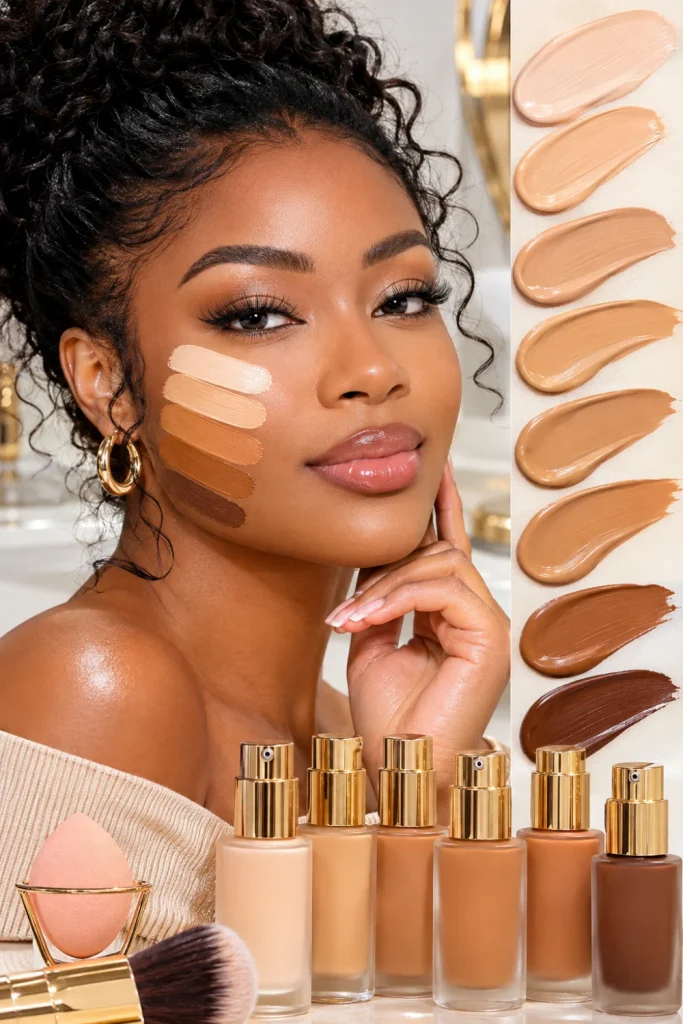
Quick preview: Find your perfect foundation match with simple shade charts, undertone tests, jawline swatches, and practical tips for avoiding orange, grey, or ashy makeup.
Introduction
The right foundation shade can make your makeup look beautifully natural, while the wrong one can leave your complexion looking orange, grey, or uneven.
But how do you find your perfect match?
This guide explores how to choose the right foundation shade using skin tone, undertone, shade charts, and simple testing techniques.
Discover ten practical steps for a seamless finish.
1. Identify Your Skin Tone Before Choosing Foundation

Your skin tone describes how light or deep your complexion appears.
Identifying it first helps narrow down suitable foundation shades.
Simple steps:
- Look at your complexion in natural daylight without makeup.
- Identify whether your skin is fair, light, medium, tan, deep, or rich.
- Compare your face with your neck and upper chest for a balanced match.
One tip: Your skin tone may change with sun exposure, so reassess your shade when your complexion changes.
2. Determine Whether Your Undertone Is Warm, Cool, or Neutral
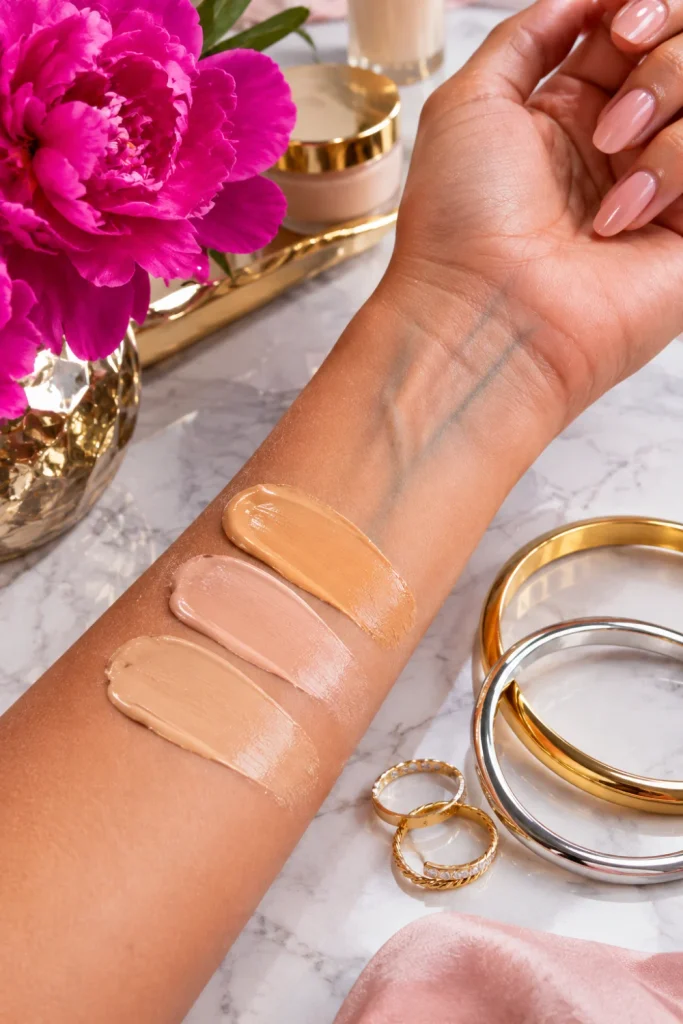
Your undertone is the subtle color beneath your skin’s surface.
It helps explain why two foundations with similar depth can look completely different.
Try these tests:
- Vein test: Green-looking veins may suggest warm undertones, blue or purple may suggest cool, and a mixture may indicate neutral.
- Jewelry test: Gold may complement warm undertones, and silver may suit cool undertones, while both can work with neutral undertones.
- White fabric test: Notice whether your complexion appears more golden, rosy, or balanced beside a plain white fabric.
One tip: These tests are useful clues, not strict rules. Check your undertone with actual foundation swatches before buying.
3. Use a Foundation Shade Chart to Narrow Down Your Match
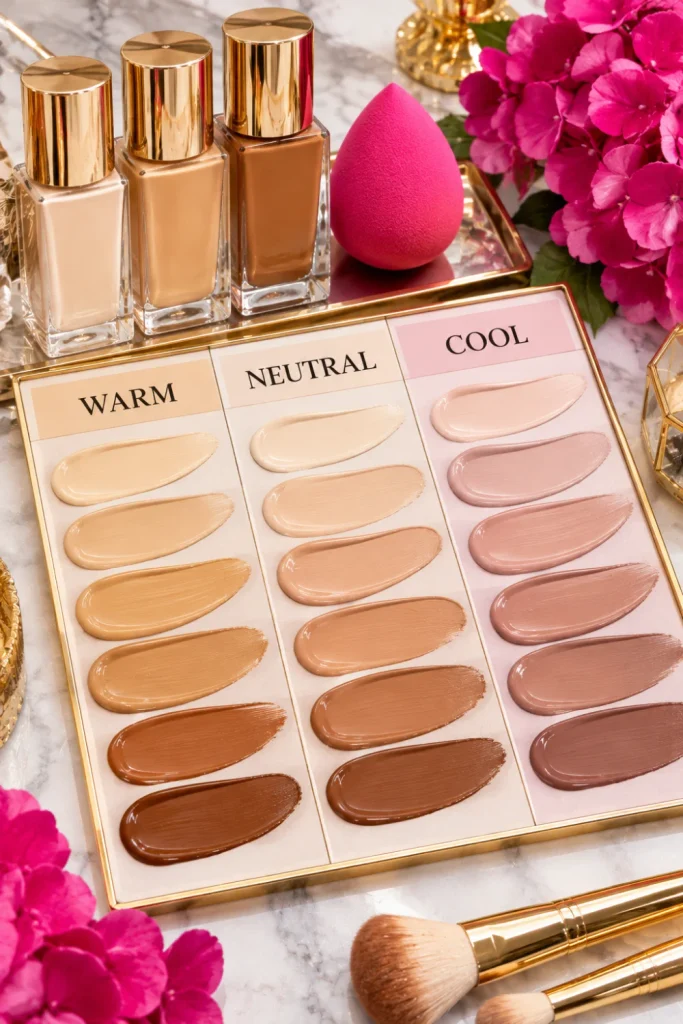
A foundation shade chart makes it easier to understand shade families and compare available options.
However, shade names and numbering systems vary between brands.
Simple steps:
- Find your approximate skin depth on the brand’s shade chart.
- Look for undertone labels such as W (warm), C (cool), and N (neutral).
- Compare neighboring shades instead of choosing based on the name alone.
- Check online swatches on complexions with a similar depth and undertone.
One tip: Use each brand’s own shade chart. A medium-neutral shade in one formula may not match the same label in another.
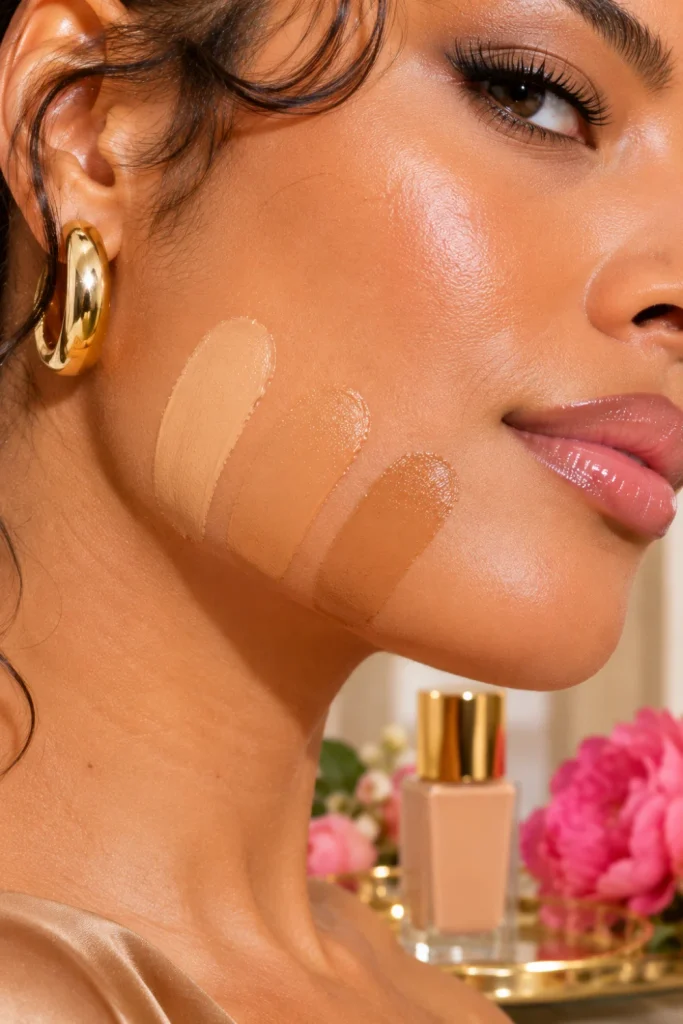
4. Test Foundation Along Your Jawline and Neck
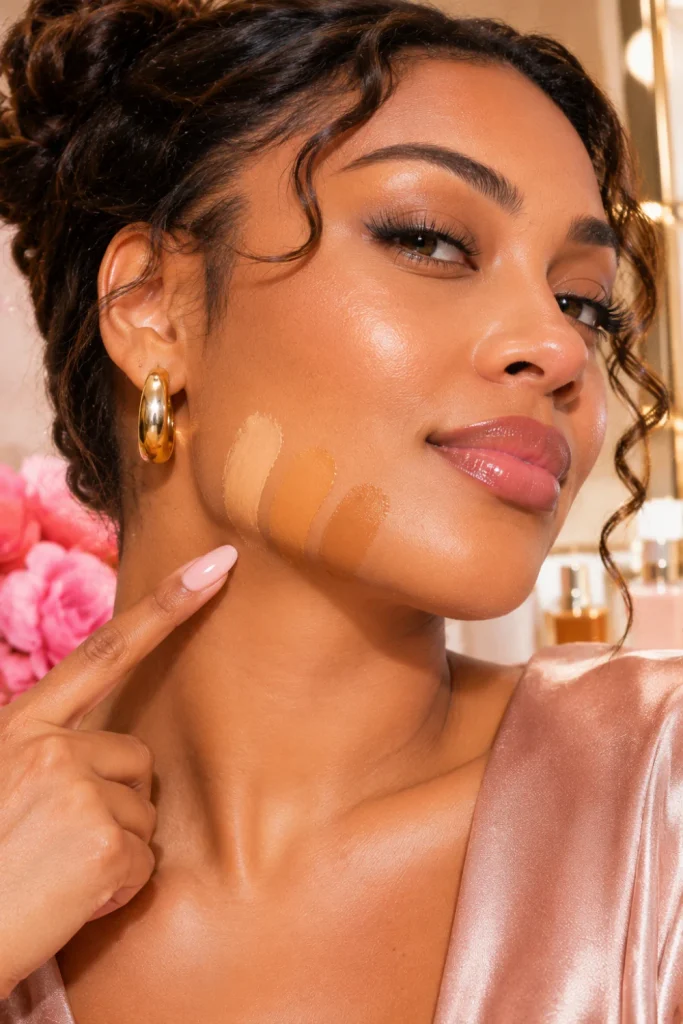
Your hand may be a different color from your face, making it unreliable for foundation matching.
The jawline gives you a more useful comparison between your face and neck.
Simple steps:
- Apply a small stripe of foundation from your lower cheek toward your jawline.
- Blend the edges gently.
- Check whether the color disappears naturally into your skin.
- Look at the transition between your face and neck.
One tip: Choose the shade that creates the most natural-looking transition rather than the one that makes your face noticeably lighter or darker.
5. Compare Three Foundation Shades Before Buying
Choosing between similar shades can be confusing.
Comparing three options side by side helps reveal subtle differences in depth and undertone.
Simple steps:
- Select one shade that looks slightly lighter than your complexion.
- Choose a second that appears close to your natural skin color.
- Pick a third that looks slightly deeper.
- Apply all three in separate stripes along your jawline.
- Let them settle, then compare them in daylight.
One tip: The best shade should blend into your skin without leaving an obvious stripe. Ask for samples before purchasing a full-size bottle.
6. Choose the Right Foundation for Your Skin Depth

Finding the right depth is just as important as choosing the correct undertone.
Fair, medium, olive, tan, deep, and rich complexions all need shades that complement their natural coloring.
What to consider:
- Fair and light: Look for shades that avoid appearing overly pink, yellow, or dark.
- Medium and olive: Compare golden, neutral, and olive-friendly options.
- Tan: Check that the shade provides enough depth without looking orange.
- Deep and rich: Explore foundations with deeper color ranges and suitable red, golden, neutral, or cool undertones.
One tip: Never assume your shade based on a product name or complexion category. Always test the actual formula.
7. Check How Foundation Oxidizes After Application
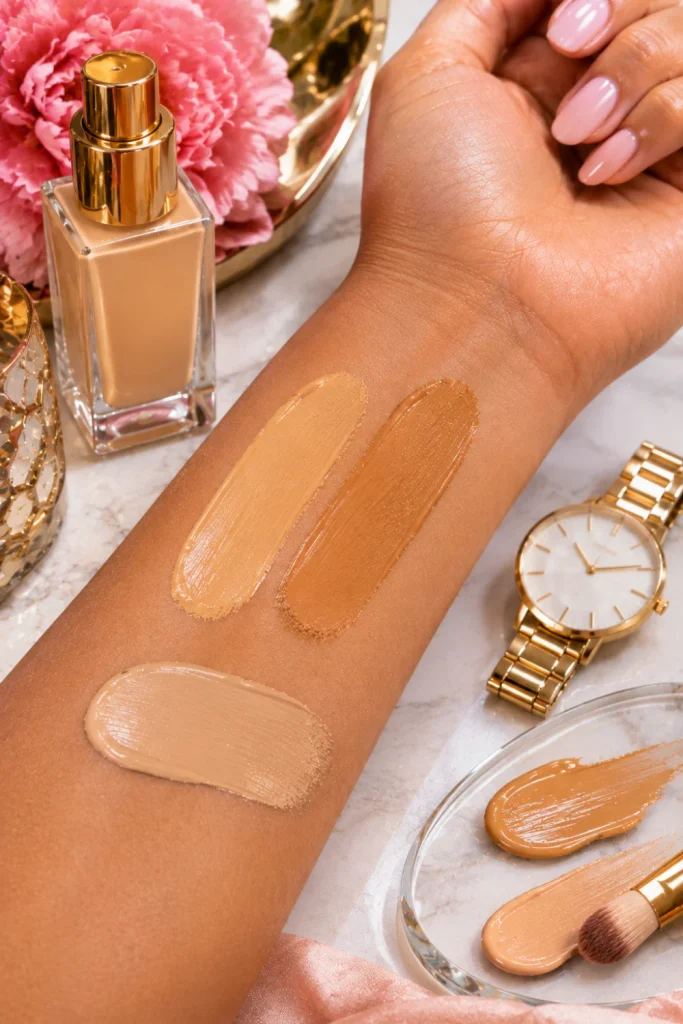
Some foundations may appear darker or slightly different after application.
This change is commonly called oxidation, although the effect varies between formulas and individual skin conditions.
Simple steps:
- Apply your preferred shade to clean, prepared skin.
- Observe the initial color.
- Wait approximately 10–20 minutes.
- Check the shade again in natural daylight.
- Notice whether it becomes noticeably darker, warmer, or more orange.
One tip: Do not immediately purchase a lighter shade to compensate. Test how the foundation settles first, because formulas behave differently.
8. Test Your Foundation in Natural Daylight
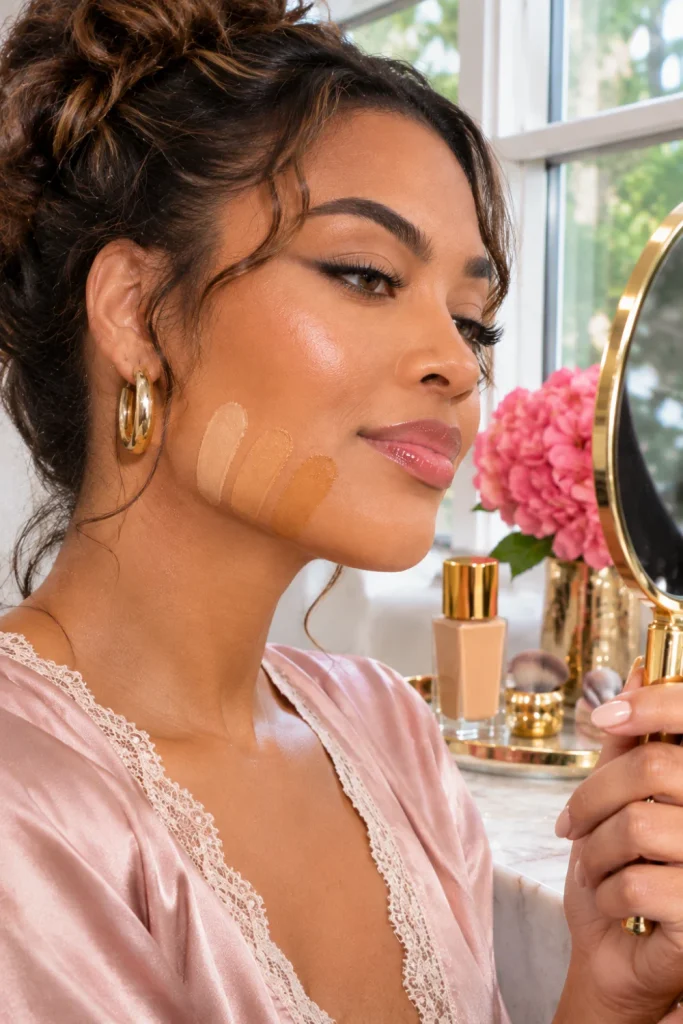
Indoor lighting can make a foundation appear more yellow, pink, or pale than it really is.
Natural daylight provides a better opportunity to assess the color.
Simple steps:
- Apply your selected foundation near a window or in open shade.
- Avoid judging the color under strong yellow bathroom lighting.
- Check your face and neck together.
- Take a quick photograph in natural light if you need another comparison.
One tip: Avoid direct sunlight when checking your match. Bright, harsh light can distort how the color appears.
9. Match Your Foundation to Your Skin Type and Finish
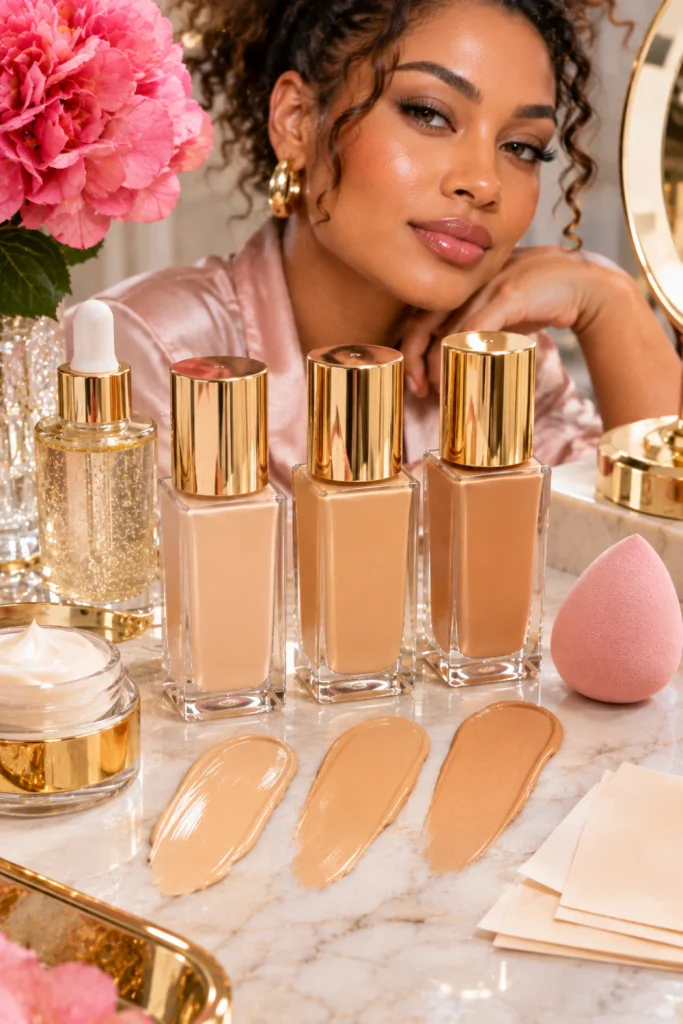
Your skin type influences how foundation sits throughout the day.
A suitable shade should also come in a formula that works comfortably with your skin.
Consider these options:
- Dry skin: Explore hydrating or dewy foundations that help reduce the appearance of dry patches.
- Oily skin: Consider lightweight or soft-matte formulas that suit your preferred level of shine control.
- Combination skin: Try natural-finish foundations that balance different areas of your face.
- Textured skin: Look for comfortable, buildable formulas instead of automatically choosing heavy coverage.
One tip: Test the foundation with your usual skincare and primer. The finish can affect how the color looks on your skin.
10. Avoid Common Foundation Shade Matching Mistakes
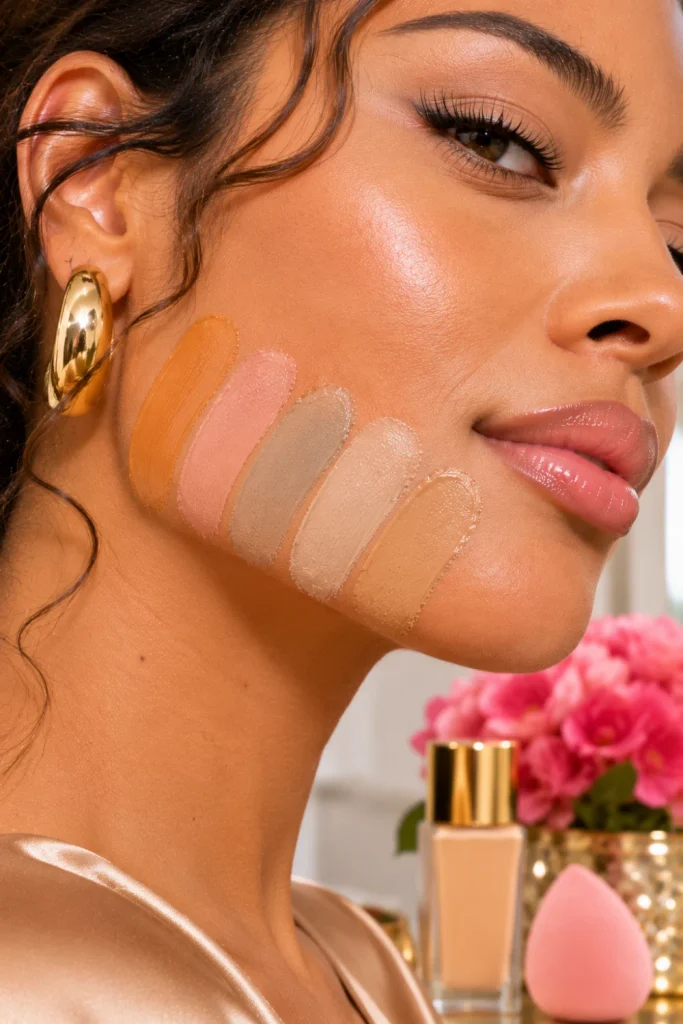
Even a beautiful foundation formula can look unnatural when the shade is incorrect.
Avoiding a few common mistakes makes choosing your perfect match much easier.
Watch out for these mistakes:
- Ashy appearance: The foundation may be too light or have an unsuitable undertone.
- Orange appearance: The shade may be too warm or too deep or change color after application.
- Grey appearance: The undertone or depth may not complement your complexion.
- Pink appearance: The shade may be too cool for your natural coloring.
- Visible jawline difference: Your foundation may not match your face and neck.
One tip: Always test foundation on your actual complexion before purchasing. Online photos and hand swatches should only guide your search, not make the final decision.
Final Thoughts
Learning how to choose the right foundation shade is about understanding your skin tone, identifying your undertone, and testing products correctly.
A foundation shade chart can help narrow your options, but jawline swatches and natural daylight make the final decision easier.
Before buying your next bottle, remember to:
- Identify your skin depth and undertone.
- Compare at least three suitable shades.
- Check the foundation after it settles.
- Consider your skin type and preferred finish.
- Test the final match in natural daylight.
The goal is not to make your complexion look like a different color.
It is to find a foundation that blends seamlessly, complements your natural skin, and creates a comfortable, polished finish.