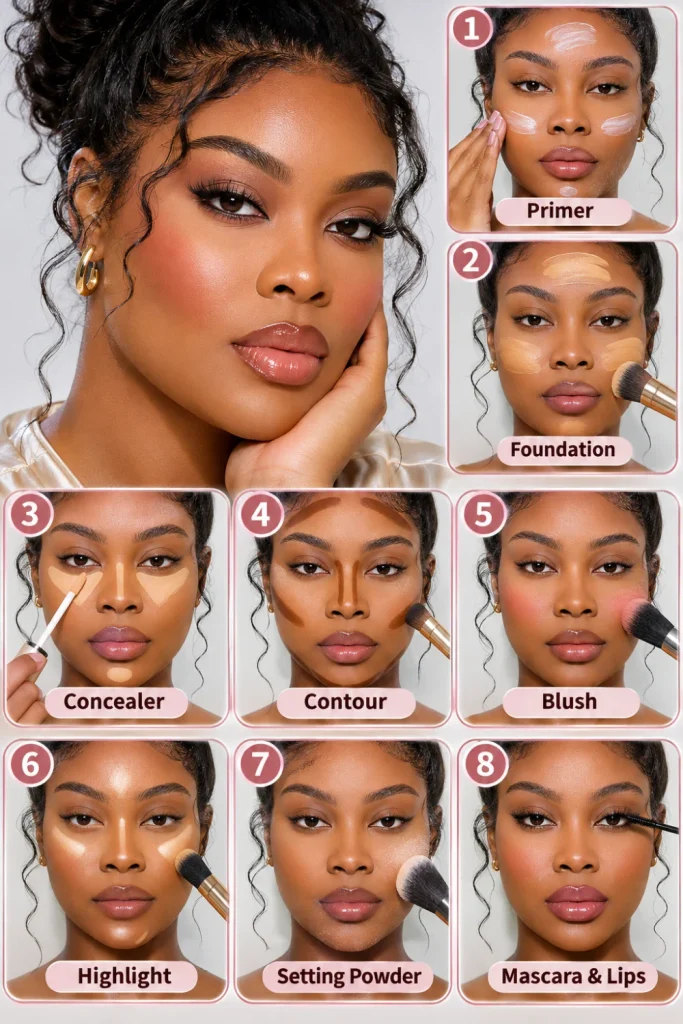
Learning where to apply face makeup can completely change how your finished look turns out.
The secret isn’t using more products; it’s knowing where each one belongs.
This easy face makeup placement guide for beginners breaks down foundation, concealer, blush, bronzer, and contour into simple steps.
Discover flattering placement techniques, beginner-friendly makeup tips, and a natural everyday routine for a beautifully balanced finish.
1. Face Makeup Placement Guide: Where Every Product Goes
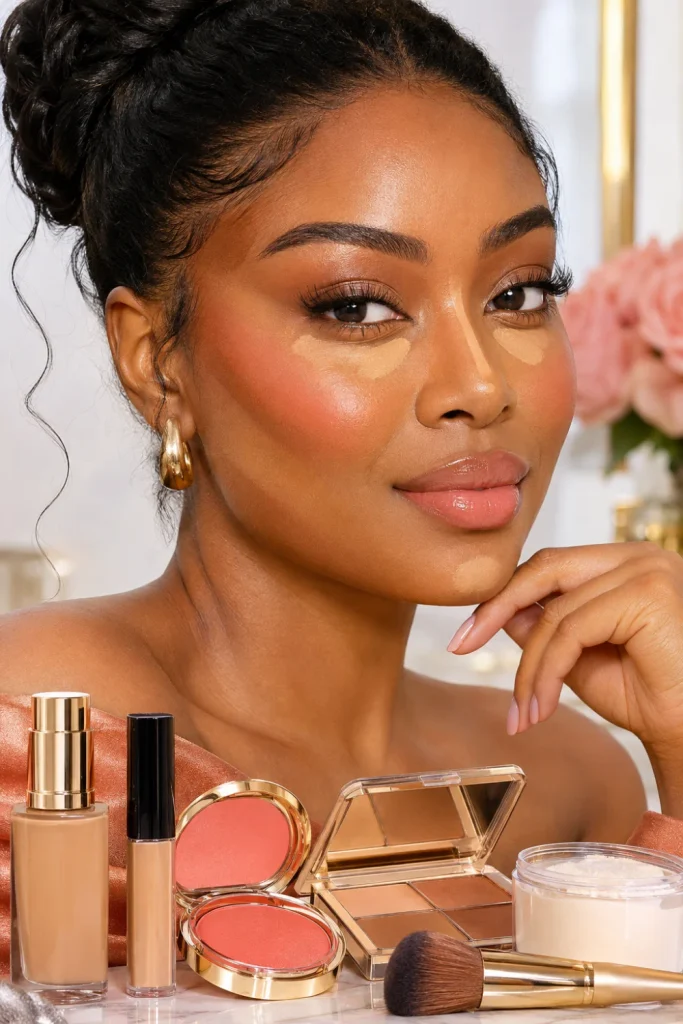
Understanding basic face makeup placement is the first step toward creating a polished, natural-looking complexion.
Each product has a specific purpose, and applying it to the right area helps your features look balanced rather than overly made up.
Simple steps:
- Apply foundation across the center of your face, blending outward.
- Place concealer beneath your eyes and on areas needing extra coverage.
- Apply bronzer around the forehead, temples, and outer cheek area.
- Add blush to the upper apples of your cheeks, blending toward the temples.
- Use contour beneath the cheekbones and along the jawline if desired.
- Finish with a light dusting of powder where shine develops.
One tip: Start with small amounts of product. Building coverage gradually creates a smoother, more skin-like result.
2. Makeup Placement Chart for Beginners: A Simple Face Map
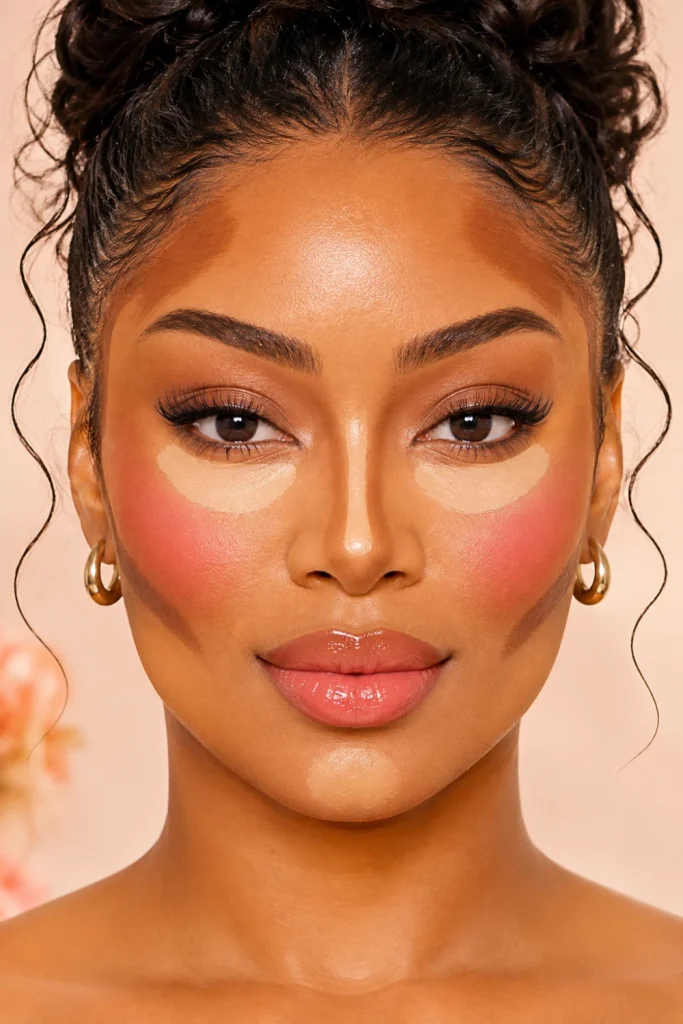
A makeup placement chart makes learning easier because it shows exactly where different products belong.
Think of your face as separate zones rather than applying everything randomly.
Beginner placement guide:
- Forehead: Bronzer around the hairline for gentle warmth.
- Under-eyes: Concealer to brighten and even the appearance of darkness.
- Cheeks: Blush for a healthy-looking flush.
- Cheek hollows: Contour for subtle definition.
- Nose: Optional contour along the sides for a softly sculpted appearance.
- Chin: A little foundation or concealer to even out discoloration.
- Center of forehead: Optional highlighting concealer for brightness.
One tip: Keep your blush, bronzer, and contour in separate zones initially. Blend their edges together rather than mixing all three products into one area.
3. Where to Apply Foundation and Concealer for a Smooth Base
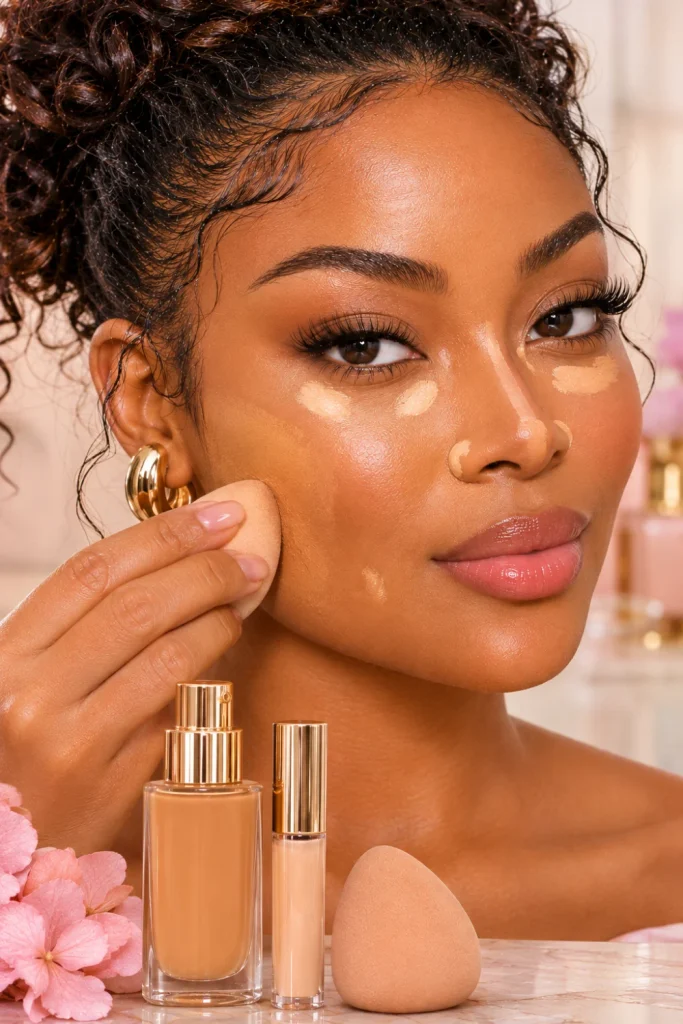
Foundation and concealer work together, but they don’t necessarily need to cover your entire face.
The modern approach is strategic coverage that allows natural skin texture to show through.
Step-by-step application:
- Begin with moisturized skin and sunscreen during the daytime.
- Apply a thin foundation layer around the cheeks, nose, forehead, and chin.
- Blend outward using a damp makeup sponge or foundation brush.
- Apply concealer beneath the eyes, concentrating on darker areas.
- Add small dots around the nose, chin, or blemishes if additional coverage is needed.
- Gently tap the edges until everything looks seamless.
One tip: Match foundation to your natural skin tone, ideally testing it along your jawline in natural lighting.
4. Where to Put Blush and Bronzer for a Fresh, Lifted Look
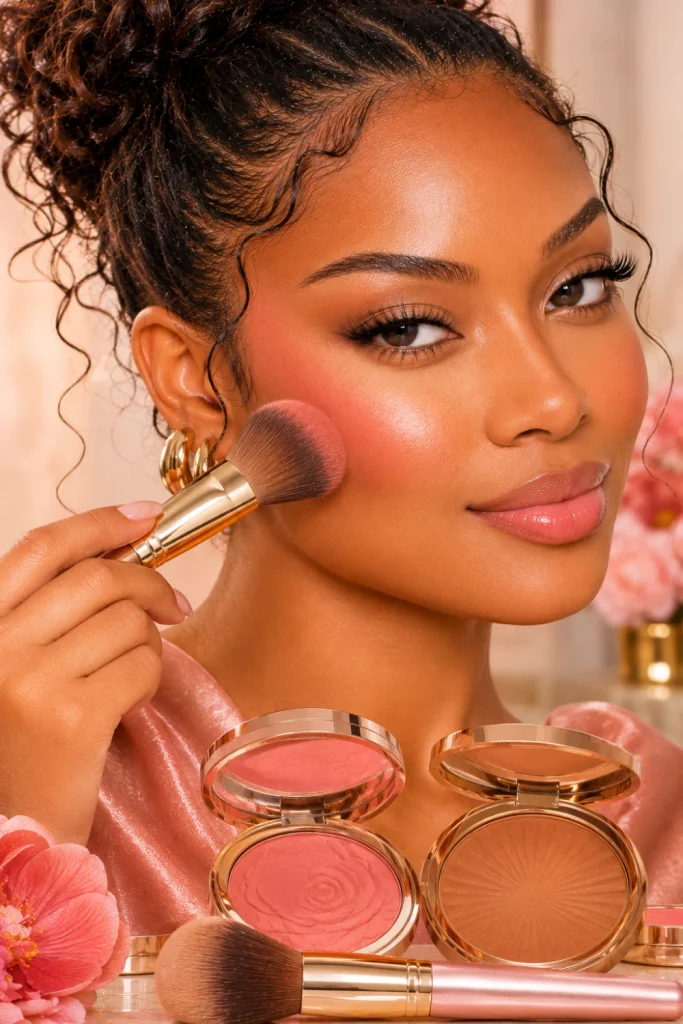
Blush and bronzer bring warmth and dimension to the face.
When placed correctly, they can make even a simple makeup routine look thoughtfully finished.
Simple placement steps:
- Smile gently to locate the apples of your cheeks.
- Place blush slightly above the apples for a lifted appearance.
- Blend blush diagonally toward your temples.
- Sweep bronzer along the forehead near the hairline.
- Apply bronzer lightly around the outer cheeks and temples.
- Blend away visible edges using a clean fluffy brush.
Modern makeup tip: Peach, rose, berry, and warm terracotta blushes can create beautiful results. Choose a shade that complements your undertone and desired finish.
One tip: Cream blush and bronzer are excellent options for a fresh, dewy everyday look.
5. Contour Placement for Beginners: Define Without Overdoing It
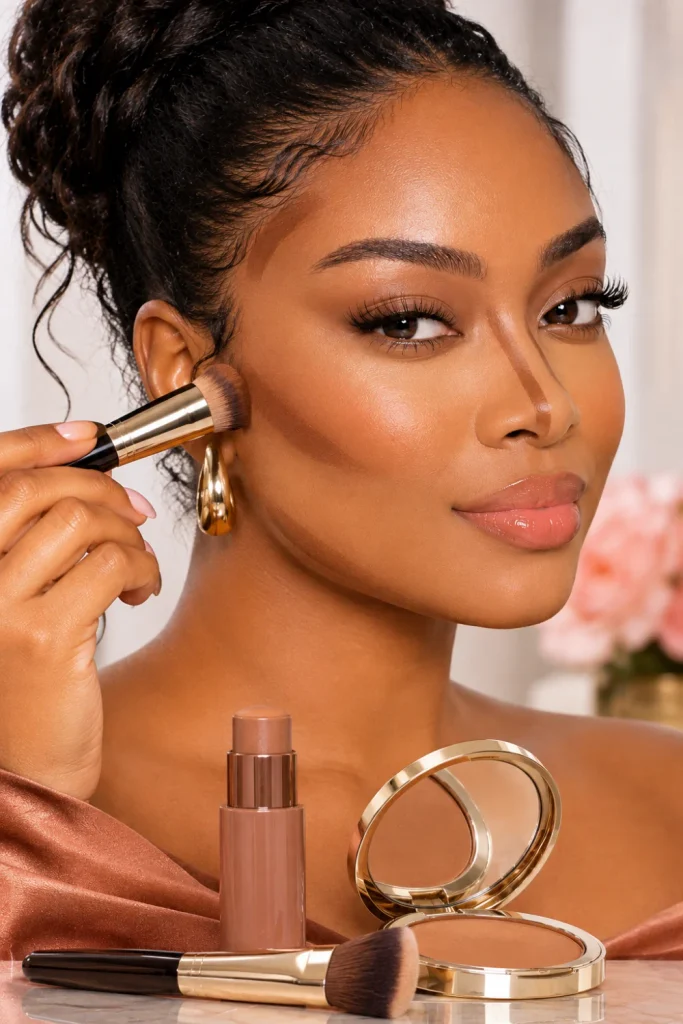
Contouring creates the appearance of shadows, helping emphasize natural facial structure.
The trick is subtle placement, not drawing dark stripes across the cheeks.
Step-by-step contour guide:
- Locate the hollow beneath your cheekbone.
- Apply a small amount of contour starting near the ear.
- Blend upward toward the cheekbone rather than downward.
- Add a little product around the temples if desired.
- Lightly define the jawline, blending toward the neck.
- For nose contour, use a small brush and very little product.
One tip: Choose a contour shade that resembles a natural shadow rather than an overly orange bronzer. Always blend carefully in natural light.
6. Natural Everyday Makeup Routine for Beginners
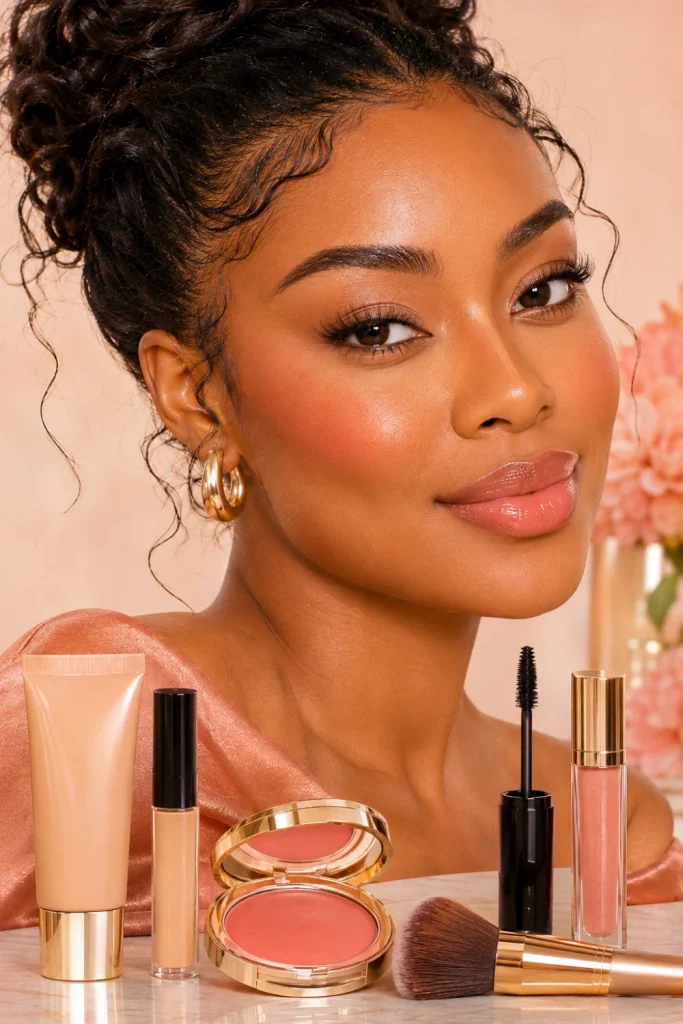
Not every day calls for a full-glam look.
A simple everyday makeup routine can make your complexion look fresh, even, and naturally radiant without requiring a dozen products.
Easy everyday routine:
- Cleanse and moisturize your face.
- Apply broad-spectrum SPF 30 or higher.
- Use a light foundation, skin tint, or tinted moisturizer.
- Conceal only where additional coverage is needed.
- Add cream blush to the cheeks.
- Apply a little bronzer for warmth.
- Brush brows into place.
- Apply mascara and a comfortable lip color.
- Set makeup lightly where necessary.
One tip: Use multipurpose cream products to simplify your routine and achieve a cohesive finish.
7. Concealer Placement Guide: Brighten and Cover Strategically
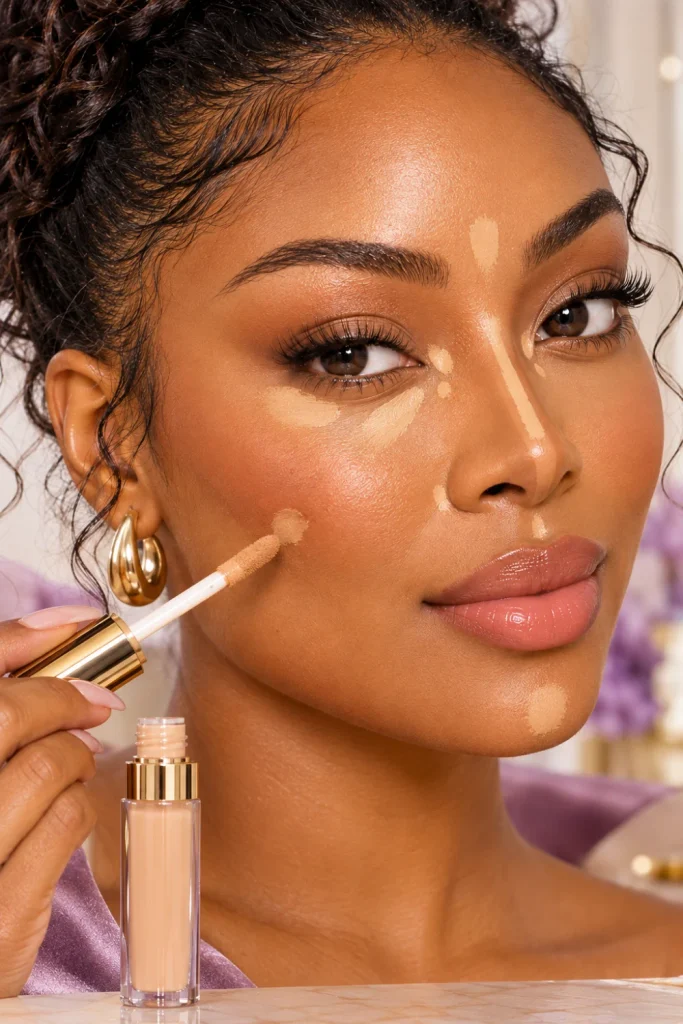
Concealer is one of the most versatile face makeup products, but applying too much can emphasize fine lines and texture.
Strategic placement gives a fresher result.
Where to apply concealer:
- Inner under-eye corners: Brighten areas where darkness is most noticeable.
- Outer under-eye corners: Add a small amount for a subtle lifted effect.
- Around the nose: Cover redness or discoloration.
- Blemishes: Apply directly to individual spots.
- Center of the chin: Even out discoloration.
- Between the brows: Brighten the central forehead if needed.
One tip: Allow concealer to sit briefly before blending, but avoid letting it dry completely. Use thin layers to prevent creasing.
8. Makeup Order and Placement: What Goes First?
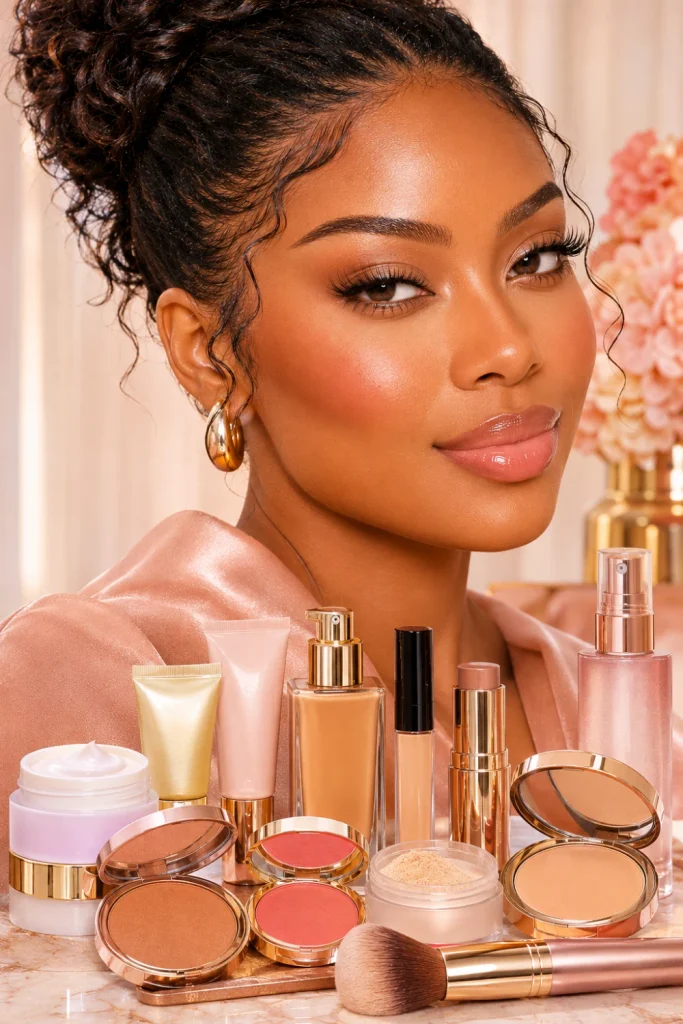
Knowing the correct makeup order helps products blend beautifully and prevents unnecessary layering.
Your preferred products and formulas matter, but this is a useful beginner-friendly starting point.
Recommended application order:
- Cleanser and moisturizer.
- Sunscreen.
- Primer, if desired.
- Foundation or skin tint.
- Concealer.
- Cream contour and bronzer.
- Cream blush.
- Setting powder.
- Powder bronzer, blush, or highlighter if desired.
- Setting spray.
Important: If using powder foundation or other powder complexion products, adjust your layering accordingly. Generally, apply liquid and cream products before setting with powder.
One tip: Let skincare and sunscreen settle before applying foundation. This helps reduce pilling and uneven application.
9. Beginner Face Makeup Tutorial: Five Easy Steps to Follow
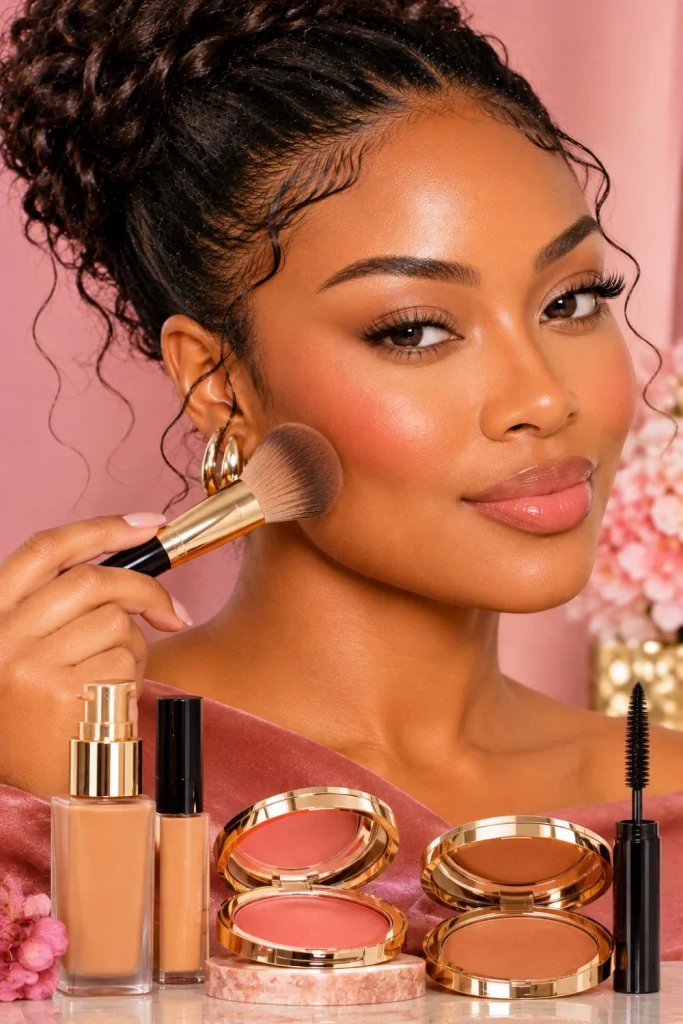
If you’re completely new to makeup, don’t worry about mastering every technique immediately.
Start with a few essential products and gradually introduce more detailed placement.
Your beginner tutorial:
- Create your base: Apply a thin layer of foundation or skin tint.
- Brighten strategically: Use concealer under your eyes and around areas needing coverage.
- Add warmth: Sweep bronzer around the forehead and outer cheeks.
- Bring color back: Blend blush onto the upper cheeks.
- Finish naturally: Apply mascara, groom your brows, and add lip color.
One tip: Take a quick photo in natural daylight after finishing. It can help you spot areas where blending or product placement needs adjustment.
10. Face Makeup Map: Your Complete Placement Cheat Sheet
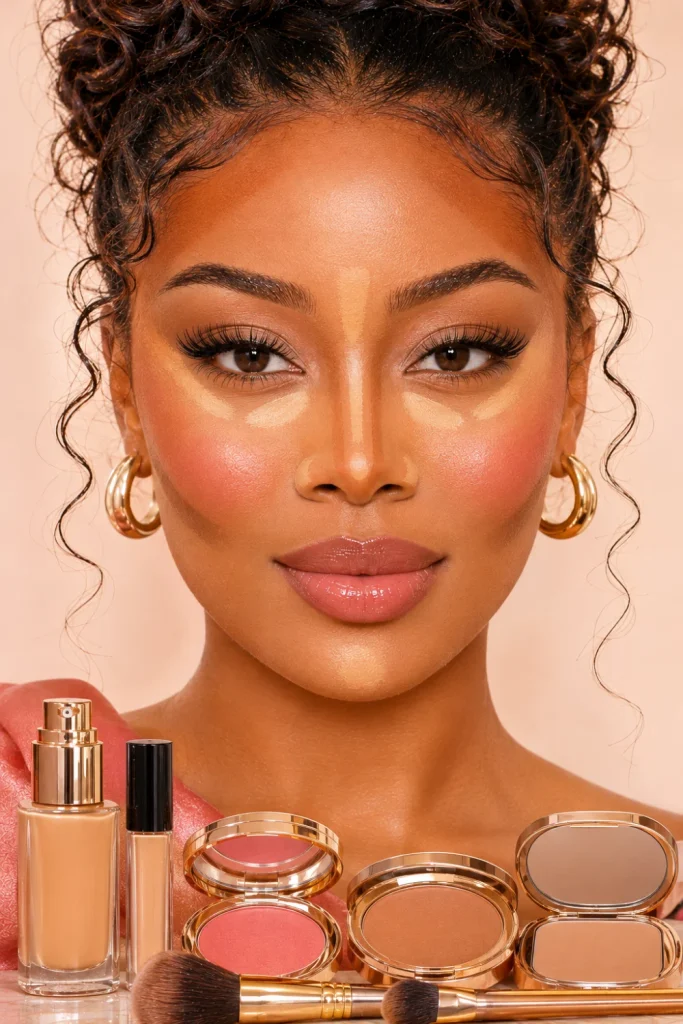
A face makeup map brings everything together in one easy reference.
Save this placement guide so you can follow it whenever you’re creating a new makeup look.
Your face makeup map:
- Forehead: Foundation, with optional bronzer around the hairline.
- Under-eyes: Concealer for brightness and coverage.
- Nose: Foundation and optional subtle contour.
- Cheekbones: Blush slightly above the apples, blended outward.
- Cheek hollows: Contour for soft definition.
- Outer cheeks: Bronzer for warmth.
- Chin: Foundation and optional concealer.
- High points of the face: Optional highlighter on cheekbones, brow bones, and cupid’s bow.
One tip: Your face shape, skin texture, and personal preferences should guide placement. Makeup maps are starting points, not strict rules.
Final Thoughts: Master Your Face Makeup Placement
Beautiful beginner makeup starts with understanding placement, blending, and choosing the right amount of product.
You don’t need an elaborate collection to create a fresh, modern look.
Remember these essential takeaways:
- Apply foundation in thin, even layers.
- Use concealer only where additional coverage or brightness is needed.
- Blend blush upward for a softly lifted appearance.
- Keep contour subtle and close to natural facial shadows.
- Use bronzer to add warmth rather than replace contour.
- Choose cream formulas for an effortless, fresh finish.
- Practice in natural daylight to improve your technique.
Ready to improve your makeup skills?
Explore more beginner-friendly makeup tutorials, face-shape makeup tips, concealer techniques, and natural everyday beauty routines to discover the placement methods that work best for your features.
Save this face makeup placement guide as your everyday reference, and revisit it whenever you want a smoother, more balanced makeup look.