An old frying pan might be the most unexpected starting point for a magical wall makeover.
With a little paint, texture, and miniature detail, a DIY frying pan fairy house transforms forgotten cookware into whimsical upcycled wall decor.
These ten designs range from mossy woodland cottages to coastal retreats, with easy materials, clear steps, and finishing tricks that make every tiny doorway worth a closer look.
1. Moss-Covered Woodland Fairy Cottage
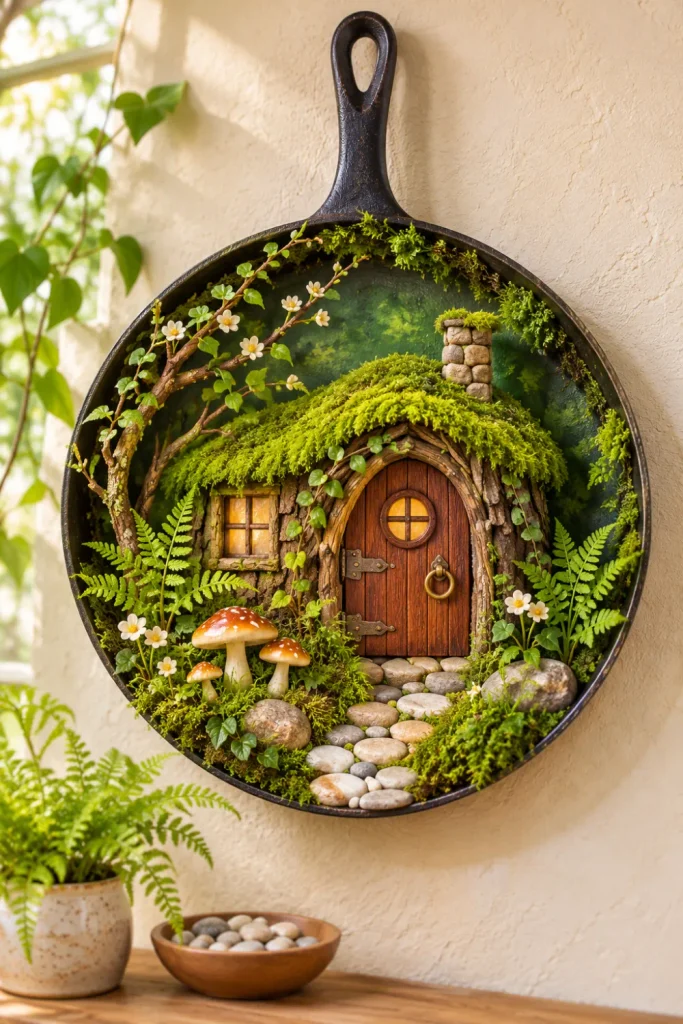
Build a forest hideout with lush greenery, a curved door, and a pebble path.
Earthy textures suit pale walls.
Materials: Green craft moss, bark pieces, air-dry clay, pebbles, acrylic paint, craft adhesive.
Steps:
- Clean, dry, and prime the pan; paint its interior deep forest green.
- Shape a clay cottage door, then glue bark around it as rustic siding.
- Add moss along the rim and arrange tiny pebbles into a path.
Tip: Leave patches of painted background visible for depth.
2. Red Mushroom-Roof Fairy Hideaway
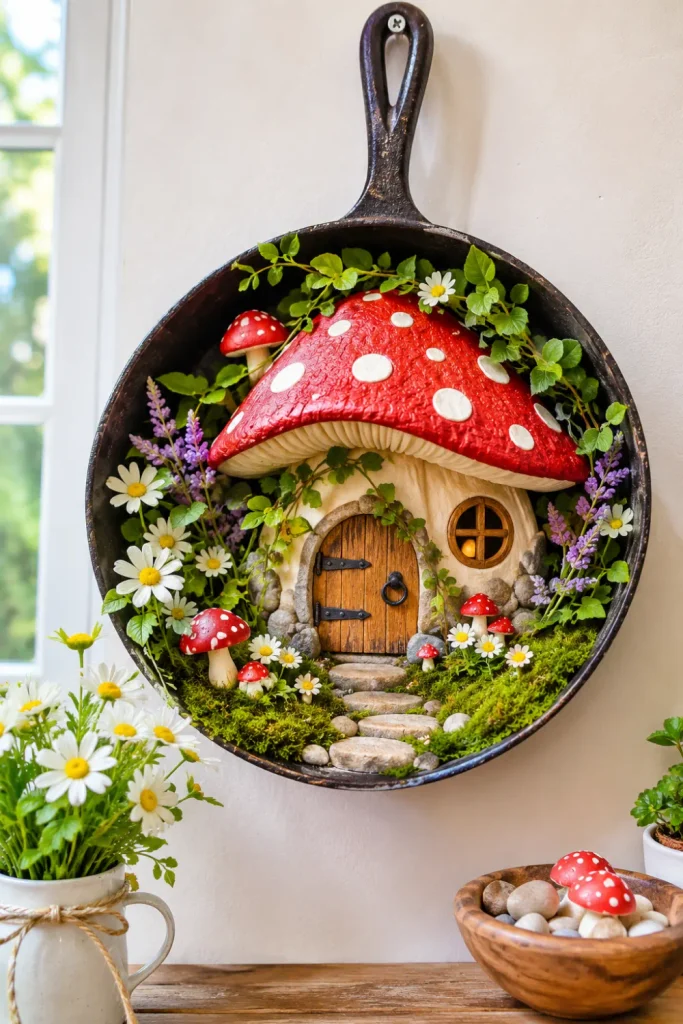
A spotted toadstool roof steals the show.
Pair cherry red with creamy white and soft green.
Materials: Air-dry clay, red and white paint, faux grass, and a tiny wooden door.
Steps:
- Paint the pan sage green and mark the cottage’s position.
- Form a domed clay mushroom roof; let it dry before painting white spots.
- Attach the roof above a miniature door and frame it with faux grass.
Tip: Vary the spot sizes for a hand-crafted look.
3. Rustic River-Stone Fairy Door
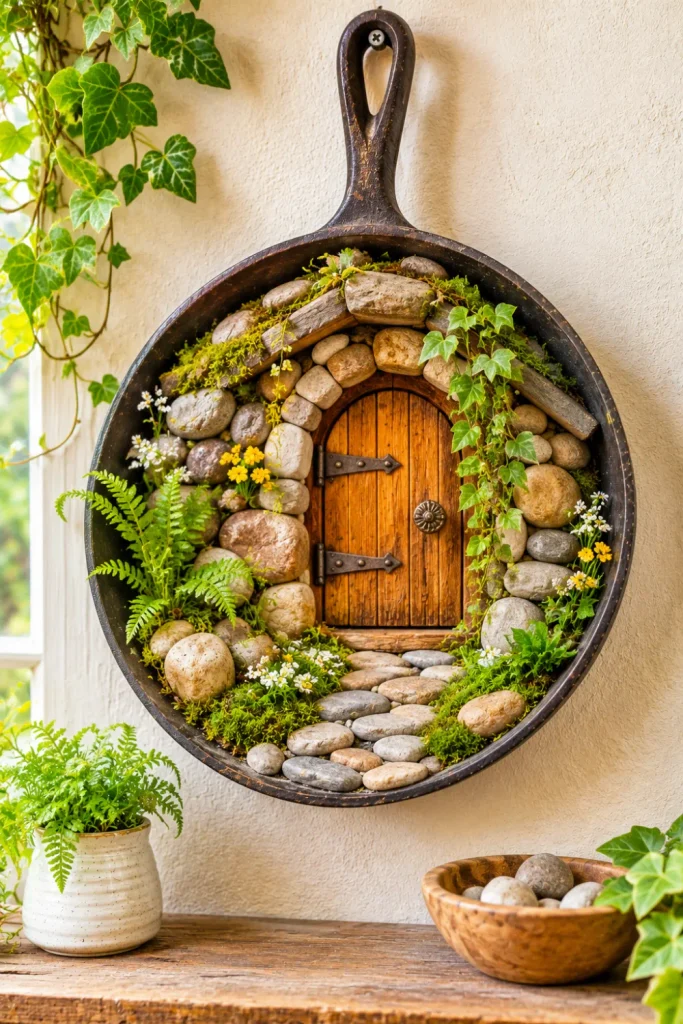
Create a storybook entrance with lightweight faux rocks and farmhouse-friendly neutral shades.
Materials: Faux river stones, clay, charcoal paint, miniature hinges, adhesive.
Steps:
- Coat the pan interior in warm gray and sketch an arched doorway.
- Arrange faux stones around the arch, leaving space for a clay door.
- Paint woodgrain lines on the door and add miniature hinge details.
Tip: Dry-fit the stone arrangement before gluing anything.
4. Pastel Wildflower Fairy Cottage
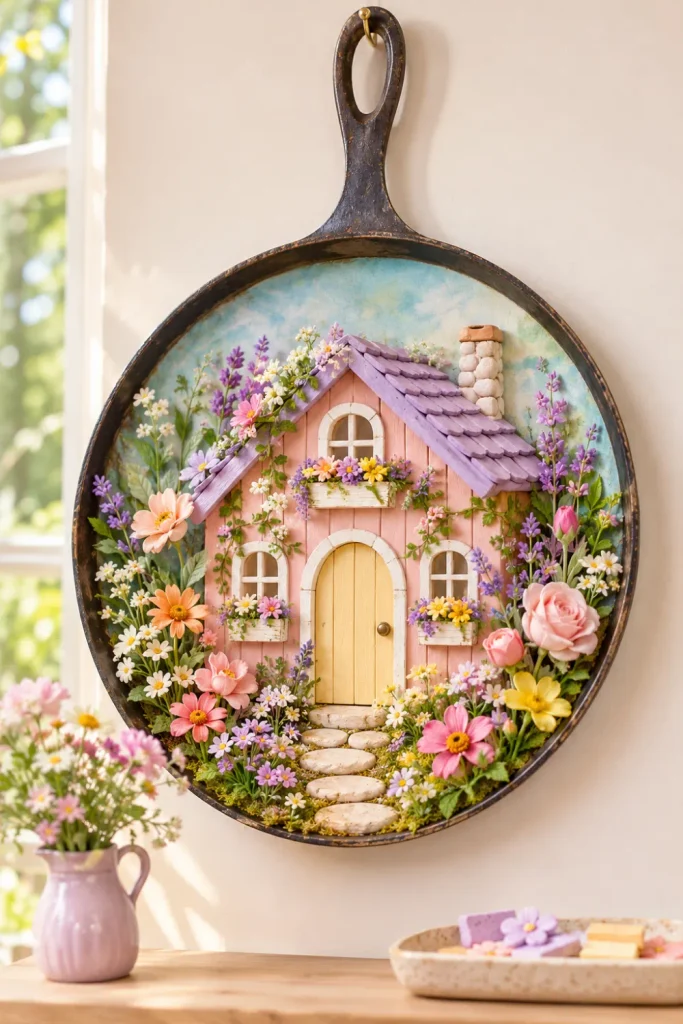
Lavender, blush, and butter yellow create a garden-party mood.
Flowers frame the circular scene.
Materials: pastel paints, miniature faux flowers, craft sticks, and clay.
Steps:
- Paint a pale sky background and build a tiny cottage from craft sticks.
- Add a pastel door, miniature windows, and a softly sloped clay roof.
- Cluster flowers around the cottage, mixing heights and petal shapes.
Tip: Keep the center uncluttered so the house remains the focal point.
5. Warm-Glow Fairy House With Mini Lights
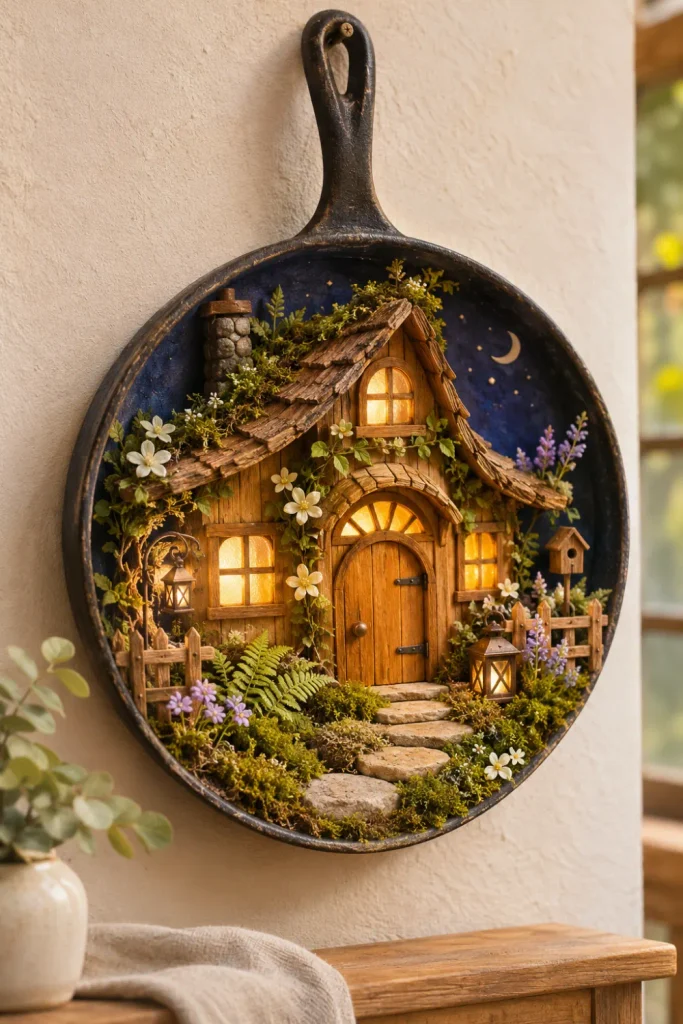
Glowing windows and an inviting doorway make a cozy accent for a reading nook.
Materials: Battery-operated micro-LED string, translucent paper, craft wood, navy paint.
Steps:
- Paint the pan midnight blue and attach a small wooden cottage facade.
- Back cutout windows with translucent paper and position micro-LEDs behind them.
- Hide the battery pack discreetly, keeping its switch accessible.
Tip: Use cool-running battery LEDs only; never add real candles.
6. Miniature Three-House Fairy Village
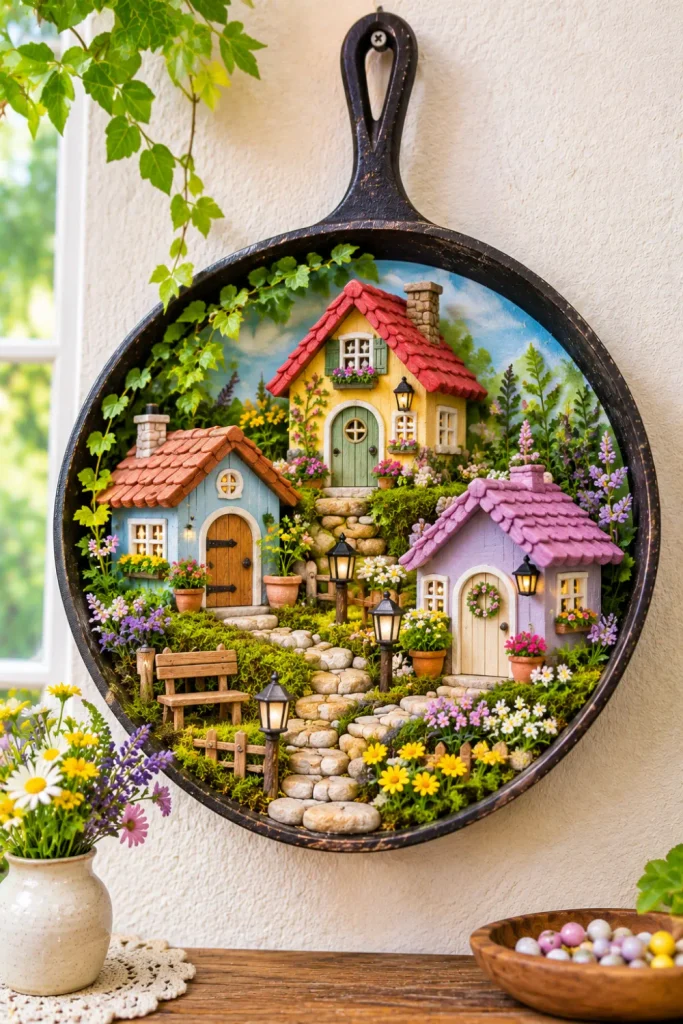
Three tiny homes share one lane.
Staggered heights and varied roofs create depth.
Materials: mini craft houses, paint, thin cork, faux greenery, and small beads.
Steps:
- Paint a soft hillside backdrop inside the pan.
- Mount three differently sized houses on thin cork risers.
- Link the doors with a painted pathway and add bead-sized lanterns.
Tip: Place the tallest house slightly off-center for balance.
7. Boho Dried-Flower Fairy Cottage
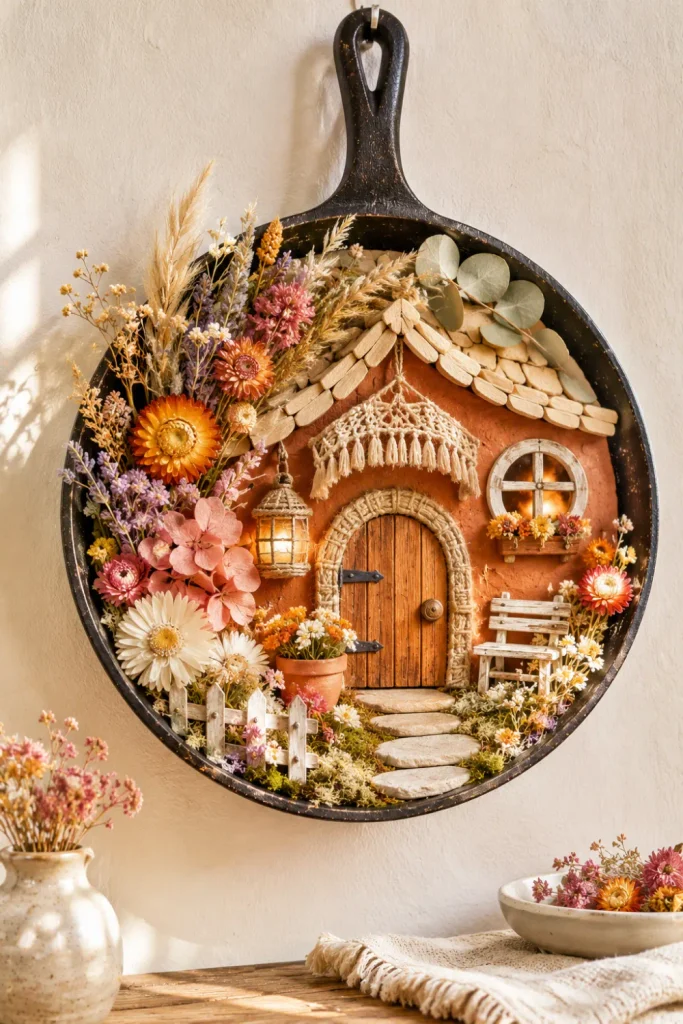
Natural fibers and warm terracotta, oatmeal, and dusty rose give this cottage bohemian charm.
Materials: Pressed dried flowers, jute twine, clay, terracotta paint, adhesive.
Steps:
- Paint the pan warm cream and shape a terracotta-colored clay cottage.
- Outline the doorway with twine and attach dried flowers along one side.
- Add tiny clay stepping-stones and a miniature woven-look awning.
Tip: Keep fragile flowers behind glass or away from damp spaces.
8. Autumn Pumpkin Patch Fairy House
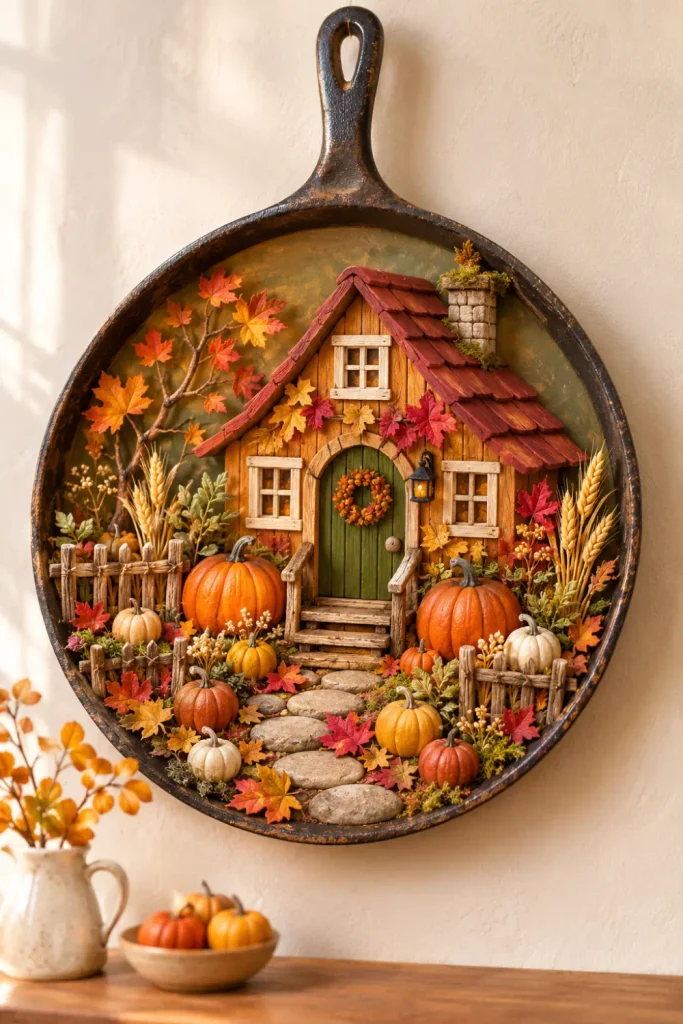
Tiny pumpkins and golden leaves bring harvest charm, especially against dark walls.
Materials: mini clay pumpkins, faux autumn leaves, craft sticks, and orange paint.
Steps:
- Paint the background muted olive and build a cottage with craft sticks.
- Shape several tiny pumpkins, adding grooves and curled stems.
- Group pumpkins beside the doorstep and scatter leaves around the rim.
Tip: Mix pumpkin sizes instead of arranging them in a perfect row.
9. Snowy Winter Fairy Cottage
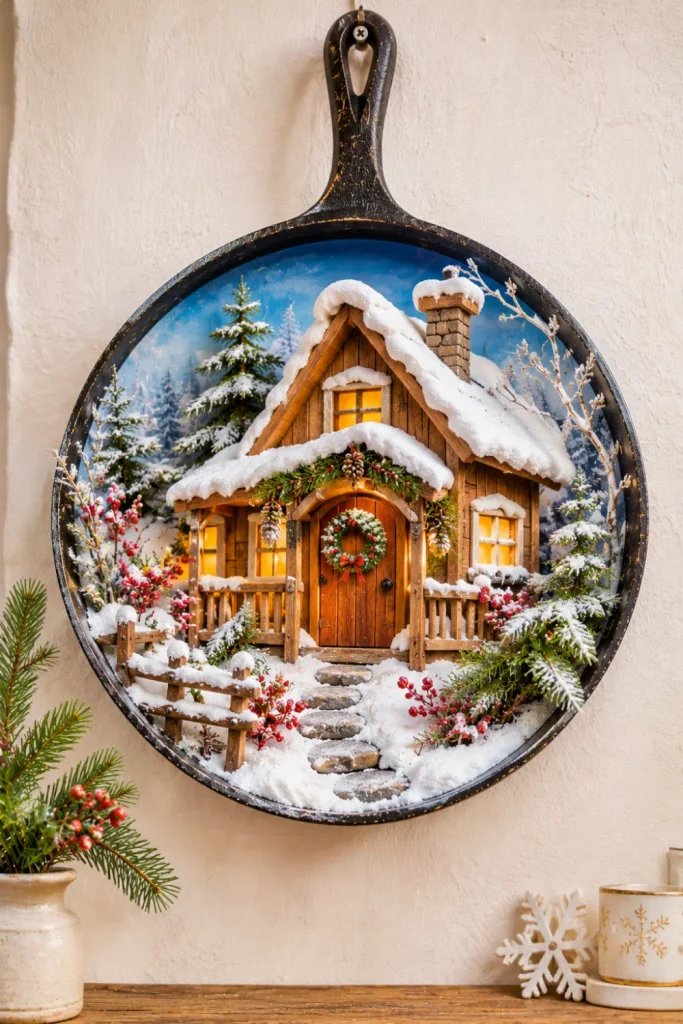
Frosted rooftops, amber windows, and evergreen accents make an enchanting winter vignette.
Materials: White modeling paste, miniature pine sprigs, pale blue paint, wooden cutouts.
Steps:
- Paint the pan icy blue and attach a simple wooden cottage.
- Dab modeling paste onto the roof and ground to imitate soft snow.
- Add pine sprigs and paint windows warm amber for a welcoming glow.
Tip: Avoid loose glitter; textured paste photographs more naturally.
10. Coastal Seashell Fairy Retreat
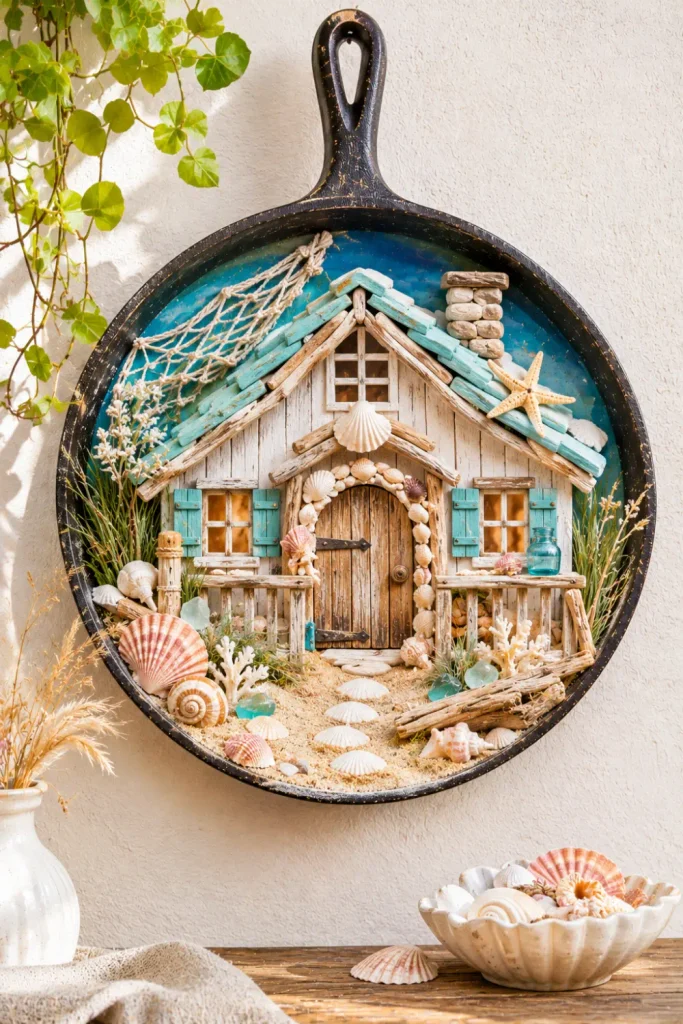
Sandy textures and pearly shells give this beachy cottage an easygoing coastal mood.
Materials: Small shells, fine craft sand, pale aqua paint, driftwood scraps, adhesive.
Steps:
- Paint the pan sea glass blue and seal the surface.
- Make a tiny driftwood-style doorway and arrange shells around its frame.
- Glue craft sand along the bottom and add a winding shell path.
Tip: Use lightweight shells so wall hanging stays manageable.
Final Thoughts: Make Your Fairy Pan Display Stand Out
Use a retired, clean pan that won’t return to cooking.
Choose suitable primer and adhesive; let each layer cure before hanging.
For a polished result:
- Choose one hero detail: An arched door, spotted roof, or glowing window.
- Build in layers: Background first, cottage next, and pathways and foliage last.
- Hang safely: Check the finished weight and use suitable wall anchors or a stud-mounted hook.
- Photograph for Pinterest: Capture a bright vertical shot plus one close-up showing miniature textures.
Which tiny world would you build first?
Save your favorite idea, then gather its supplies for a creative weekend project.