Waking up early for class is seriously tough, right?
Wrestling with heat tools before the sun is even up? No thank you.
That is exactly why protective, heatless hairstyles are taking over everyone’s feeds this year.
If you want to save precious morning time while still looking effortlessly stylish, you are in the right place.
Switching up your daily look doesn’t have to be a stressful ordeal.
Today, we are diving deep into the 20 Cute Trending Back-to-School Bubble Braids Designs Ideas for 2026.
You will get everything from quick five-minute fixes to slightly more intricate weekend looks.
Ready to upgrade your autumn aesthetic and become the main character of your campus?
Let’s get straight into these stunning, easy-to-recreate styles!
1. The Jumbo Classic
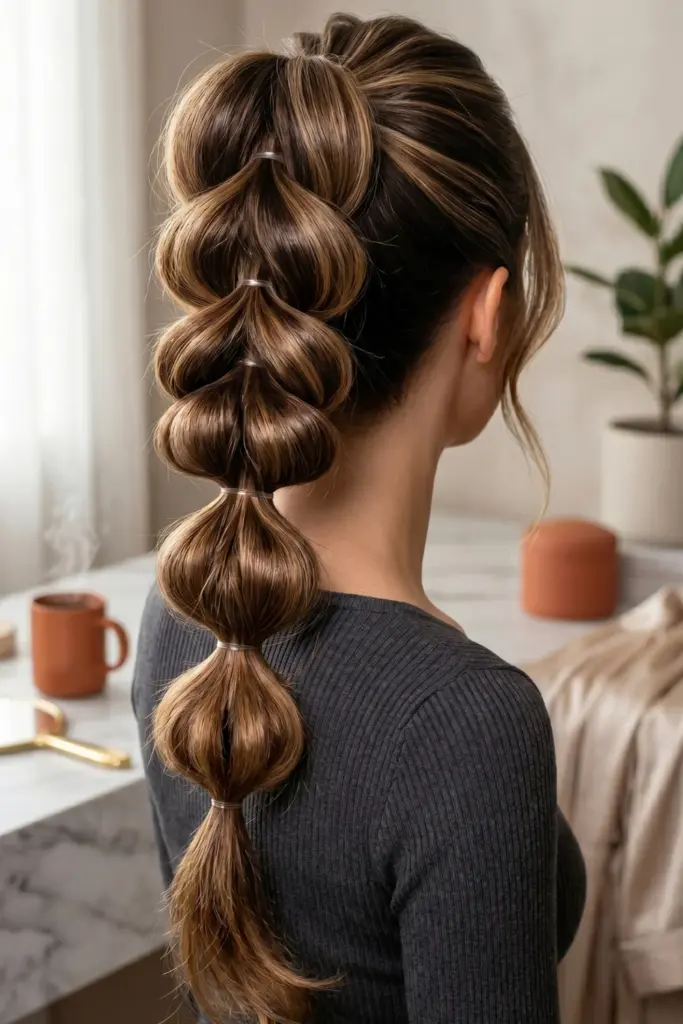
Oversized, thick bubble braids for a bold statement
Want maximum impact with minimal effort?
Jumbo bubbles are undeniably fierce.
This oversized look screams confidence and takes up amazing visual space.
Plus, it is incredibly fast to execute when rushing to a morning lecture!
Steps:
- Gather all hair into a high ponytail.
- Secure with a thick scrunchie or strong tie.
- Place elastics every three inches down the tail.
- Gently pull the hair outward between each elastic.
Tip: Use clip-in extensions if natural hair lacks the density for that dramatic jumbo effect!
2. The Half-Up Bubble Pony
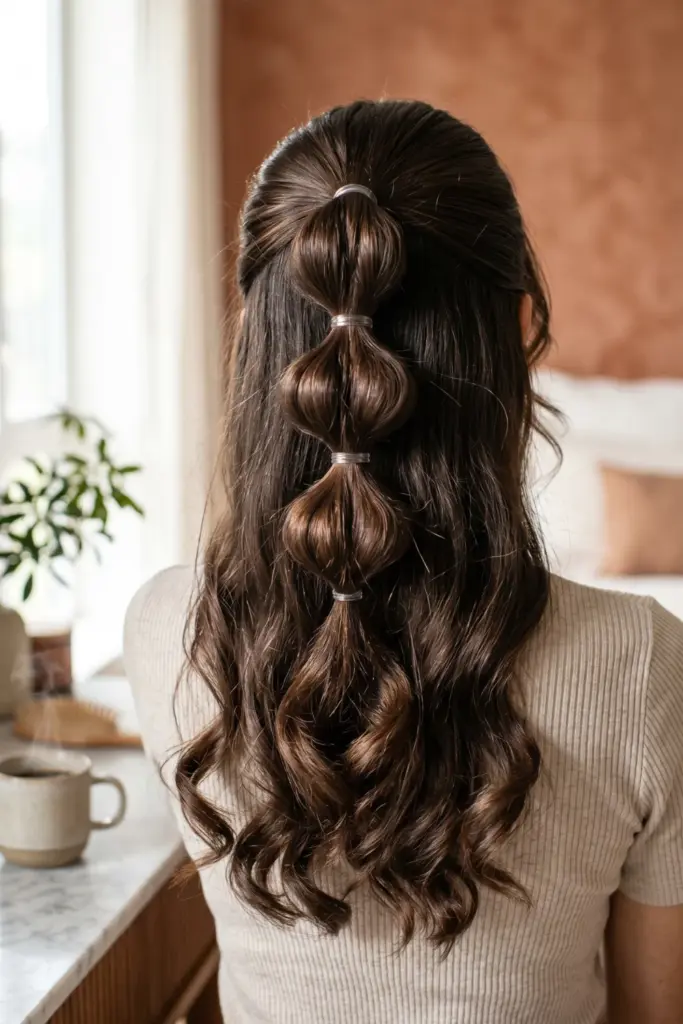
The perfect blend of down and up
Can’t decide between wearing it up or down?
Compromise.
The half-up style keeps strands out of your face while showing off your length.
It’s a slightly romantic, very casual vibe that works with literally any outfit.
Steps:
- Section off the top half of your hair.
- Tie it into a crown and ponytail.
- Add clear elastics down that top section.
- Fluff the bubbles and let the rest hang loose.
Tip: Curl the loose bottom hair for an extra polished, picture-perfect finish.
3. The Space Buns
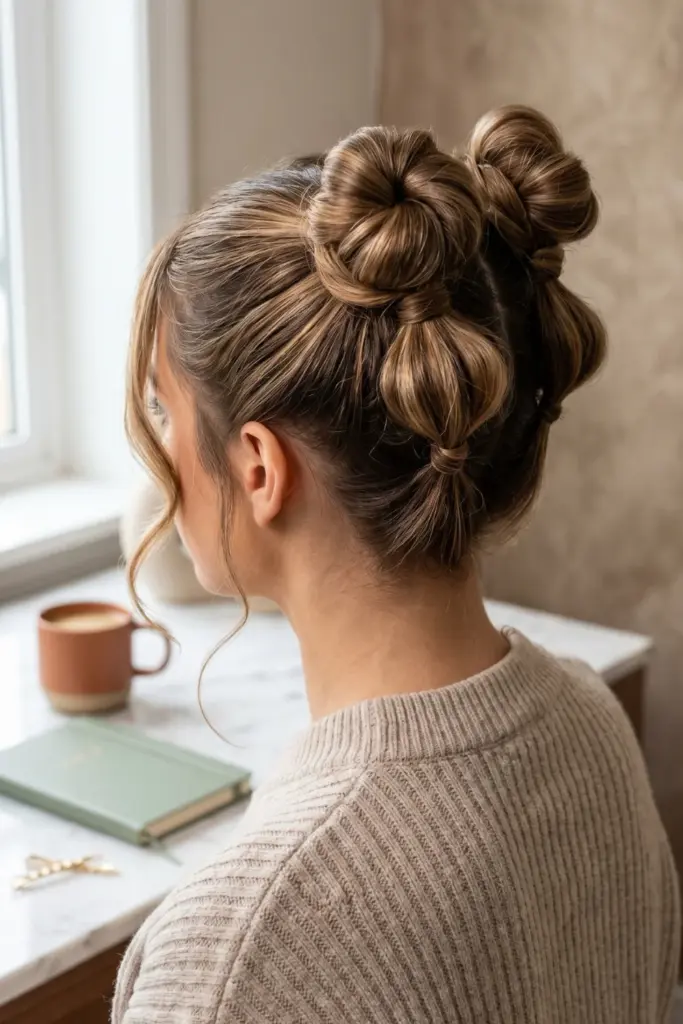
Double bubble buns on top for a playful Y2K vibe
Y2K fashion is clearly here to stay in 2026.
These quirky buns are super energetic and fun.
Perfect for pep rallies or casual Fridays. Just pure, unapologetic nostalgia.
Steps:
- Part hair directly down the middle.
- Create two high pigtails.
- Make 2-3 bubbles on each pigtail.
- Wrap the bubbled tails around their bases to form buns and pin.
Tip: Leave two small face-framing pieces out in the front for a softer look.
4. The Bubble Pigtails
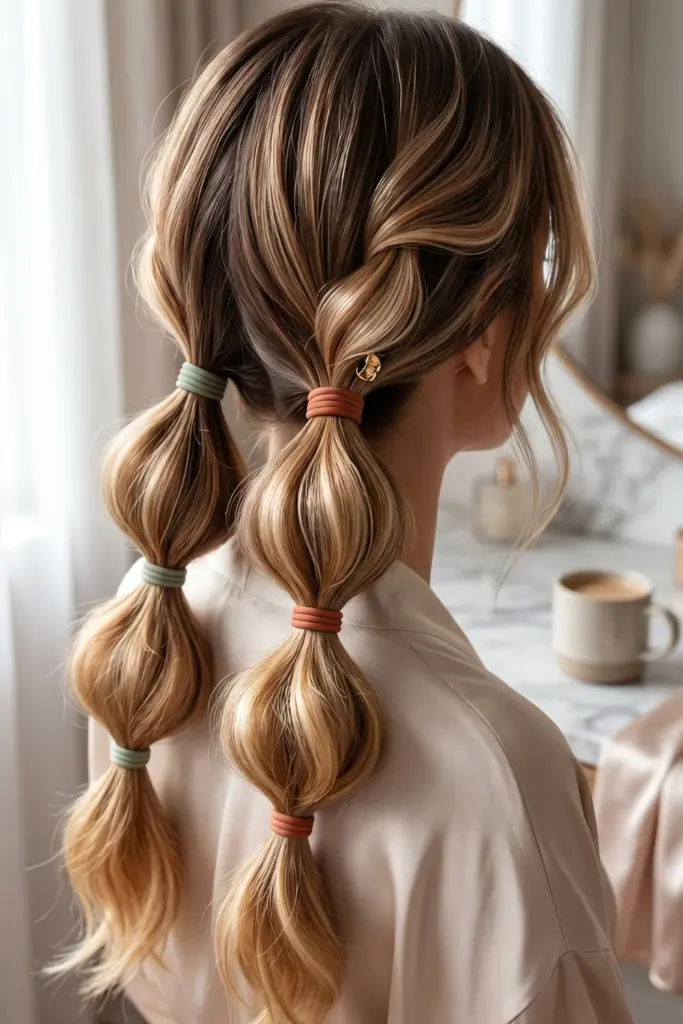
Low pigtails with perfectly rounded bubbles
There is something so effortlessly sweet about low pigtails.
They don’t pull on the scalp, which means zero tension headaches during midterms.
Very cottagecore meets modern student.
Steps:
- Divide hair into two even sections at the nape of the neck.
- Tie off the base of each.
- Add bands evenly down both lengths.
- Pancake (pull apart) the sections to create volume.
Tip: Use colored elastics that match your school colors for spirit days.
5. The High Bubble Pony
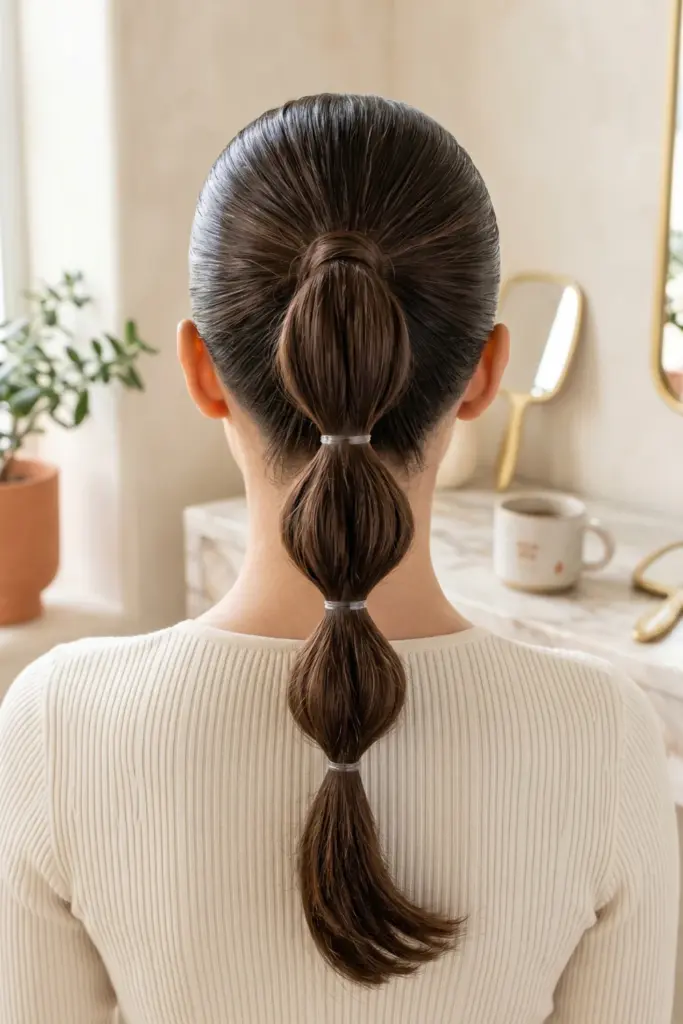
A sleek, high ponytail with bubble details
Sleek, snatched, and ready to conquer the day.
A high pony instantly lifts the face.
Adding the bubbles just takes it from “gym class” to “runway ready.”
Steps:
- Brush hair upward using gel for a smooth base.
- Secure tightly at the highest point of the head.
- Add elastics spaced two inches apart.
- Tease each section slightly before tying the next band.
Tip: Wrap a small piece of hair around the base tie to hide it.
6. The Side-Swept Bubble
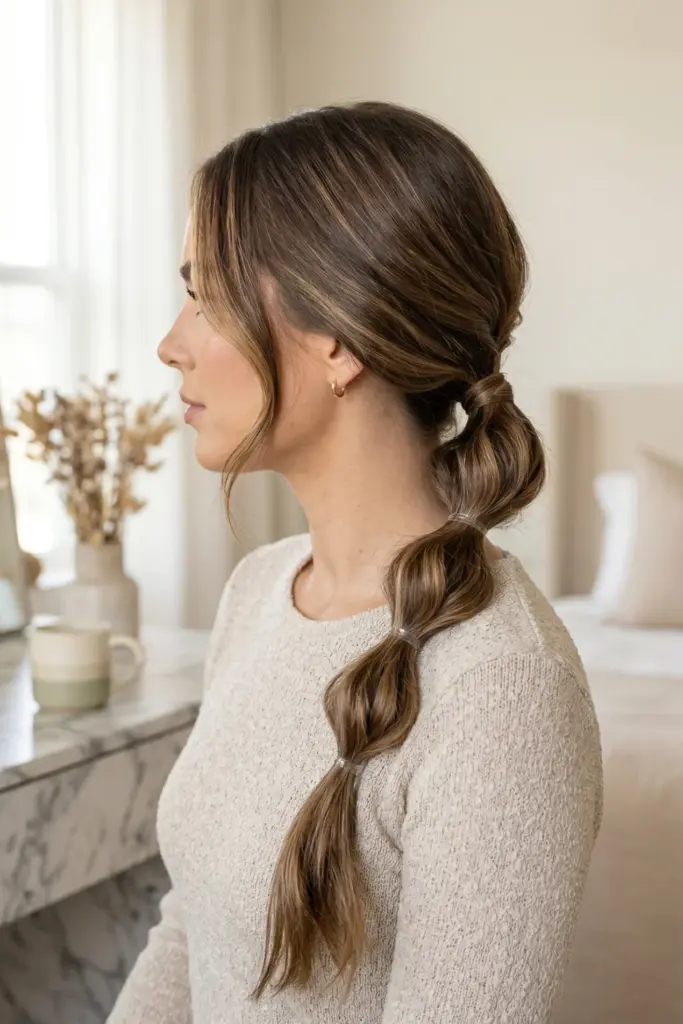
All hair draped elegantly over one shoulder
This one oozes sophisticated drama.
Sweeping everything to one side looks incredibly intentional and chic.
It pairs beautifully with off-the-shoulder tops or chunky fall sweaters.
Steps:
- Brush all hair over your preferred shoulder.
- Tie a low side ponytail just below the ear.
- Create your bubbles all the way to the ends.
- Tug gently for a looser, relaxed fit.
Tip: Secure the opposite side with a few bobby pins to keep the sweep in place all day.
7. The Twisted Bubble
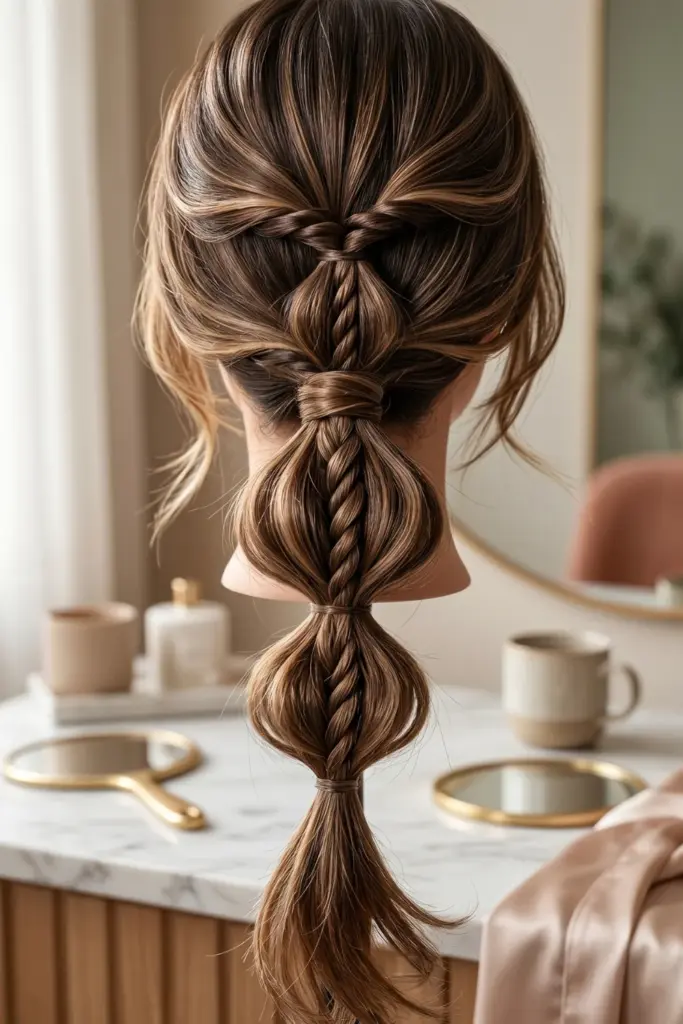
A twist on the classic using two-strand twists instead of elastics
Looking for something slightly different?
Skipping the traditional elastics for a twisted technique adds unbelievable texture.
It’s an eye-catching hybrid that definitely stands out in the hallway.
Steps:
- Make a standard ponytail.
- Split the tail into two pieces.
- Twist them around each other, stopping every few inches.
- Secure the stopping points with tiny invisible bands and puff them out.
Tip: Apply a lightweight holding cream before twisting to prevent flyaways.
8. The Halo Bubble
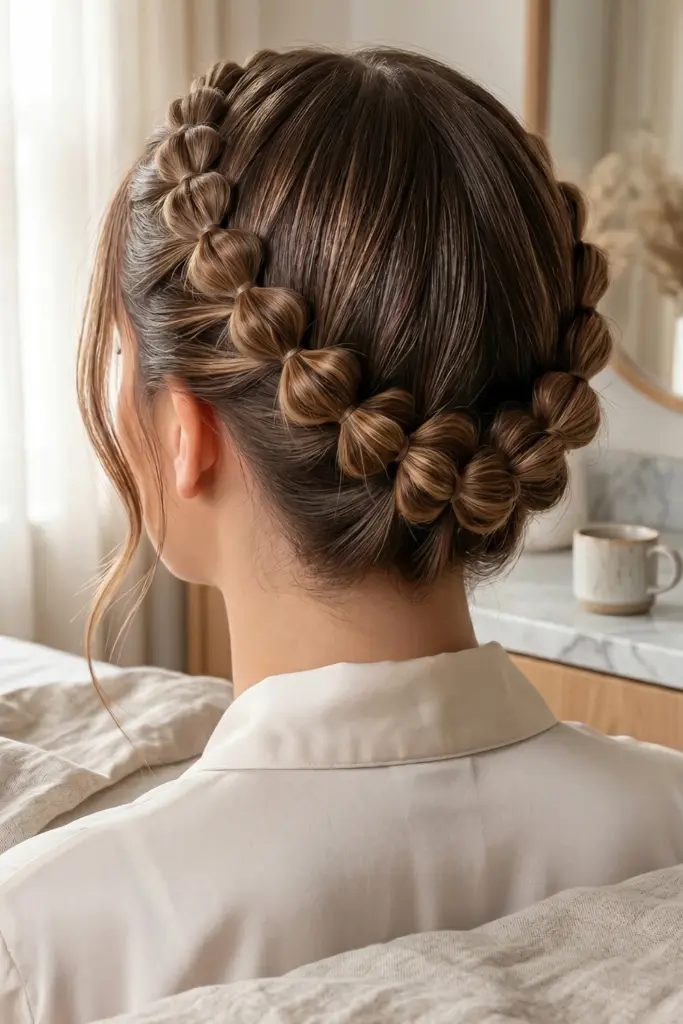
A crown braid created using bubble technique
Angelic and completely out of the way!
The halo style is phenomenal for lab days when you absolutely need everything secured.
It looks complex but is deceptively easy.
Steps:
- Start a small ponytail near your temple.
- Tie another section right behind it, incorporating the tail of the first.
- Continue this bubbling chain around the circumference of your head.
- Tuck the final tail under the first bubble.
Tip: Keep the bubbles relatively small so they lie flat against the head.
9. The Knotless Bubble
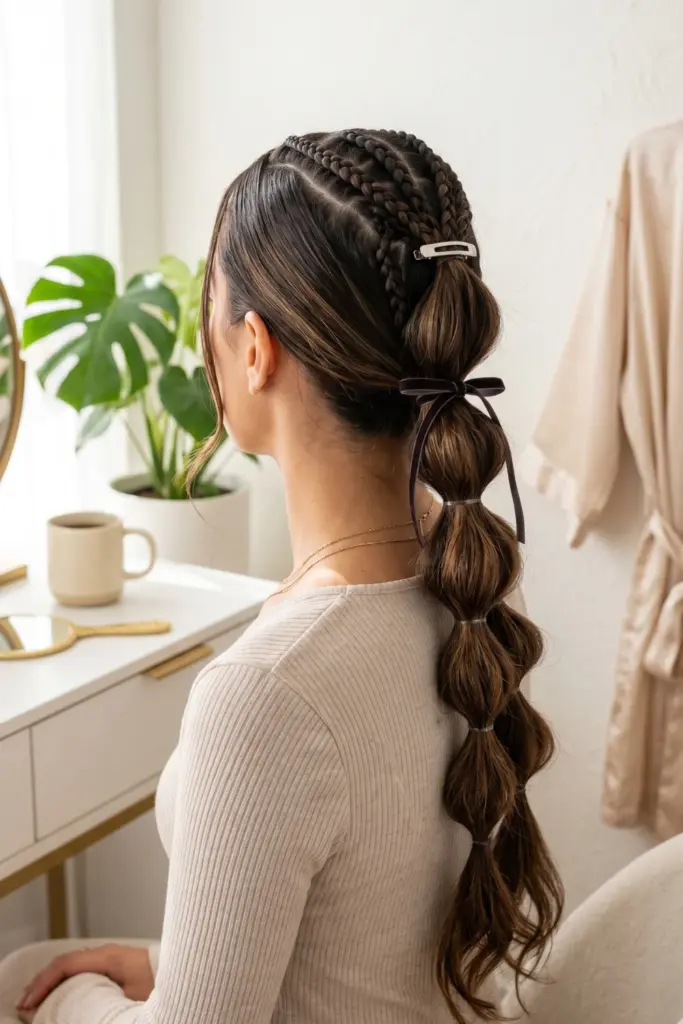
Starting with a knotless box braid and turning into bubbles
Combining protective braiding with the bubble trend? Genius!
Knotless roots offer tension-free wear, transitioning beautifully into playful volume at the ends.
Steps:
- Start a knotless braid at the root.
- Braid down about three inches.
- Stop braiding and tie an elastic.
- Continue the rest of the length using the bubble method.
Tip: Use edge control on the parted sections for a crisp, clean foundation.
10. The Ribbon Accent
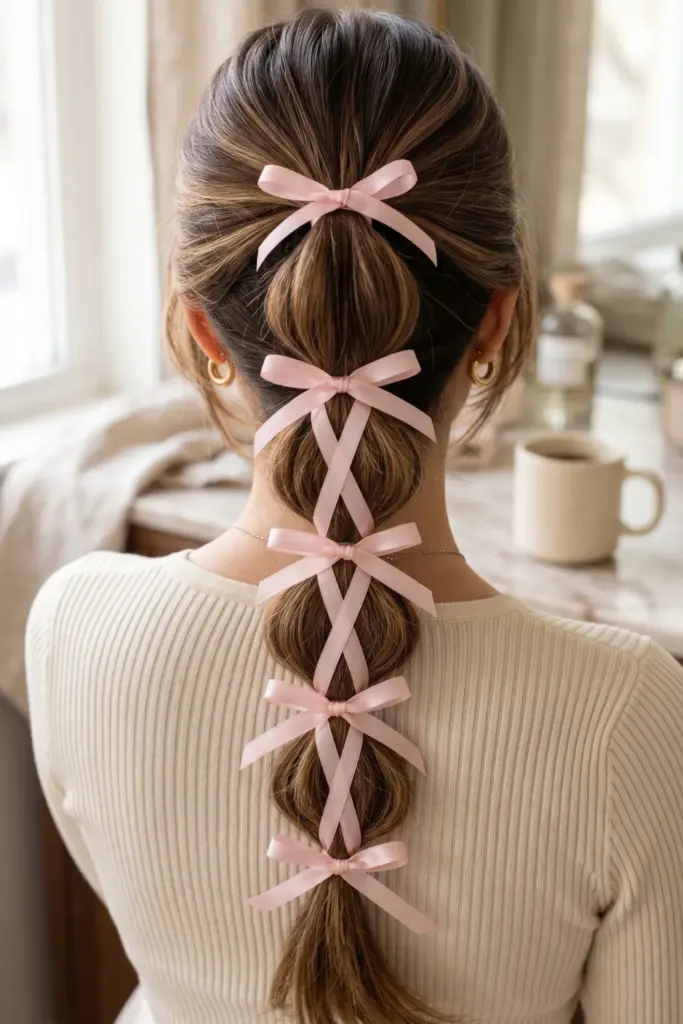
Weaving colorful ribbons through the bubbles
Coquette aesthetics are everywhere.
Adding ribbons instantly softens the look and makes it hyper-feminine.
Honestly, it’s just pretty.
Steps:
- Create your preferred bubble braid base.
- Take a long piece of satin ribbon.
- Tie bows over each elastic band.
- Alternatively, crisscross the ribbon down the length of the style.
Tip: Mix and match ribbon textures like velvet and silk for visual interest.
11. The Beaded Bubble
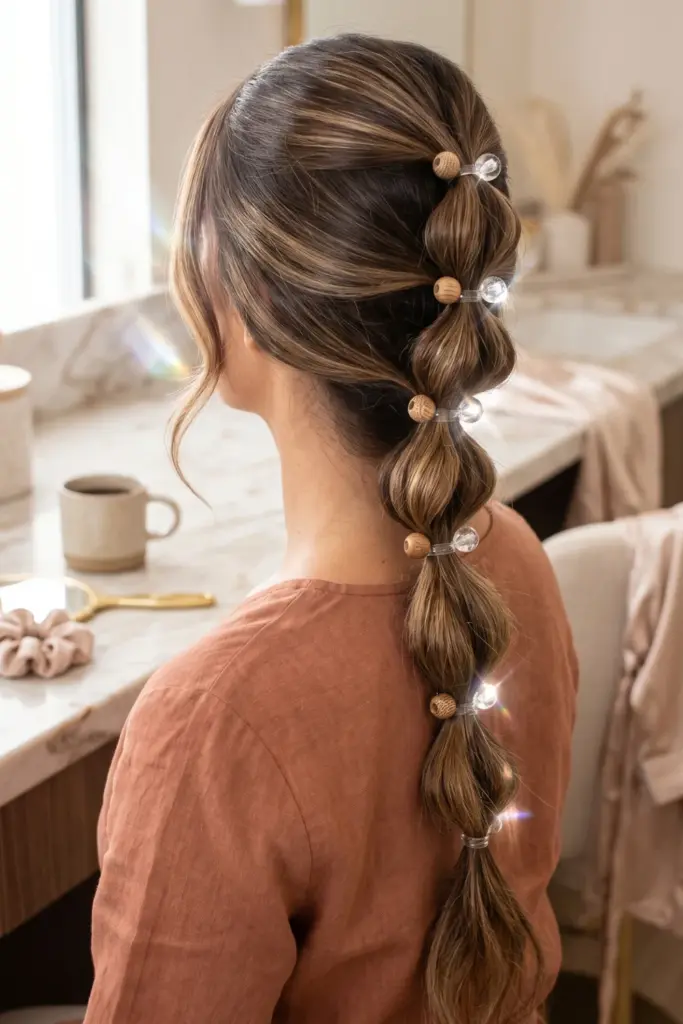
Adding wooden or colorful beads between sections
A beautiful nod to cultural hair practices and a great way to add weight to your strands.
The click-clack sound is oddly satisfying, too!
Steps:
- Construct your standard bubble braid.
- Use a beading tool to thread beads onto the hair just above the elastics.
- Secure tightly underneath the beads so they don’t slip.
- Repeat down the length.
Tip: Clear acrylic beads catch the sunlight gorgeously on campus.
12. The Ombre Bubble
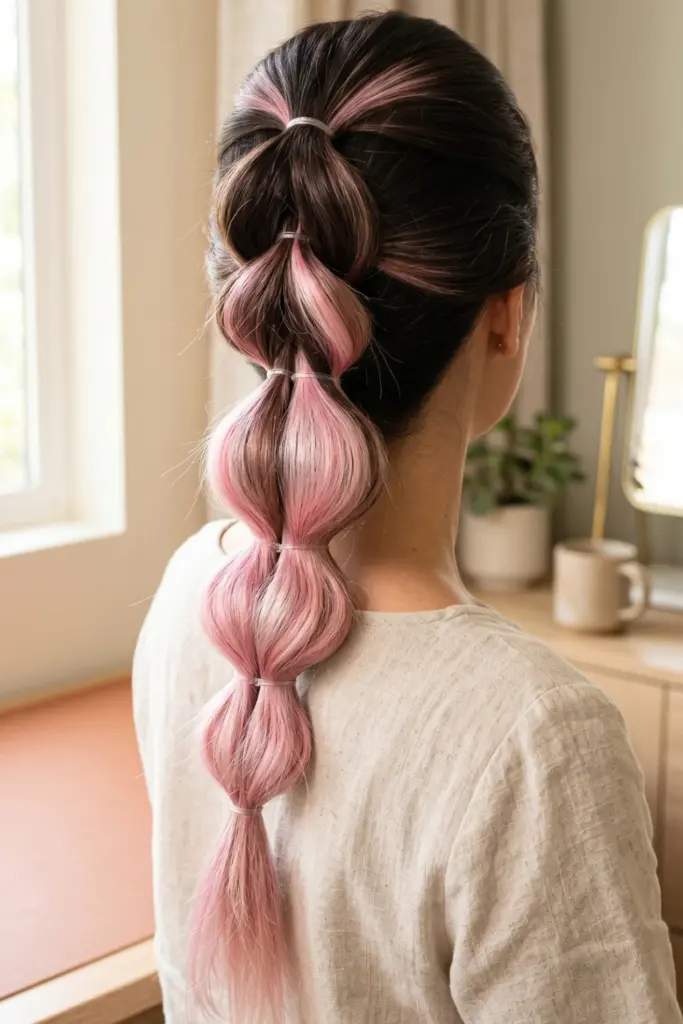
Starting dark at the roots and fading to a bright color
Color gradients look phenomenal when bubbled.
The rounded shapes show off the transition from dark to light perfectly.
It adds instant dimension without needing complex styling.
Steps:
- Ensure your ombre hair is thoroughly detangled.
- Tie a mid-height ponytail.
- Space bands so the color transition hits right in the middle of a bubble.
- Fluff outward for maximum color display.
Tip: Use a shine spray to really make the lighter ends pop!
13. The Chunky Highlights
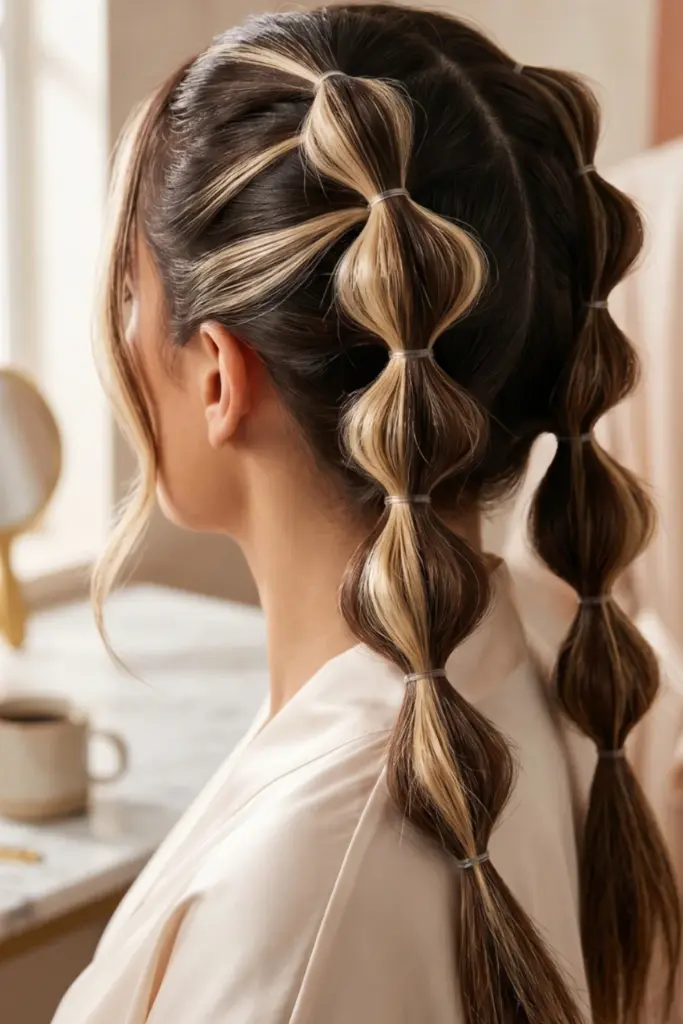
Bleached chunks within the dark bubble braids
Bold, contrasted highlights give this style a rebellious edge.
The light pieces weave through the dark spheres, creating a seriously cool optical illusion.
Steps:
- Gather highlighted hair into your desired base (pony or pigtails).
- Make sure the chunky highlights are visible on the outer layer.
- Tie your elastics and pull the hair.
- Gently coax the highlighted strands outward so they take center stage.
Tip: A texturizing spray helps the highlighted chunks hold their shape better.
14. The Braided Base
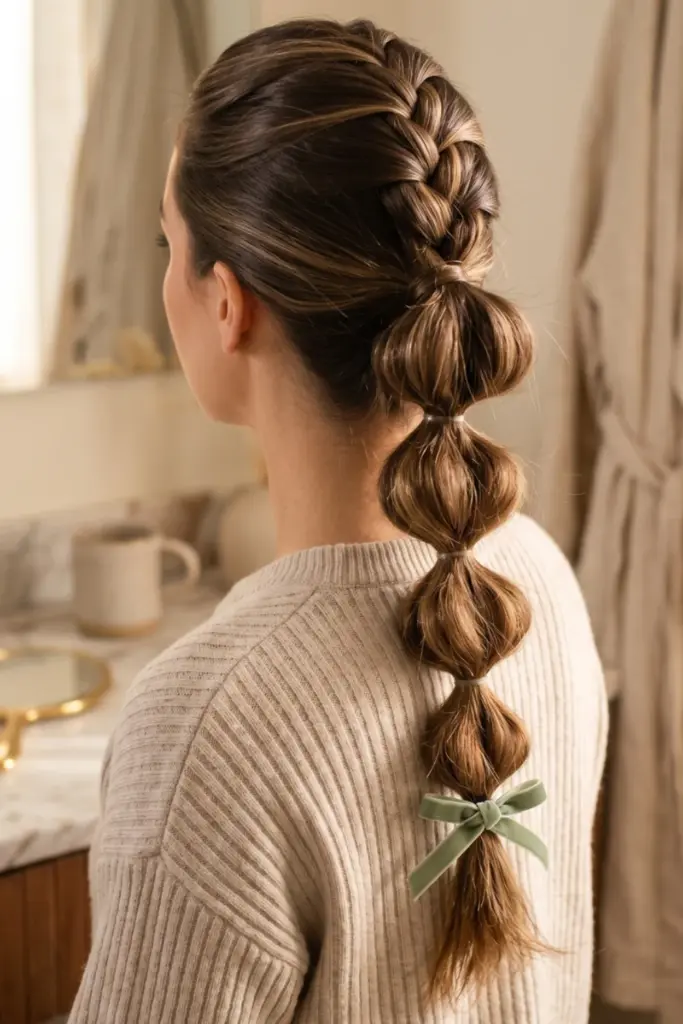
Plaiting the top half and bubbling the bottom half
A fantastic two-in-one look.
You get the intricate detail of a traditional plait near the face, giving way to the bouncy fun of bubbles below.
Steps:
- French or Dutch braid the top half of the hair down to the nape.
- Tie it off securely.
- Switch to the bubble technique for the remaining hair.
- Blend the transition by fluffing the first bubble widely.
Tip: Keep the initial braid fairly tight so the contrast with the loose bubbles is sharp.
15. The Low Sleek Pony
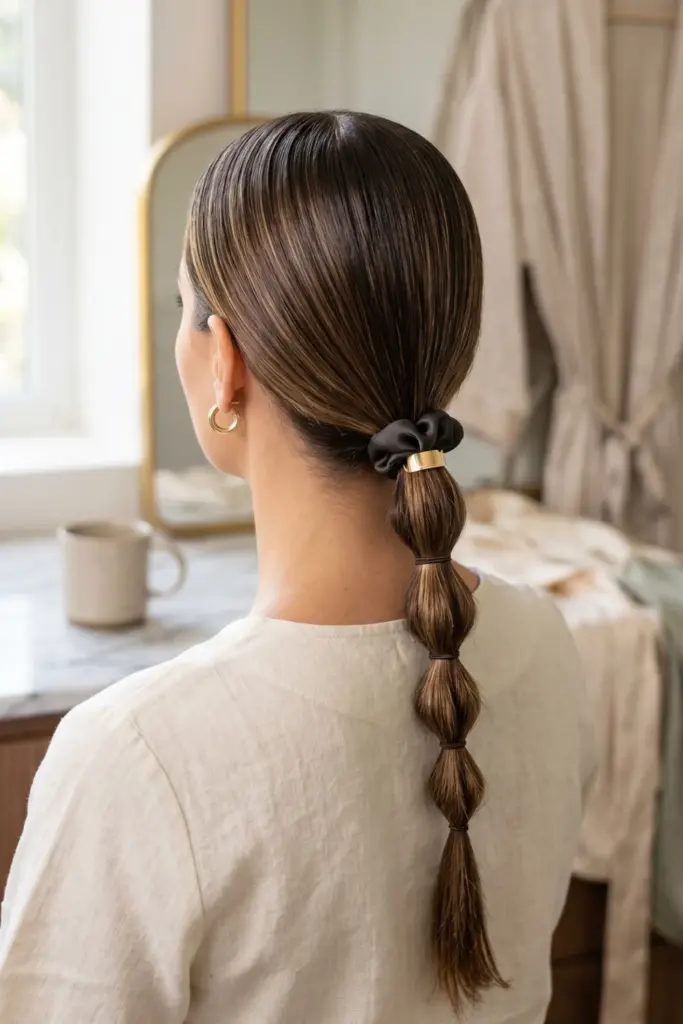
A sophisticated low ponytail with tight bubbles
Understated and elegant.
Sometimes you just want a look that says “I have my life together.”
This is it. Extremely neat and polished.
Steps:
- Part hair sharply down the middle.
- Smooth down into a low ponytail at the base of the neck.
- Add bands closely together for smaller, tighter bubbles.
- Barely pull them out—keep the silhouette slim.
Tip: A boar bristle brush and a little pomade are essential for that glass-hair finish.
16. The Top Knot Bubble
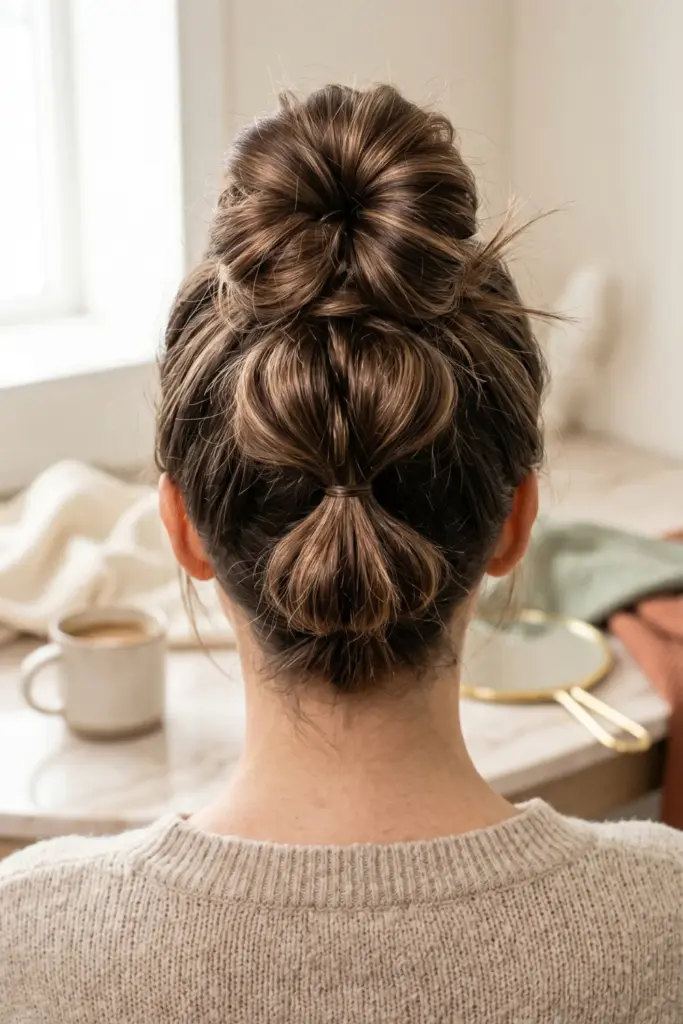
A messy bubble bun right on the crown
For those days when you literally just cannot.
It’s messy, it’s piled high, but the bubble details make it look like a deliberate fashion choice rather than a last resort.
Steps:
- Flip head upside down and gather hair into an ultra-high pony.
- Make 2-3 quick bubbles.
- Twist the whole bubbled section around itself lazily.
- Pin in place, letting ends stick out.
Tip: Don’t overthink it; the imperfections are what make this style work.
17. The Curly Ends
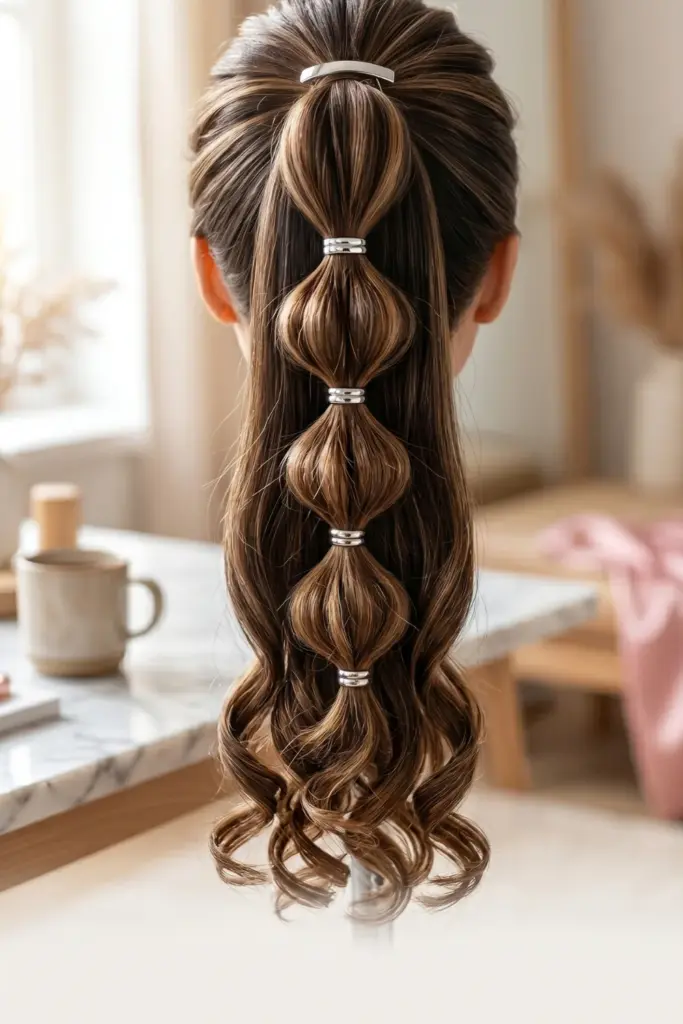
Leaving the ends curly and loose while the rest is bubbled
Why hide your natural texture?
Let those curls breathe!
It adds a romantic, carefree finish to a structured updo.
Steps:
- Create your bubble braid, but stop about four inches from the bottom.
- Secure the final elastic.
- Apply a curl-defining cream to the loose ends.
- Scrunch the ends and let them air dry.
Tip: If your hair is straight, hit the ends with a curling wand for a faux-curly finish.
18. The Gold Cuff Style
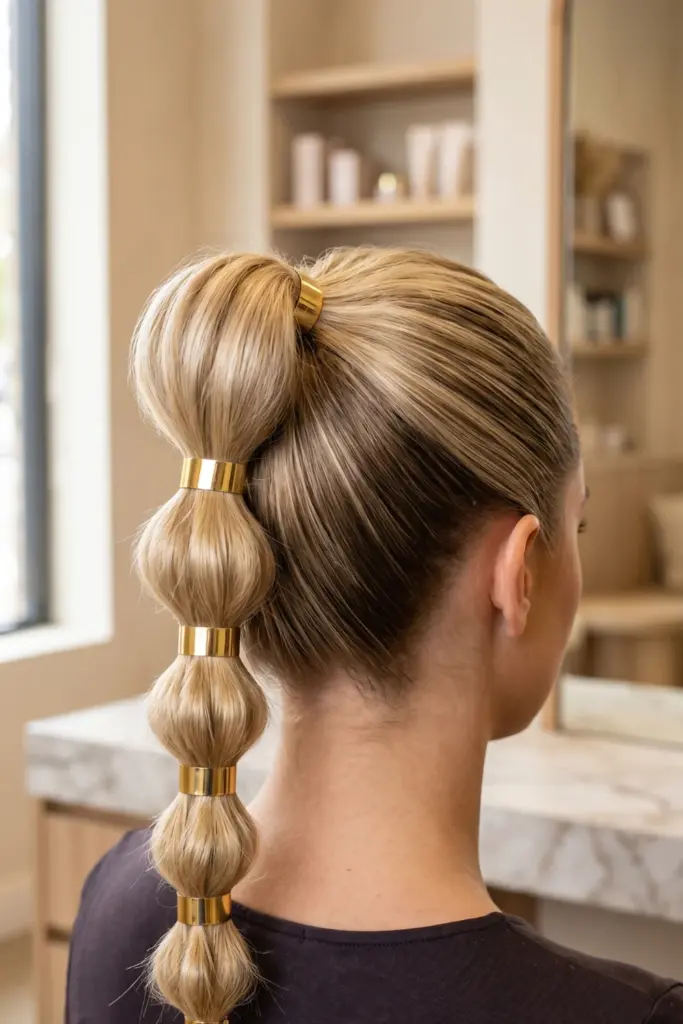
Adding metallic cuffs over the elastic bands
Instantly elevate the aesthetic from classroom to festival-chic.
Gold hardware looks incredibly rich and hides those basic plastic elastics flawlessly.
Steps:
- Form your bubble braid with thin, clear elastics.
- Open metallic hair cuffs.
- Clamp one cuff directly over each elastic band.
- Adjust so they sit flush against the hair.
Tip: Match the metal cuffs to your everyday jewelry for a cohesive look.
19. The Scarf Wrap
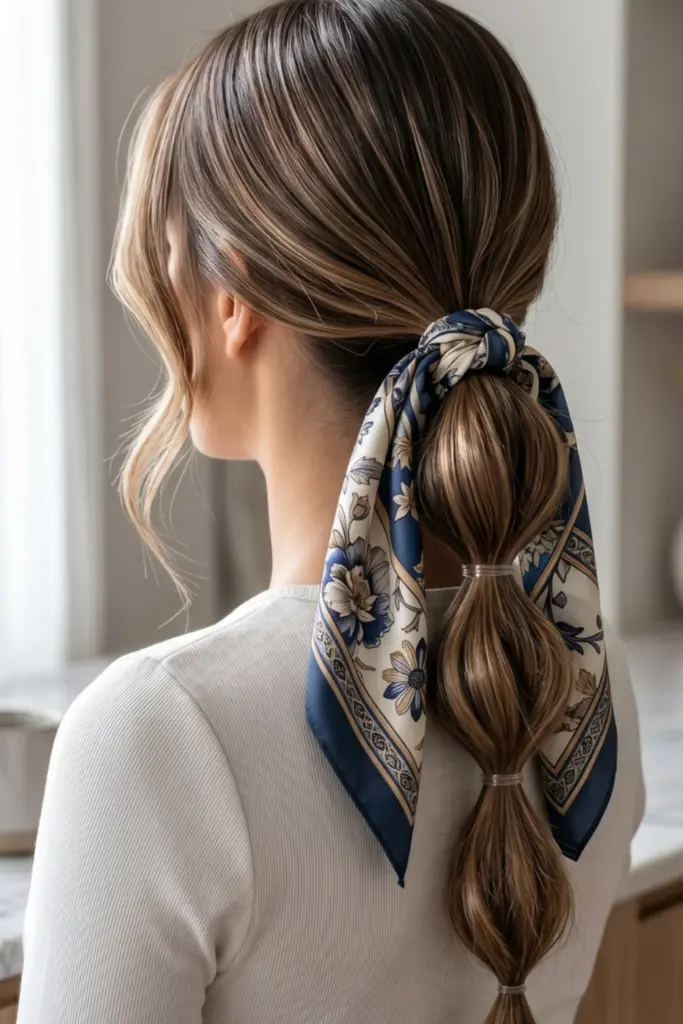
Tying a silk scarf around the base of the bubble style
Vintage charm meets modern trend.
A printed silk scarf is the ultimate “cool girl” accessory.
Plus, it hides any messy roots perfectly!
Steps:
- Tie hair into a low or mid-ponytail.
- Fold a square silk scarf into a long triangle/band.
- Tie the scarf around the primary hair tie, letting the tails drape.
- Bubble the rest of the ponytail underneath.
Tip: Secure the scarf with a hidden bobby pin underneath so it doesn’t slide off slippery hair.
20. The Mini Bubbles
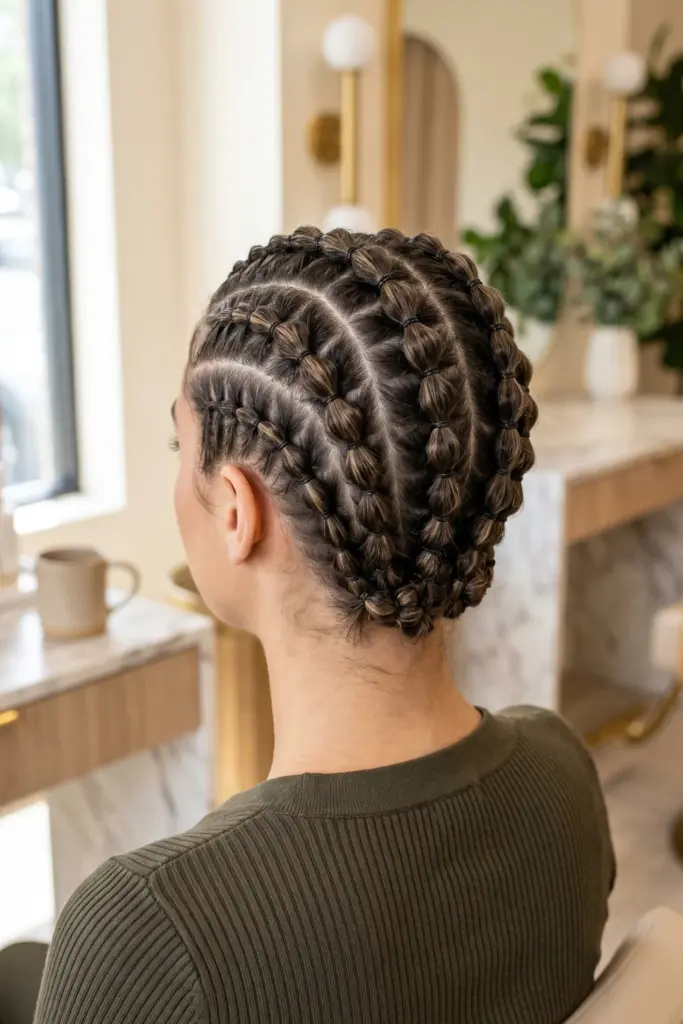
Small, tight bubbles for a textured “cornrow” effect
Intricate, detailed, and highly durable.
By making the sections tiny, you create a beautiful textured pattern that holds up against wind, sports, and whatever else the day throws at you.
Steps:
- Section hair into 4-6 vertical rows.
- Start at the front hairline, tying tiny ponies.
- Add the previous pony into the next one, moving backward.
- Keep the bubbles very small and close to the scalp.
Tip: Use lots of tiny black elastics and keep your parting extremely sharp with a rat-tail comb.
Final Thoughts & Conclusion
Mastering your campus look shouldn’t feel like a daily chore.
As we’ve seen, incorporating these 20 Cute Trending Back-to-School Bubble Braids Designs Ideas for 2026 into your rotation guarantees you will stay stylish, comfortable, and ready to tackle your syllabus.
To get the most out of your styling routine, here are a few final valuable tips and step-by-step additions to keep in mind:
- Stock up on essentials: You will burn through clear elastics fast. Buy them in bulk to avoid mid-semester shortages!
- Invest in silk: Sleeping on a silk pillowcase or using a silk bonnet preserves your bubbled looks for multiple days, saving you even more time in the morning.
- Scalp care matters: Tension from tight styles can occasionally be irritating. Massage a lightweight scalp oil into your roots between washes to keep things hydrated.
- Explore more: Don’t forget to click over to our Pinterest boards and save these images! Pinning your favorite tutorials ensures you always have quick reference guides on those chaotic Monday mornings.
Whether you opt for the dramatic jumbo classic or the sweet ribbon accents, confidence is your best accessory.
Now, grab those hair ties and go ace your day!