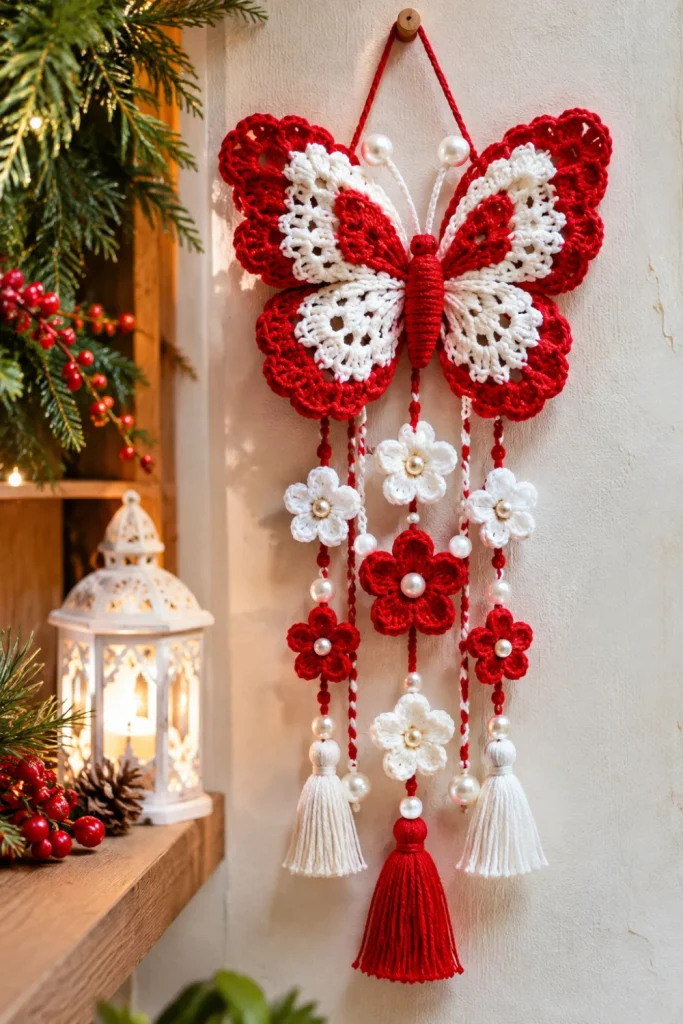
Want to make plain walls feel charming without spending much on new decor?
Red and white crochet butterfly wall hangings bring handmade texture, playful color, and a fresh modern touch to any space.
From beginner-friendly butterfly patterns to delicate garlands and boho-inspired mobiles, these DIY ideas offer creative ways to use yarn, personalize your home, and make beautiful decorations worth saving on Pinterest.
1. DIY Red and White Crochet Butterfly Wall Hanging Ideas
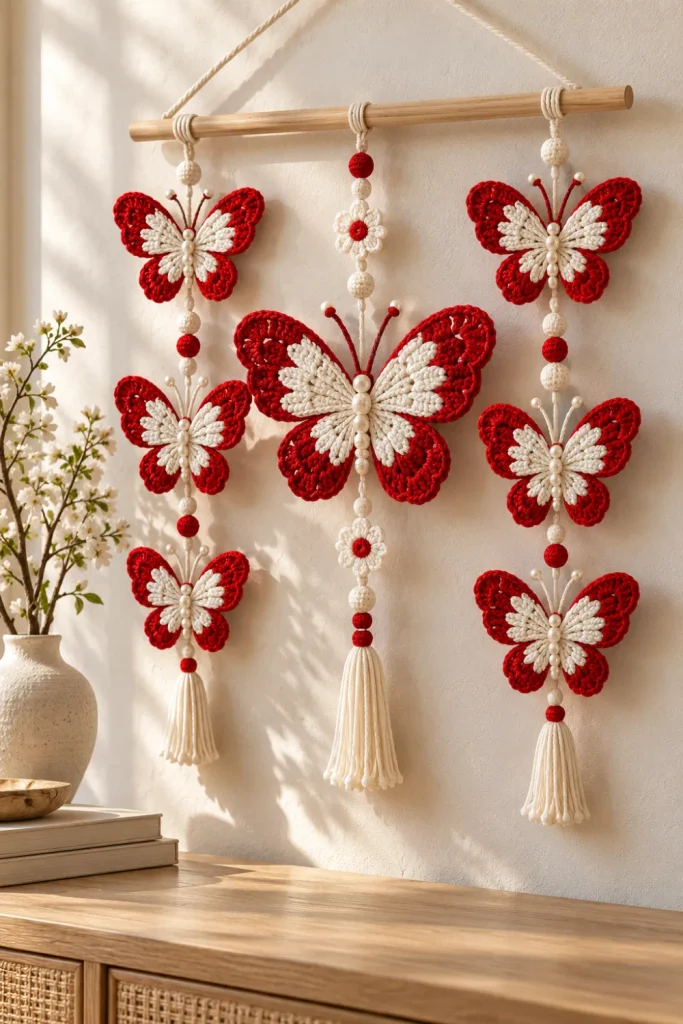
Red and white butterflies create a striking contrast that feels cheerful yet timeless.
This combination works beautifully in modern bedrooms, cozy reading corners, and craft rooms.
How to make it:
- Crochet several butterflies using white yarn for the wings and red yarn for the body.
- Add embroidered wing details or tiny white accents.
- Attach each butterfly to a wooden dowel using yarn loops.
- Arrange the butterflies at different heights for a layered appearance.
Modern 2026 twist: Mix cherry red with warm ivory and natural wood for a softer, contemporary finish.
One tip: Keep the background neutral so the butterfly shapes remain the focal point.
2. Easy Crochet Butterfly Hanging Pattern for Beginners
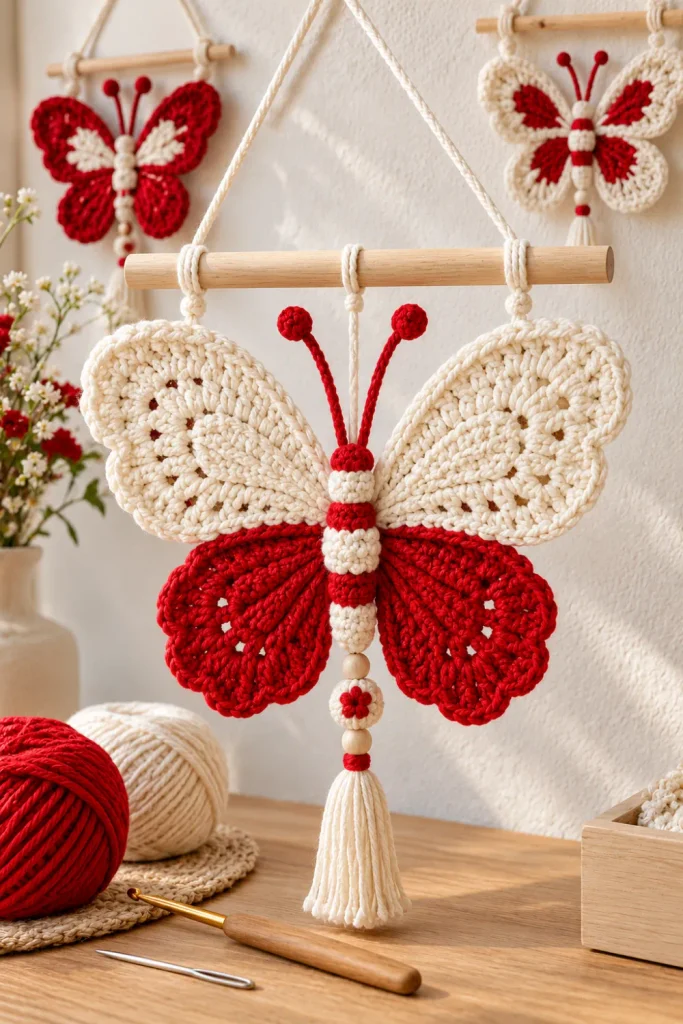
New to crochet?
A simple butterfly hanging is a manageable project that introduces basic stitches without requiring complicated shaping.
It’s also a lovely way to use a small amount of leftover yarn.
Simple steps:
- Make a magic ring or crochet a small starting chain.
- Work double crochet stitches into the ring to form rounded wing sections.
- Use smaller stitches to shape the upper and lower wings.
- Crochet a narrow body and attach two small antennae.
- Weave in the loose ends and block the butterfly gently.
- Add a hanging loop at the top.
Beginner-friendly materials:
- Red and white medium-weight yarn
- Crochet hook suited to your yarn
- Yarn needle and scissors
- Measuring tape, if making several matching butterflies
One tip: Practice with one butterfly before making a full wall hanging. Consistent stitch tension helps the wings look balanced.
3. Crochet Butterfly Garland Ideas for Charming Handmade Wall Decor
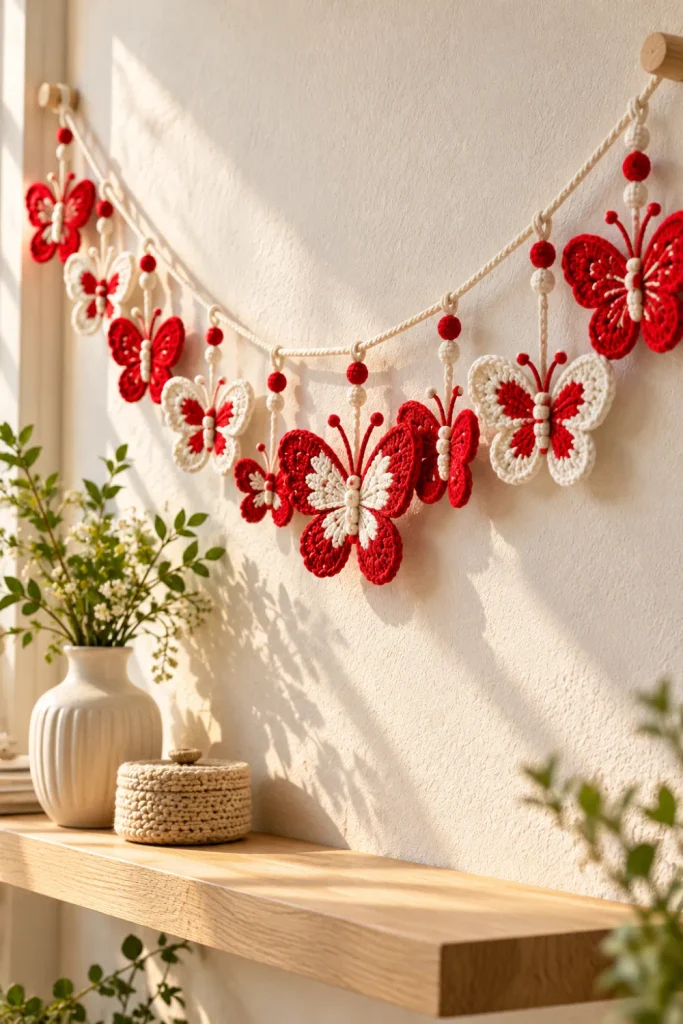
A crochet butterfly garland adds movement and color to shelves, windows, party backdrops, and bedroom walls.
Unlike a single hanging, a garland lets you display several butterflies in a flowing arrangement.
How to create it:
- Crochet five to nine small butterflies in alternating red and white.
- Make a long chain or use a sturdy yarn cord as the base.
- Attach the butterflies at evenly spaced intervals.
- Add small crocheted leaves or simple yarn tassels between selected butterflies.
- Hang the finished garland across a wall hook or shelf.
Styling idea: Combine solid-red butterflies with white butterflies featuring red centers. This creates visual variety without introducing too many colors.
One tip: Leave enough space between butterflies so their wings remain visible when the garland hangs naturally.
4. Modern Crochet Butterfly Wall Decor Ideas for a Cozy 2026 Home
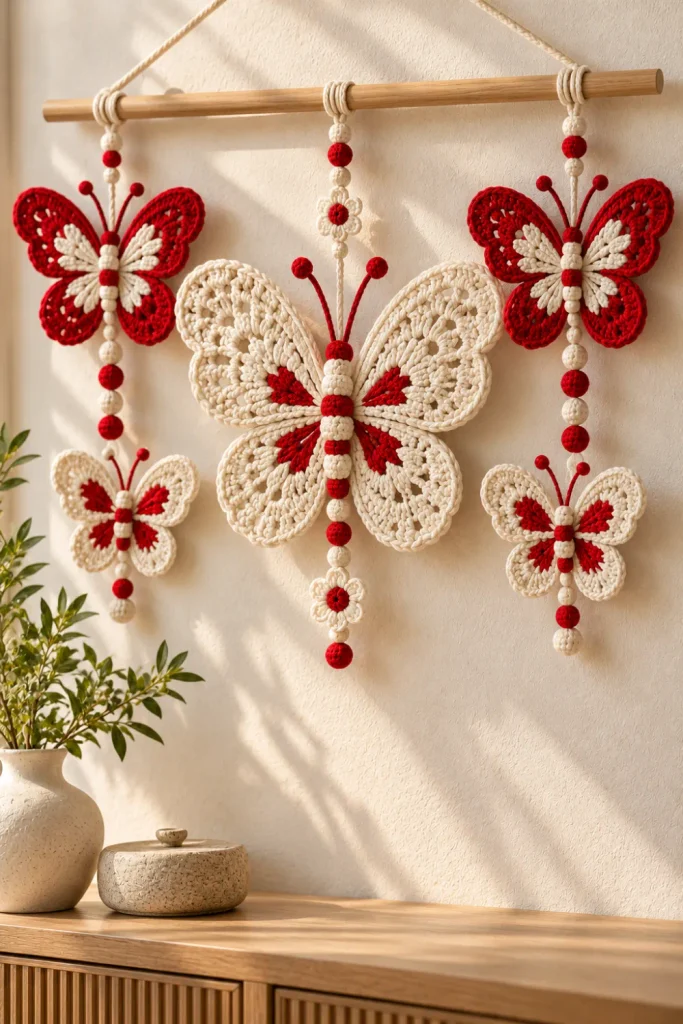
Modern crochet decor is all about texture, thoughtful color choices, and pieces that feel personal rather than mass-produced.
Red and white butterflies can fit this look when paired with clean shapes and understated accessories.
Try these design ideas:
- Create oversized butterflies with clearly defined wings.
- Pair a large white butterfly with smaller cherry-red accents.
- Mount the pieces on a slim oak dowel for a minimalist finish.
- Add a neutral linen backing for extra texture.
- Display the hanging above a bedside table, reading chair, or small console.
2026 trend-inspired detail: Choose deep cherry red, creamy white, and natural wood instead of several competing colors.
One tip: Let the crochet work stand out. Too many ribbons, beads, and decorative extras can make a modern design feel crowded.
5. DIY Crochet Butterfly Mobile and Hanging Decorations
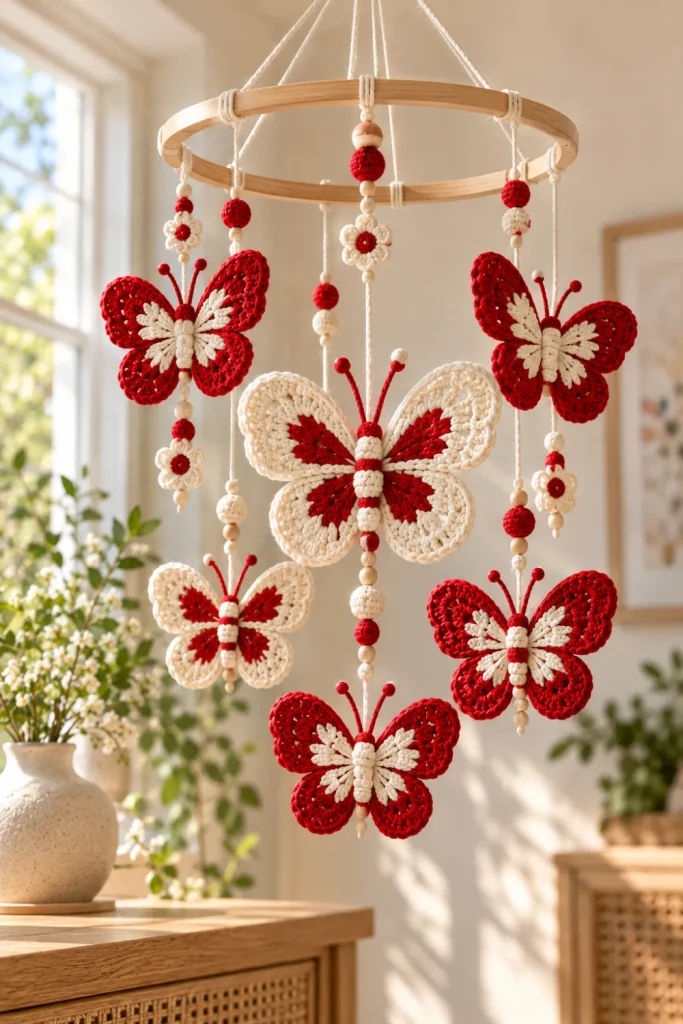
A crochet butterfly mobile brings a light, whimsical feel to a craft room, covered porch, or decorative corner.
Suspended butterflies move gently with the air, adding dimension that flat wall art cannot provide.
Simple assembly steps:
- Crochet four to six butterflies in different sizes.
- Make a circular frame using a lightweight embroidery hoop.
- Cut yarn strands in varied lengths.
- Secure one butterfly to the bottom of each strand.
- Tie the strands evenly around the hoop.
- Add a strong central hanging loop and check the balance.
Creative variation: Use mostly white butterflies with occasional red ones to create a delicate, floating effect.
One tip: Keep mobiles intended for decoration out of children’s reach. Never hang them above a baby’s sleep space or within reach of a child who could pull them down.
6. Red and White Crochet Wall Hangings That Look Beautiful in Any Room
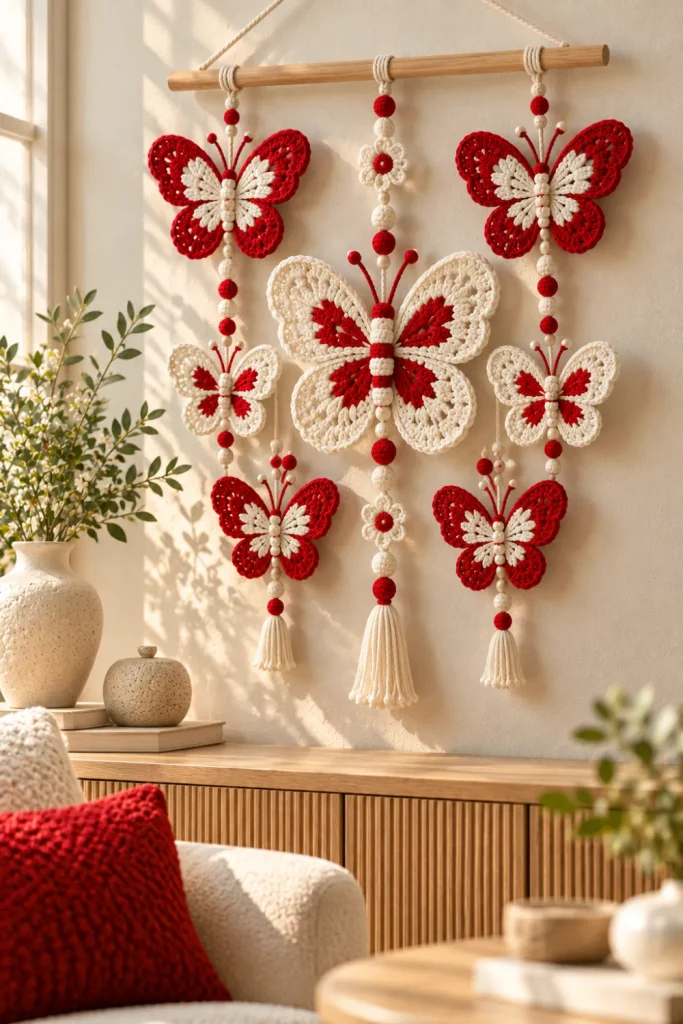
The right placement can make a handmade crochet butterfly hanging feel like a deliberate design feature rather than a last-minute craft project.
Room-by-room ideas:
- Bedroom: Hang a small butterfly arrangement above a dresser or beside a mirror.
- Living room: Use a larger piece against a neutral wall as a handmade accent.
- Craft room: Display colorful butterfly samples above your yarn storage.
- Entryway: Hang a narrow garland near a console table.
- Reading nook: Pair a small wall hanging with warm lighting and textured cushions.
One tip: Measure the wall before assembling your piece. A hanging that is too small can disappear on a large wall, while an oversized design may overwhelm a narrow space.
7. Handmade Crochet Butterfly Decor Ideas for Bedrooms and Craft Rooms
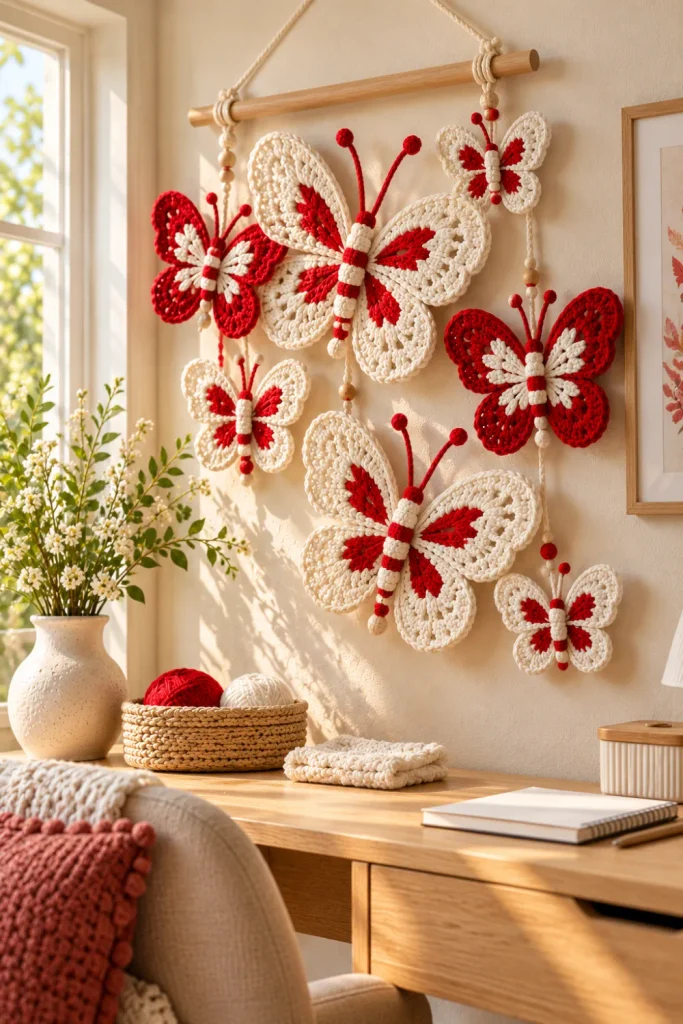
Crochet butterflies can make personal spaces feel softer and more inviting.
Their small size also makes it easy to coordinate several pieces without committing to a complete room makeover.
Easy decorating steps:
- Select two or three sizes of butterfly motifs.
- Use white butterflies as the base and red ones as accents.
- Arrange them in a gentle diagonal, a loose cluster, or a symmetrical pattern.
- Secure them with removable wall-friendly hooks or suitable mounting materials.
- Coordinate the display with a cushion, basket, or other accessory in a matching shade.
For craft rooms: Create a sample board showing different wing patterns, stitch textures, and red-and-white combinations.
One tip: If you want to rearrange the display seasonally, attach butterflies individually instead of sewing every motif permanently onto one backing.
8. Cute Crochet Butterfly Patterns to Make With Leftover Yarn
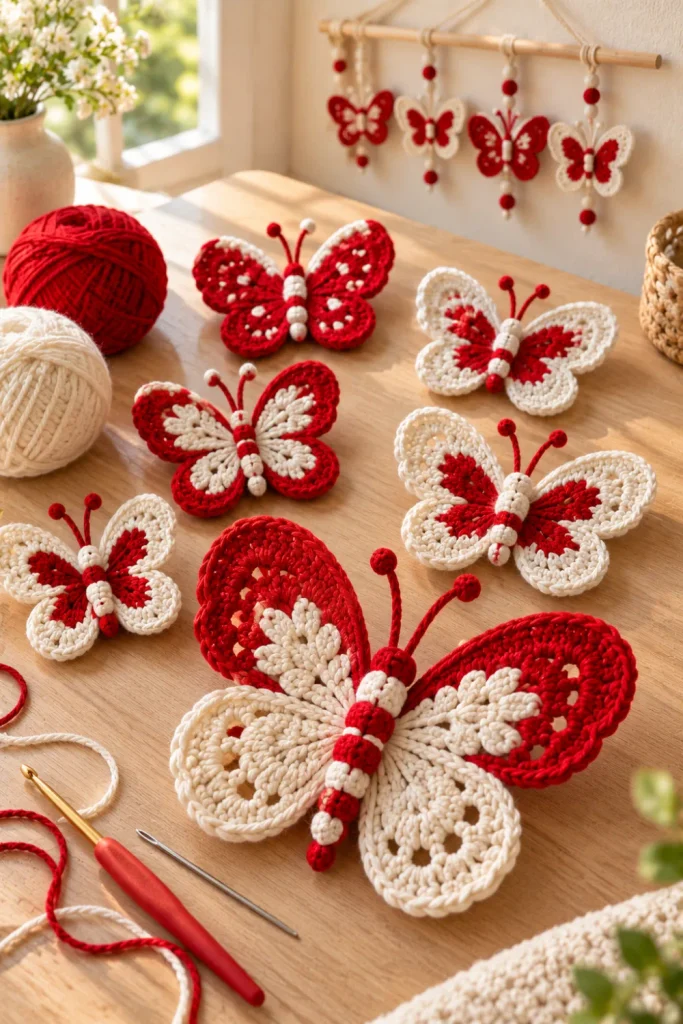
Those small balls of yarn left after bigger projects are perfect for miniature butterflies.
You can experiment with different wing shapes without buying a full new skein.
Three patterns to try:
- Classic four-wing butterfly: Use white upper wings and red lower wings.
- Miniature butterfly: Crochet a compact motif for garlands, bookmarks, or small wall clusters.
- Textured butterfly: Alternate stitch heights to create raised wing details.
How to use your scraps:
- Choose yarn weights that are reasonably similar for consistent sizing.
- Make a test butterfly before starting a matching set.
- Use contrasting yarn for the body and antennae.
- Secure and weave in all loose ends.
One tip: Keep a few extra motifs for future repairs or quick additions. Small butterflies can also decorate gift tags, baskets, and handmade cards.
9. Crochet Butterfly Decorations for Handmade Gifts and Special Occasions
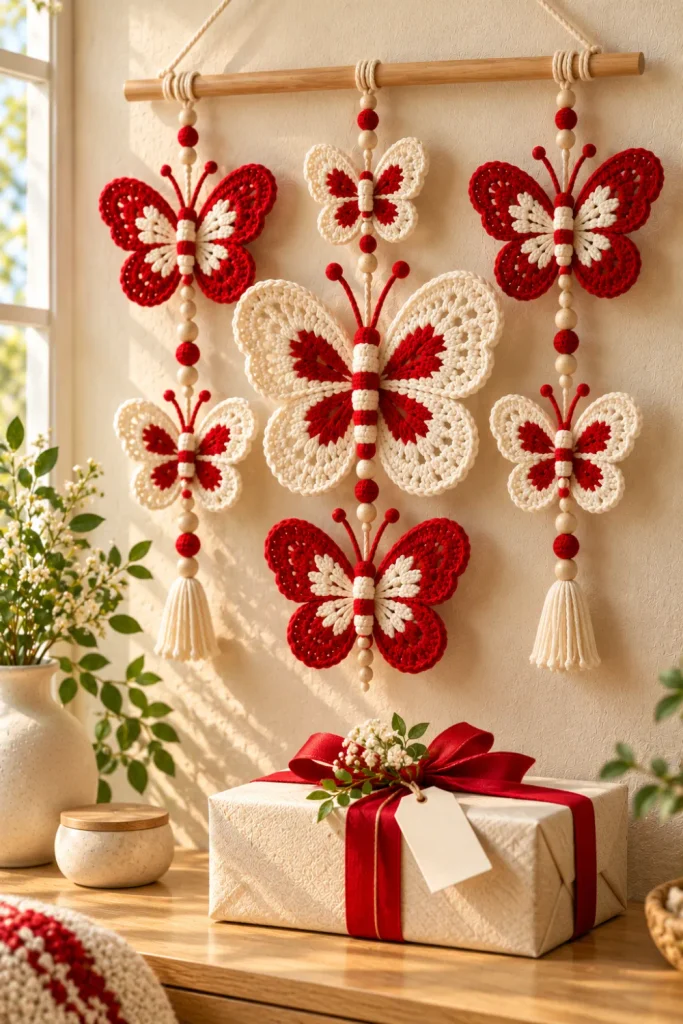
A handmade butterfly wall hanging makes a thoughtful gift because it can be customized to match the recipient’s favorite colors and decorating style.
Occasions to consider:
- Birthdays: Package a red-and-white butterfly hanging with a handwritten card.
- Housewarmings: Choose neutral backing and a wooden dowel for a polished look.
- Bridal showers: Make mostly white butterflies with subtle red accents.
- Valentine’s Day: Arrange small red butterflies around a larger white centerpiece.
- Craft fairs: Offer mini garlands, individual motifs, and larger wall hangings in different sizes.
Simple finishing steps:
- Check the stitches and remove loose yarn ends.
- Shape the wings so the butterflies look neat.
- Add a hanging loop or mounting cord.
- Wrap the piece in tissue paper and include basic care instructions.
One tip: If selling your crochet work, calculate material costs and labor time before setting a price. A beautiful handmade piece deserves a realistic valuation.
10. How to Make a Crochet Butterfly Wall Hanging: Materials, Stitches, and Assembly
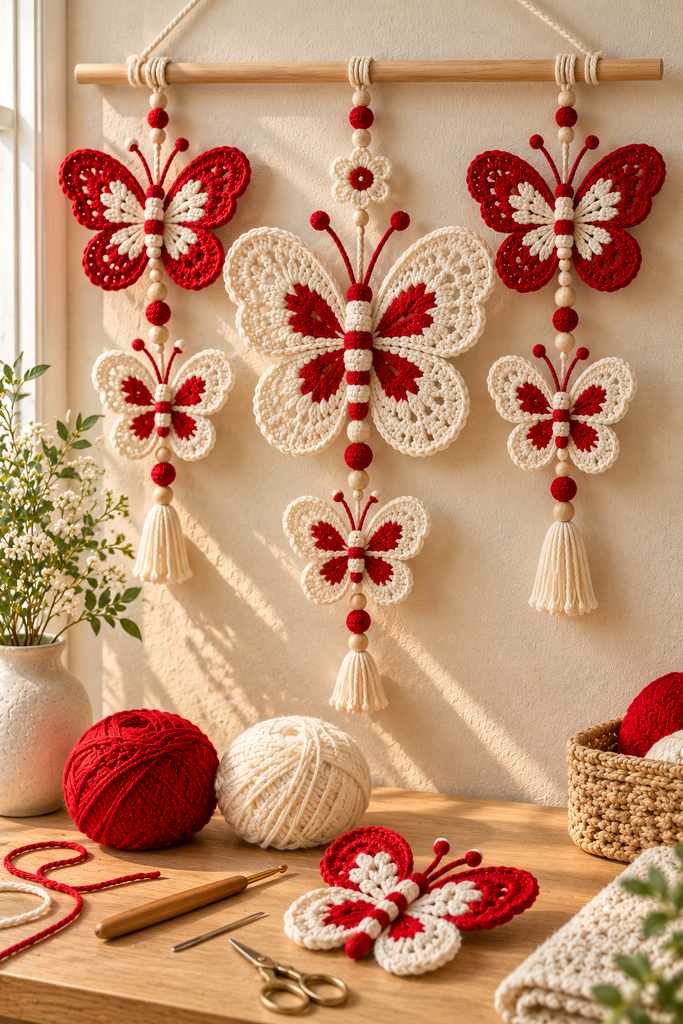
Ready to bring the whole project together?
This basic guide covers the essentials for creating a coordinated red-and-white crochet butterfly wall hanging.
Materials checklist:
- Red and white yarn
- Compatible crochet hook
- Scissors and yarn needle
- Wooden dowel or embroidery hoop
- Measuring tape
- Strong hanging cord
- Optional fabric backing
Basic stitches to learn:
- Chain (ch): Creates the foundation and connecting sections.
- Slip stitch (sl st): Joins rounds and finishes edges.
- Single crochet (sc): Adds compact, sturdy stitches.
- Double crochet (dc): Creates fuller, rounded wing shapes.
- Treble crochet (tr): Adds height and helps shape larger wings.
Step-by-step assembly:
- Crochet a small test motif to check your hook and yarn combination.
- Make several butterflies using a consistent pattern.
- Weave in loose ends and block the motifs if needed.
- Arrange the butterflies on a flat surface before attaching them.
- Sew or tie each butterfly securely to the backing, dowel, or connecting cord.
- Add the hanging loop and check that the finished piece sits evenly.
- Install a suitable wall hook and display your work.
One tip: Test the completed hanging before placing it on the wall. Check the knots, attachment points, and overall balance so the decorations remain secure.
Final Thoughts
Red and white crochet butterfly wall hangings offer a creative way to bring handmade charm into a modern home.
Whether you prefer a beginner-friendly motif, a flowing butterfly garland, or an oversized statement piece, there is room to adapt every design to your style and skill level.
Start with one simple butterfly, experiment with cherry-red and ivory yarn, and build a coordinated display as your confidence grows.
Save your favorite ideas for your next crochet session, and explore different butterfly patterns, wing shapes, and hanging arrangements to create decor that feels uniquely yours.
Before you begin: Choose your wall space, gather your yarn scraps, and decide whether you want a single statement hanging or a collection of smaller butterflies.
A little planning makes the finished project easier to assemble and more satisfying to display.