Let’s be real: store-bought cards are fine, but they don’t exactly scream “you’re the best mom ever”.
If you want to actually wow her this year, it’s all about the hand-drawn touch.
Whether you’re a pro with a brush pen or just someone who can doodle a decent heart, these lettering & calligraphy design ideas will help you create something she’ll actually want to frame.
No generic greetings here, just pure, creative love.
1. The Watercolor Bloom Border
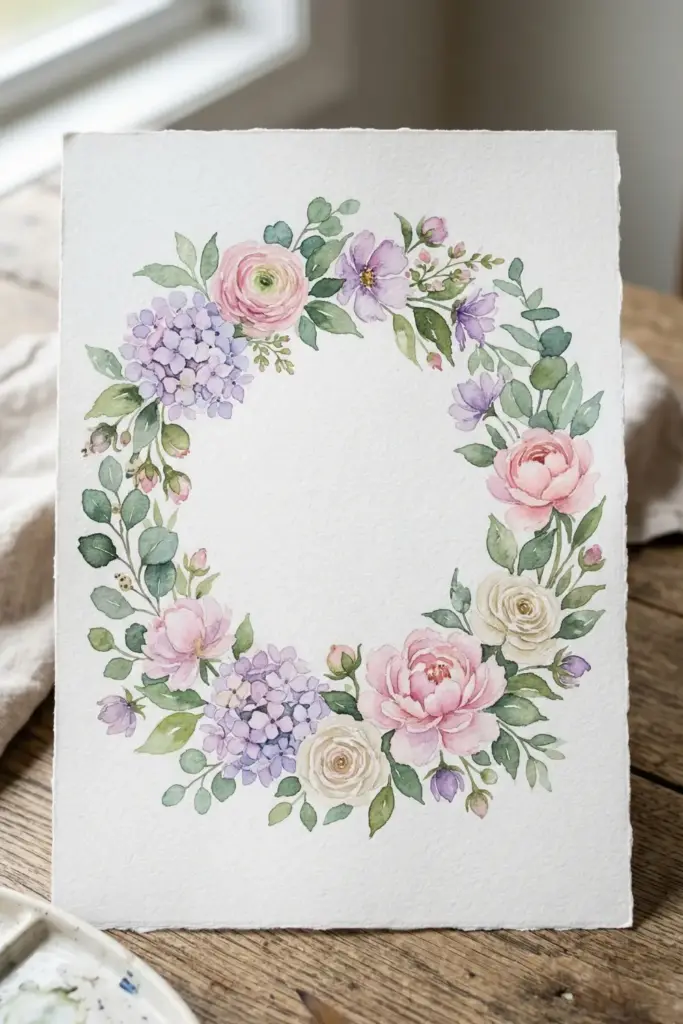
Floral wreaths are a classic for a reason.
They frame your words and add a soft, organic feel that feels instantly high-end.
Steps:
- Lightly sketch a circle in pencil.
- Paint loose watercolor petals around the edge.
- Letter “Happy Mother’s Day” in the center using a bouncy script.
- Add tiny green leaves to fill the gaps.
Tip: Use cold-press watercolor paper; the texture makes the ink look more authentic and professional.
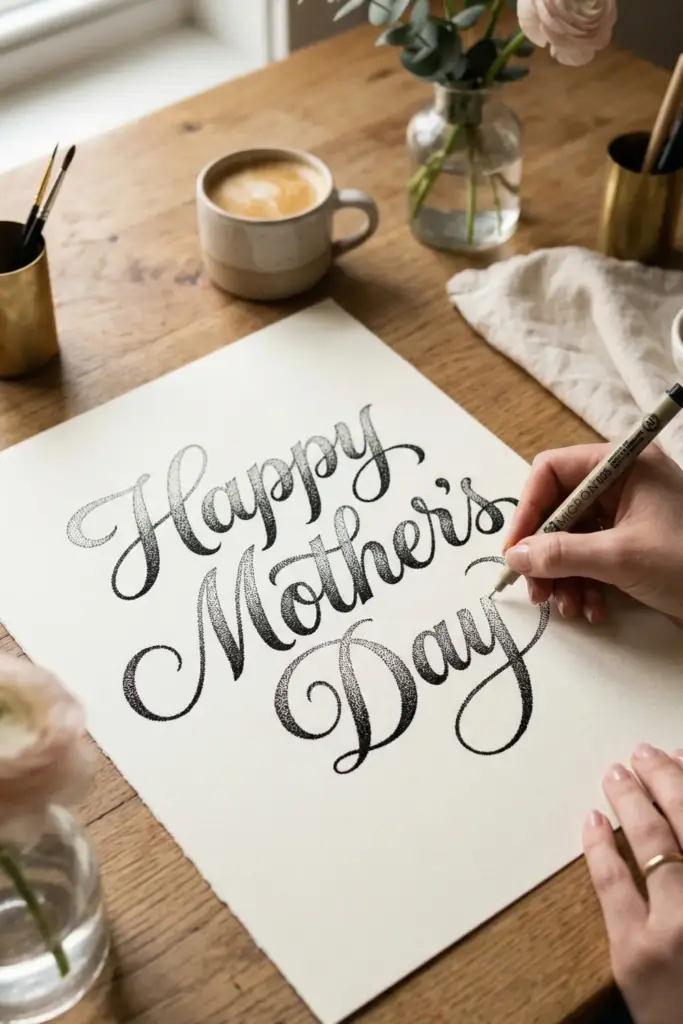
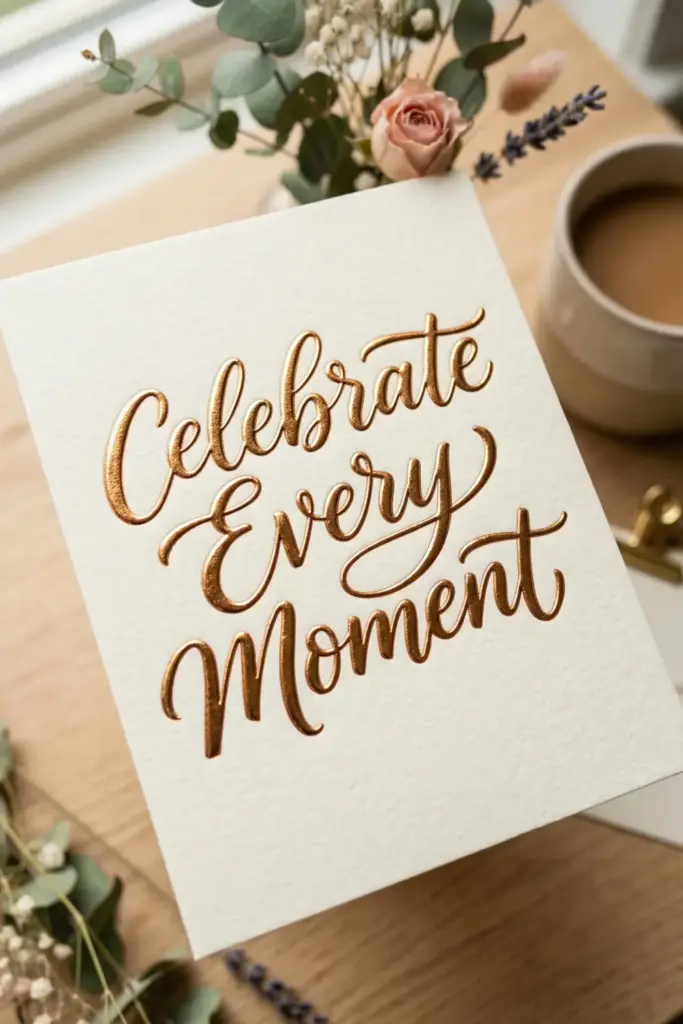
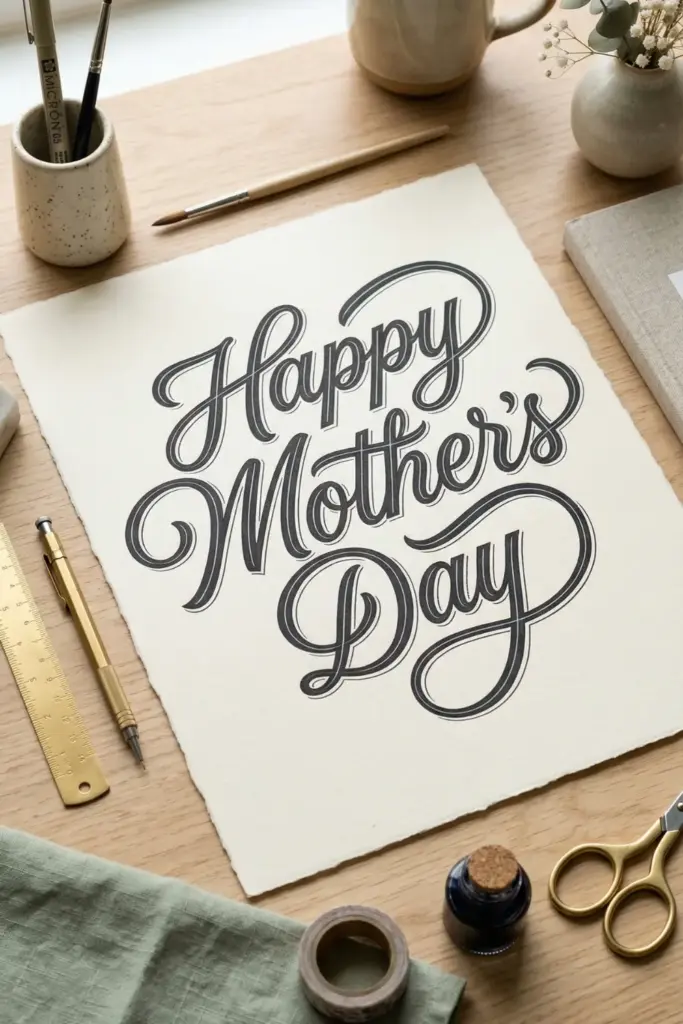
2. Modern Faux-Calligraphy Quote
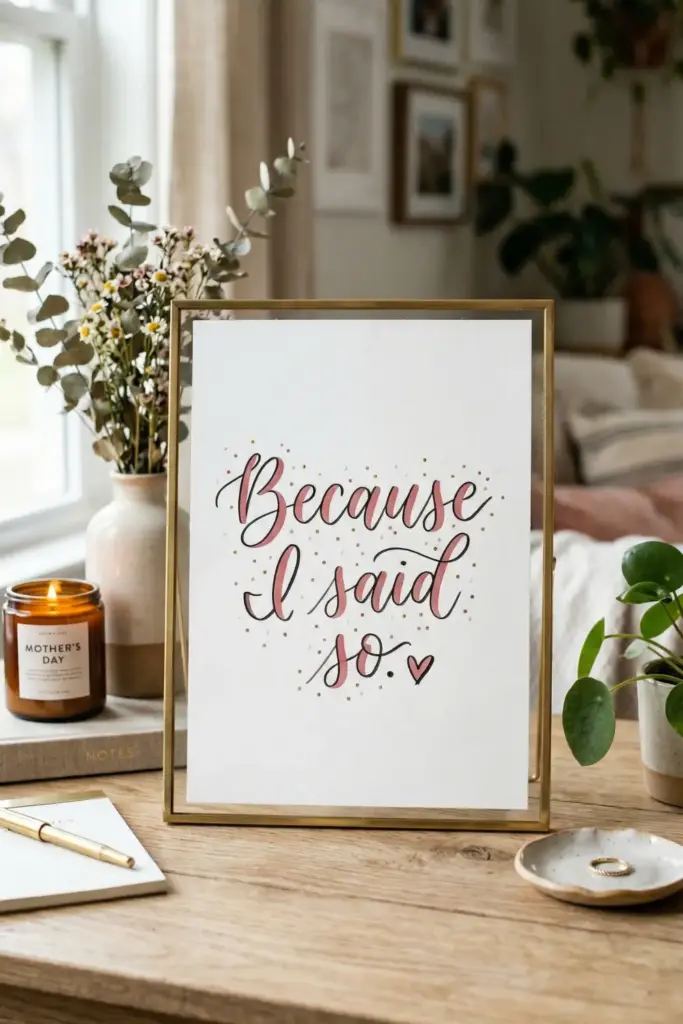
You don’t need fancy nibs for this.
A simple gel pen can create stunning lettering & calligraphy design ideas for decor for a desk-side frame.
Steps:
- Write a favorite “Mom-ism” in your best cursive.
- Go back and thicken every downward stroke.
- Color in the thickened areas.
- Add a few tiny dots around the letters for a “confetti” effect.
Tip: Keep your “up-strokes” thin to make the “down-strokes” really pop.
3. Chalkboard Kitchen Sign
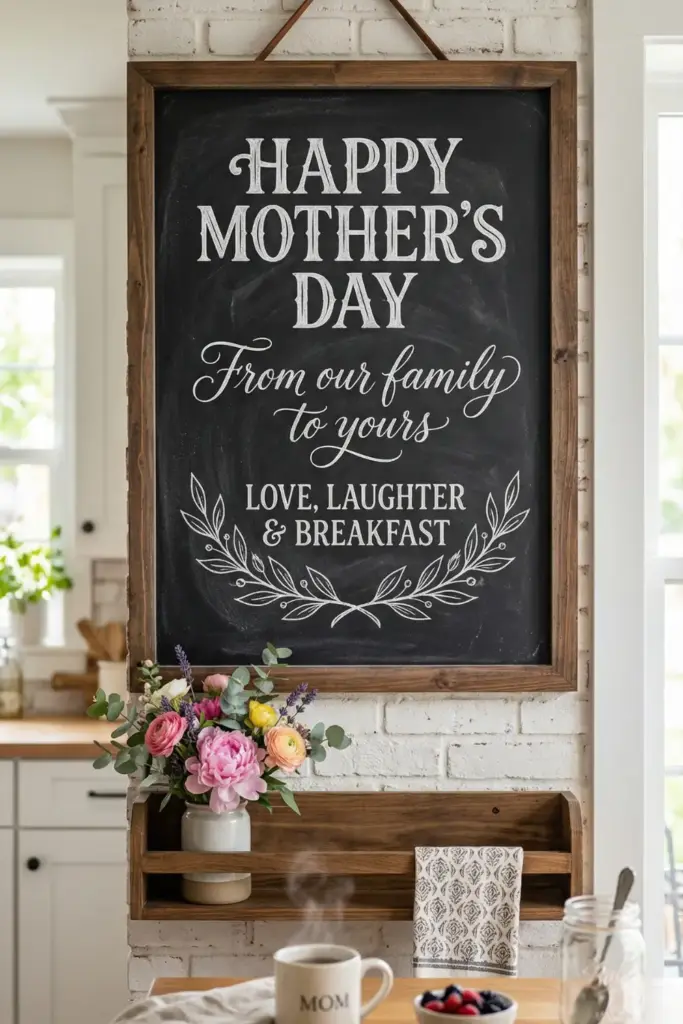
Want to surprise her at breakfast?
A chalkboard sign is temporary but makes a huge visual impact.
Steps:
- Season your chalkboard with a layer of chalk first.
- Use a chalk marker for crisp lines.
- Mix a bold serif font with a flowing script.
- Draw a simple laurel branch underneath.
Tip: If you mess up, a damp Q-tip is your best friend for precision erasing.
4. Gold Leaf Minimalist Card
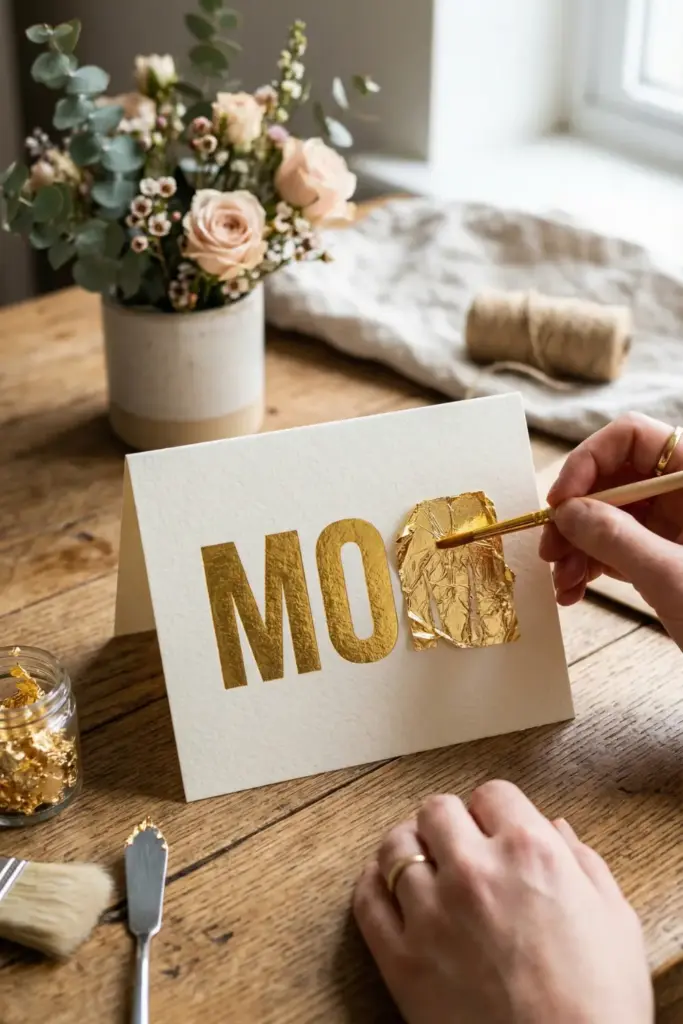
Nothing says “luxury” like a bit of metallic shine. This style is perfect for moms who love a clean, modern aesthetic.
Steps:
- Write “MOM” in large, blocky letters.
- Apply a thin layer of gilding glue to the letters.
- Carefully press gold leaf sheets onto the glue.
- Brush away the excess once dry.
Tip: Work in a room without a fan-gold leaf is so light it will fly away with the slightest breeze.
5. The “Infinity” Heart Design
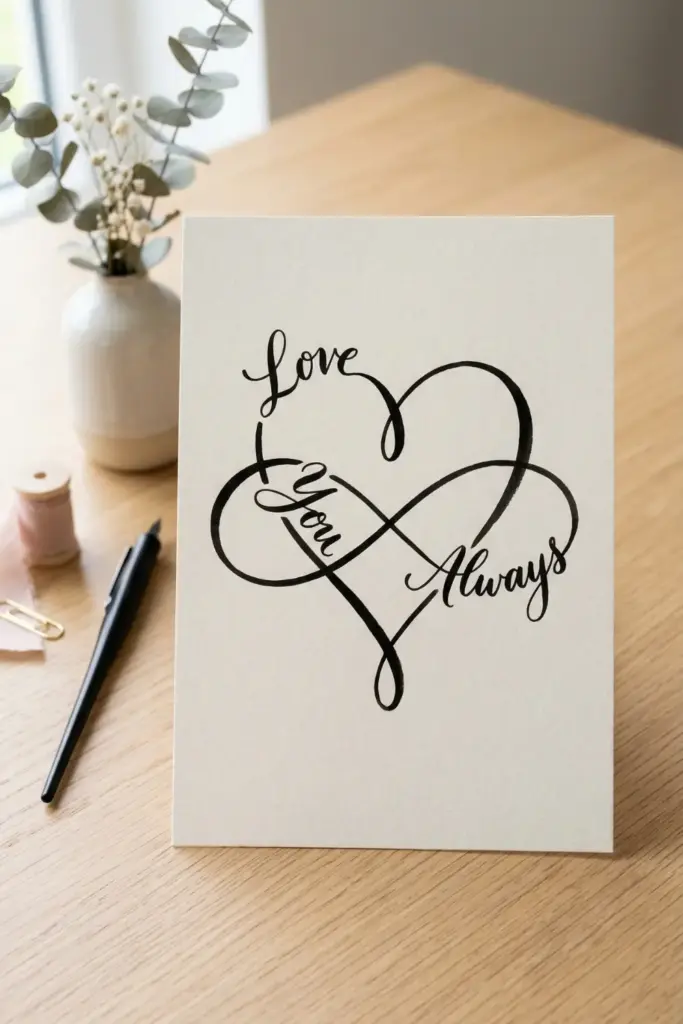
This one is a bit of a puzzle but looks incredible once finished.
It uses a single line to create a shape.
Steps:
- Draw a heart lightly in pencil.
- Write a string of words (like “Love You Always”) along the heart’s path.
- Connect the last letter of the last word back to the first.
- Erase the pencil guide.
Tip: Practice the word spacing on scrap paper first so you don’t run out of room at the “point” of the heart.
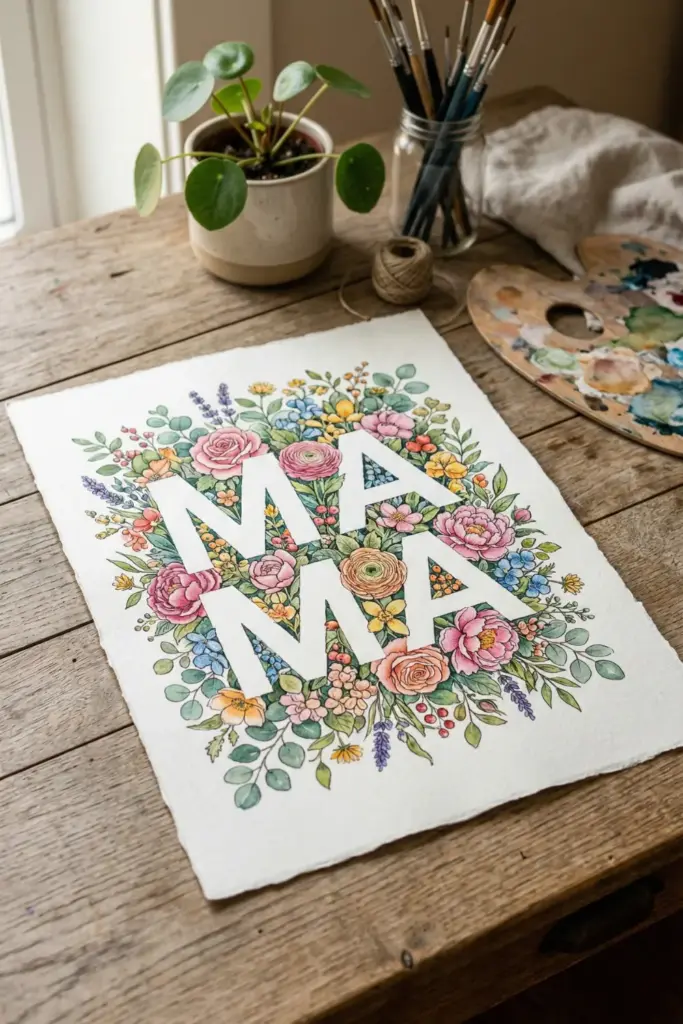
6. Botanical Monogram Letter
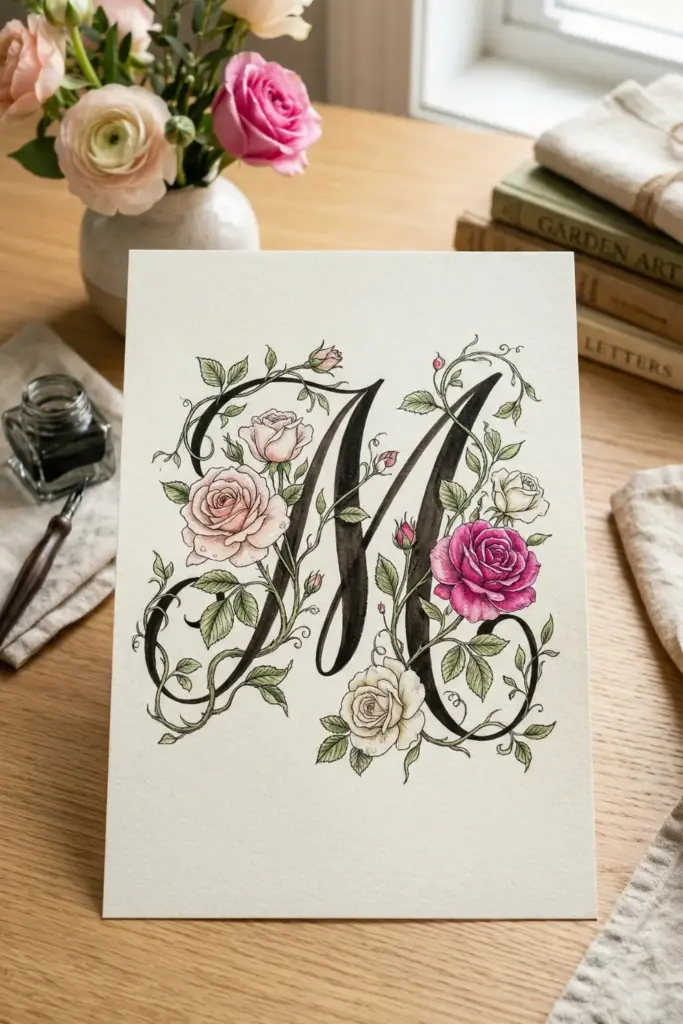
A personalized initial is a great piece of lettering & calligraphy design ideas decor that she can keep up year-round.
Steps:
- Trace a large version of her first initial.
- Intertwine hand-drawn vines or roses through the letter.
- Use a fine-liner for the details and a brush pen for the letter.
- Add a splash of color to the flowers.
Tip: Vary the thickness of the vines to give the design more depth and realism.
7. Retro 70s Groovy Script
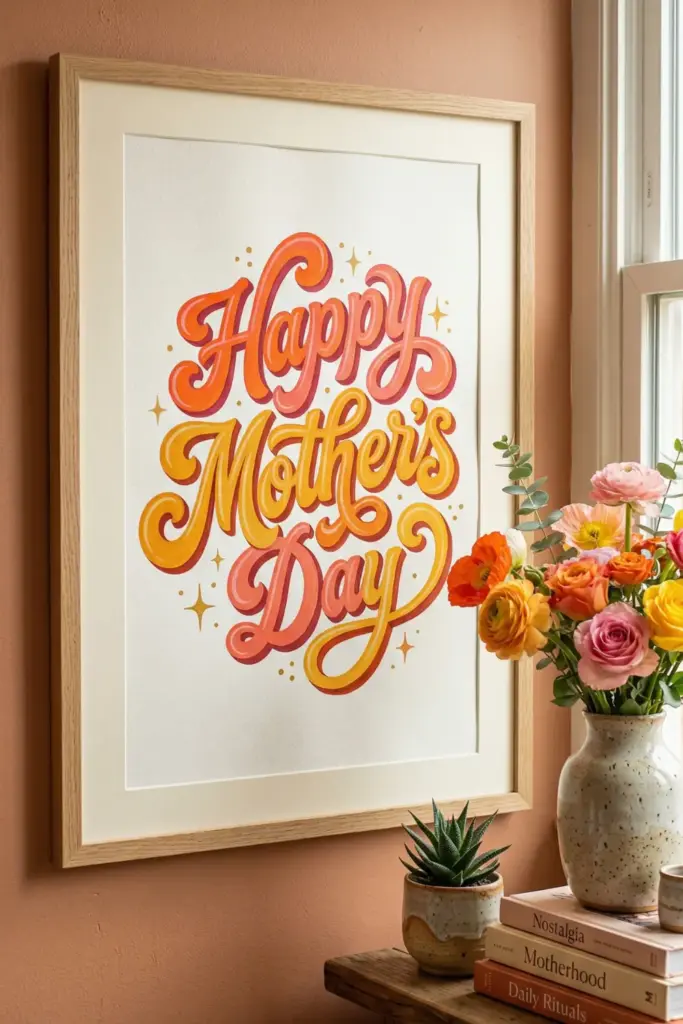
Retro is back in a big way.
This style is fun, vibrant, and full of personality.
Steps:
- Draw thick, bubbly letters with “tails.”
- Use a warm color palette (oranges, pinks, yellows).
- Add a “drop shadow” in a darker shade.
- Finish with some 4-pointed “sparkle” stars.
Tip: Use a light box or a window to trace your sketch onto your final paper for a cleaner look.
8. Shadow Box Lettering
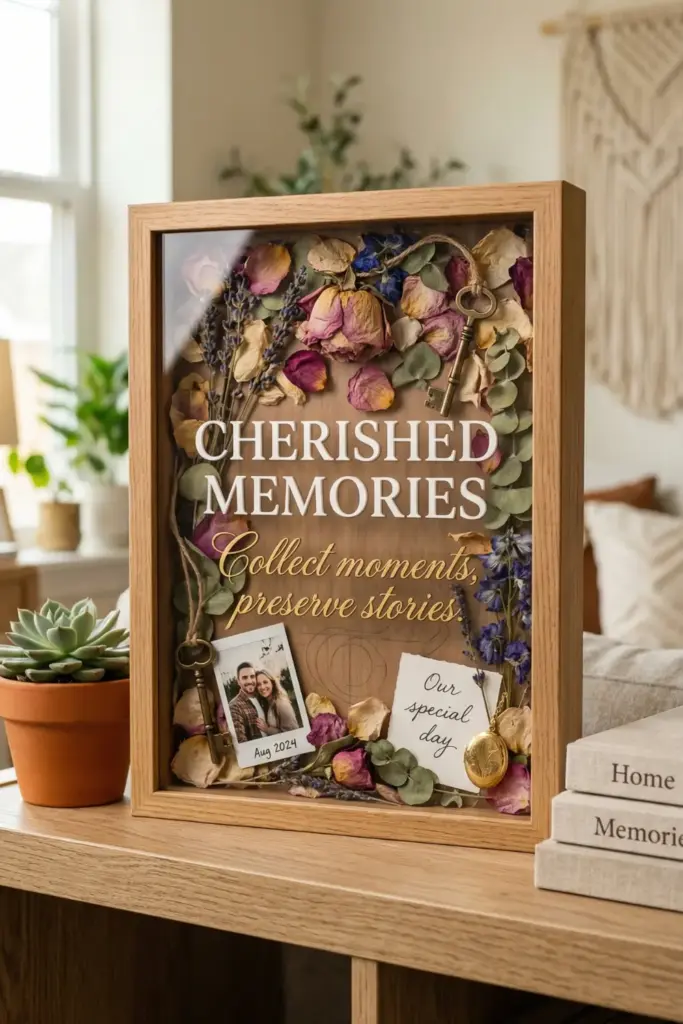
Create a 3D effect by lettering directly onto the glass of a shadow box filled with dried petals.
Steps:
- Clean the glass thoroughly with rubbing alcohol.
- Use an oil-based paint marker.
- Center your message and use a mix of “all caps” and script.
- Fill the box behind the glass with mementos.
Tip: Write your message on a piece of paper and tape it behind the glass to use as a tracing guide.
9. Ombre Brush Lettering
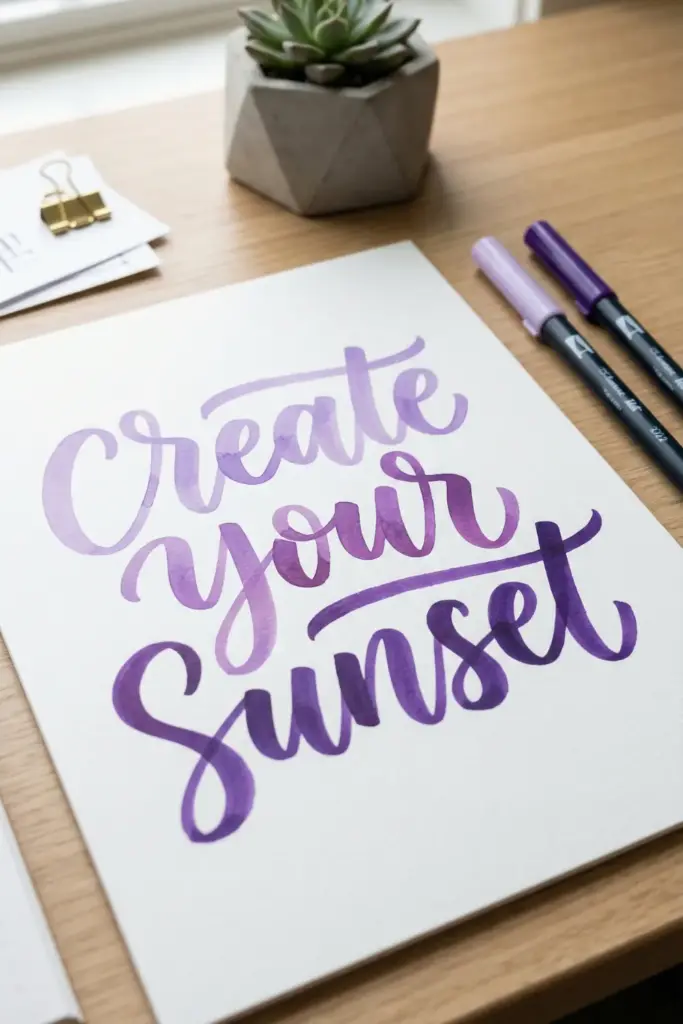
Blending colors creates a sunset-like effect that is mesmerizing to look at.
Steps:
- Pick two markers in the same color family (like light and dark purple).
- Touch the tips of the markers together to transfer ink.
- Start lettering; the color will naturally fade from dark to light.
- Smooth out transitions with a blending pen.
Tip: Use high-quality markers; cheap ones might bleed or damage the tips when touched together.
10. Simple Kraft Paper Tags
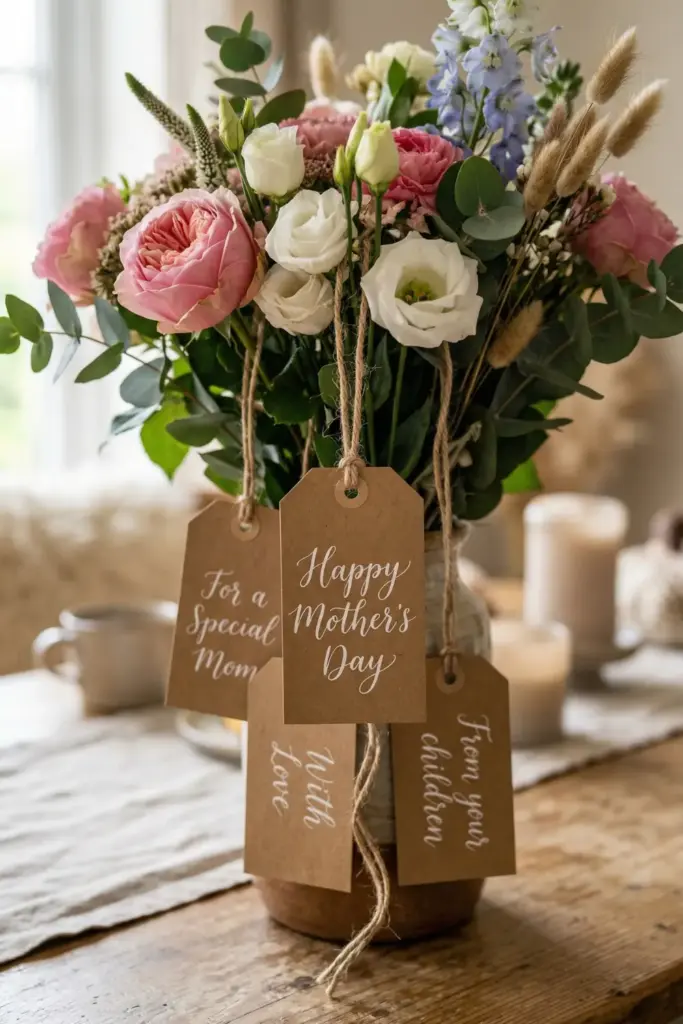
Sometimes, less is more. These are perfect for tying onto a bouquet of flowers.
Steps:
- Cut small rectangles out of brown kraft paper.
- Use white ink for a “blackboard” look.
- Add a single, delicate line of calligraphy.
- Punch a hole and add some twine.
Tip: White ink can be finicky; a high-quality white gel pen or gouache usually works best.
11. Stippled Texture Design
This takes patience, but the “dot” effect creates a cool, vintage-print vibe.
Steps:
- Outline your letters in a light color.
- Use a fine-point black pen to fill the letters with tiny dots.
- Make the dots denser in the areas where you want shadows.
- Keep the tops of the letters “lighter” with fewer dots.
Tip: Don’t rush! If the dots turn into dashes, the effect is lost.
12. Negative Space Florals
Instead of drawing the letters, you draw everything around them.
Steps:
- Place letter stickers on your paper to spell a word.
- Draw dense flowers and leaves all around the stickers.
- Make sure the edges of the stickers are completely covered in ink/paint.
- Peel the stickers off to reveal the white paper underneath.
Tip: Use low-tack stickers so you don’t rip the paper when you peel them off.
13. Layered Vellum Overlays

This adds a sophisticated, “boutique” feel to a Mother’s Day card.
Steps:
- Letter your main message on a piece of vellum (translucent paper).
- Place a colorful illustration on the cardstock underneath.
- Secure the vellum with a brass brad or a ribbon.
- The colors will show through softly.
Tip: Vellum takes a long time to dry; give the ink at least 20 minutes before touching it.
14. Embossed Heat Lettering
This is basically magic.
You write with a special pen, add powder, and melt it into a raised, shiny surface.
Steps:
- Write your message with an embossing ink pen.
- Sprinkle embossing powder over the wet ink.
- Shake off the excess powder.
- Use a heat tool to melt the powder until it turns shiny.
Tip: Hold the heat tool about 3 inches away and keep it moving to avoid scorching the paper.
15. The “Envelope Art” Surprise
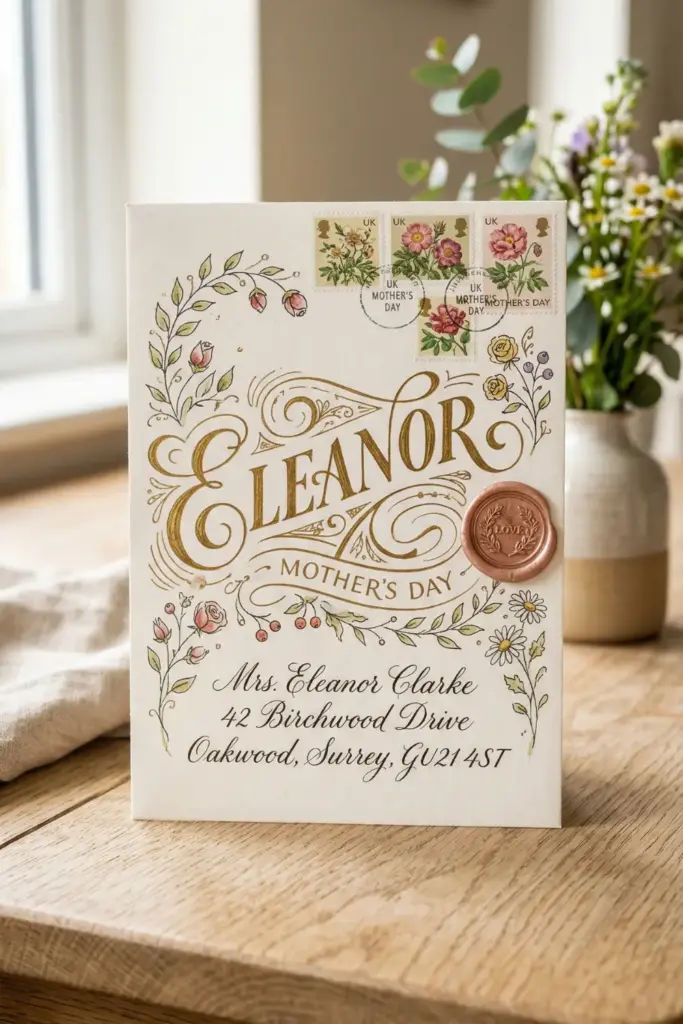
Why wait for her to open the card?
Start the lettering & calligraphy design ideas right on the envelope.
Steps:
- Letter her name in large, ornate script across the front.
- Incorporate the stamps into the design.
- Add small botanical doodles around the address.
- Seal it with a wax stamp if you’re feeling extra.
Tip: Check with your post office if the design is too wild; they need to be able to read the address!
16. Ribbon Lettering Style

This makes your letters look like they are folded pieces of silk ribbon.
Steps:
- Sketch out a script word.
- Add “folds” where the letters curve.
- Use a darker shade of the same color to shade the underside of the folds.
- Add a white highlight on the “top” of the ribbon.
Tip: Imagine a light source coming from one corner to keep your highlights and shadows consistent.
17. Hand-Lettered Recipe Keepsake
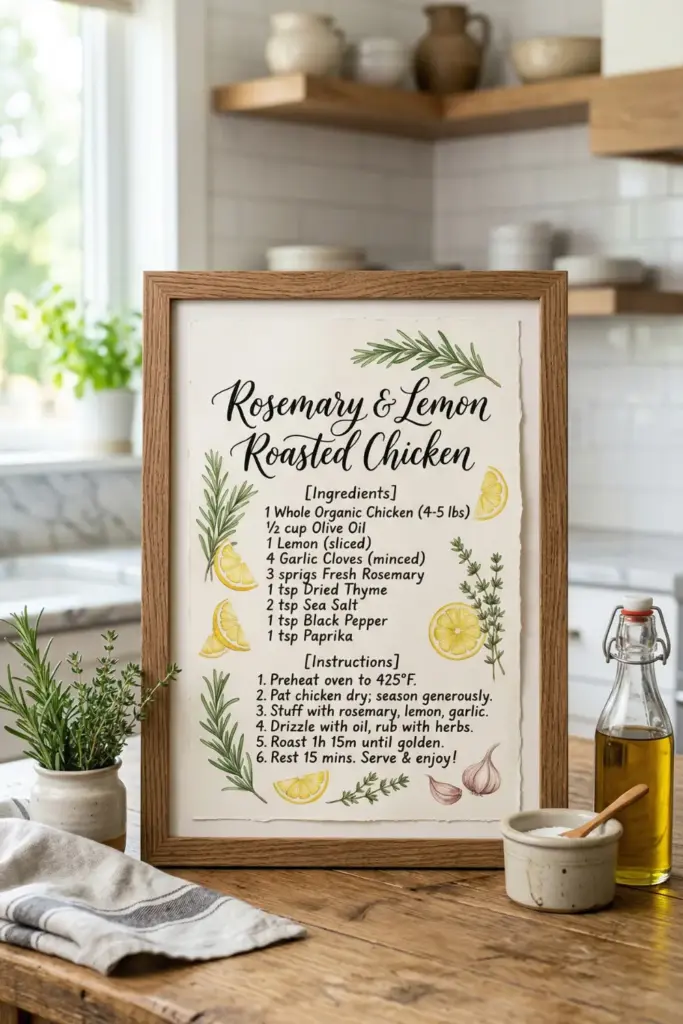
Take one of her signature recipes and turn it into art.
Steps:
- Write the title of the dish in large calligraphy.
- Use a clean, legible print for the ingredients.
- Add small illustrations of the ingredients (like a sprig of rosemary).
- Frame it for the kitchen.
Tip: Use archival ink so the steam and light in the kitchen don’t fade the writing over time.
18. Coffee-Stained Vintage Scroll
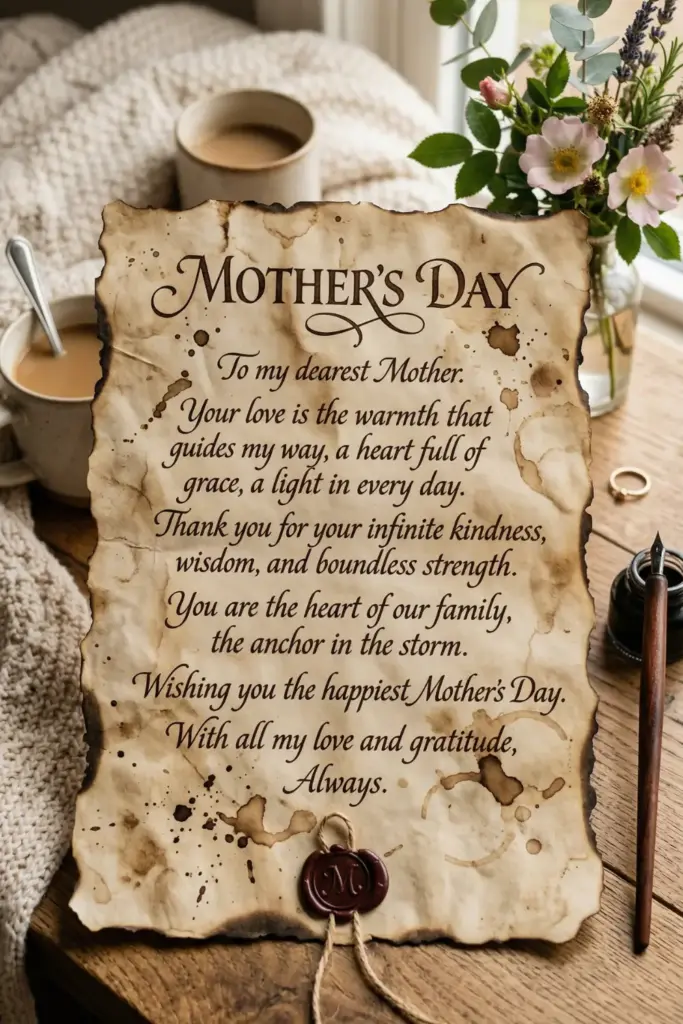
For the mom who loves antiques and a good cup of joe.
Steps:
- Dip a tea bag or coffee-soaked cloth onto your paper.
- Let it dry completely (it will crinkle, which is good!).
- Use a dip pen and black India ink for a Victorian look.
- Burn the edges slightly for an “old map” feel.
Tip: Be careful with the fire! Do it over a sink and have water nearby.
19. Geometric Frame Design
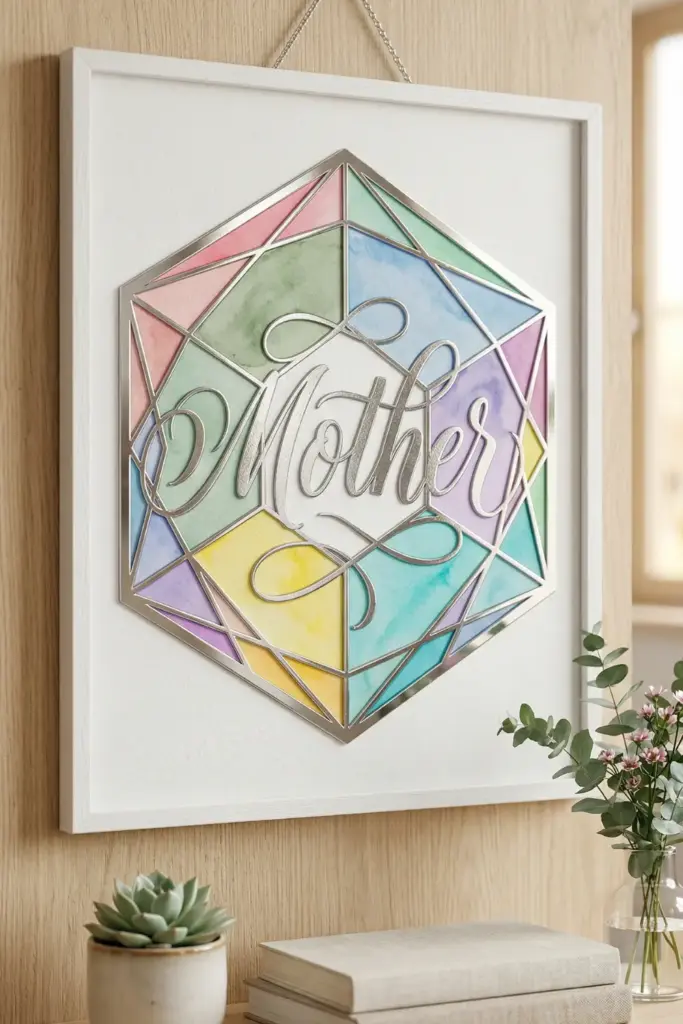
A sharp, angular frame provides a great contrast to soft, loopy calligraphy.
Steps:
- Draw a hexagon or diamond shape with a ruler.
- Letter the word “Mother” so it breaks the lines of the shape.
- Color the sections inside the shape differently.
- Keep the background minimal.
Tip: Use a metallic silver pen for the geometric lines to give it a jewelry-like finish.
20. The “Lined” Script
This is a simple way to add complexity to basic lettering without needing a lot of skill.
Steps:
- Write a word in a thick, monoline script.
- Draw a second, thinner line inside the first one.
- Add horizontal “hatch” marks between the two lines.
- It creates an architectural, technical look.
Tip: Use a ruler for the hatch marks if you want a very “clean” industrial vibe.
Final Thoughts
Whatever design you choose, remember that the “perfect” look isn’t the goal; the effort is.
These lettering & calligraphy design decor tips are meant to be a jumping-off point.
You are welcome to mix and match styles!
Maybe do an ombre effect inside a geometric frame or use gold leaf on a coffee-stained scroll.
The more you personalize it to her taste, the more she’ll cherish it.
Happy creating!
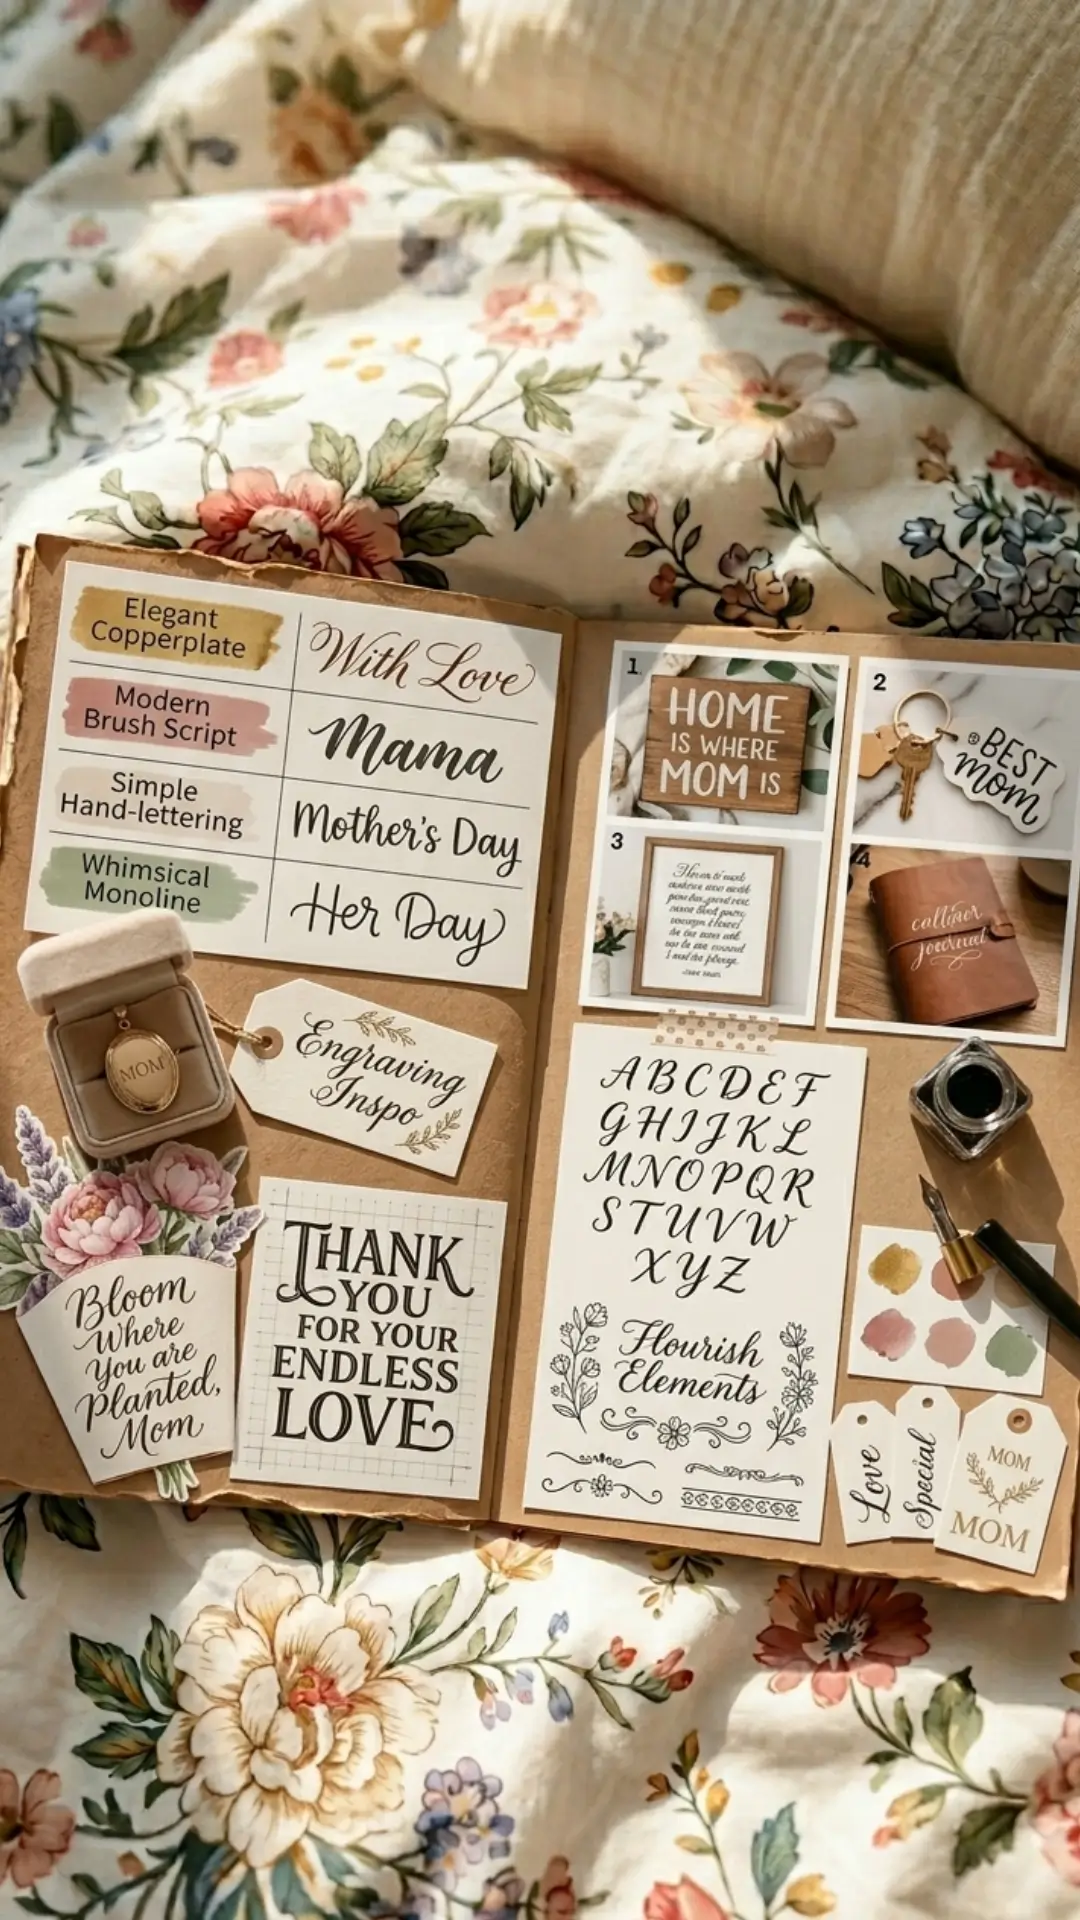
Mother’s Day Lettering & Calligraphy Design Ideas – Elegant Handwritten Typography for Greeting Cards
Discover beautiful Mother’s Day lettering and calligraphy design ideas perfect for DIY cards, gifts, and wall art. From modern brush scripts to classic copperplate styles, these inspirational hand-drawn typography examples will help you create a heartfelt keepsake. Save this pin for creative Mother’s Day projects. #MothersDayLettering #CalligraphyDesignIdeas #HandwrittenTypography
Pin it on Pinterest