Forget generic greeting cards this year.
Moms want something real, and you want to give her something special. Why not paint her some pottery?
I remember handing my mom a lopsided mug back in 2015, and she still uses it daily.
Here are 13 easy mother’s day pottery painting ideas that require zero artistic talent but deliver maximum emotional impact.
1. The Classic Polka Dot Mug
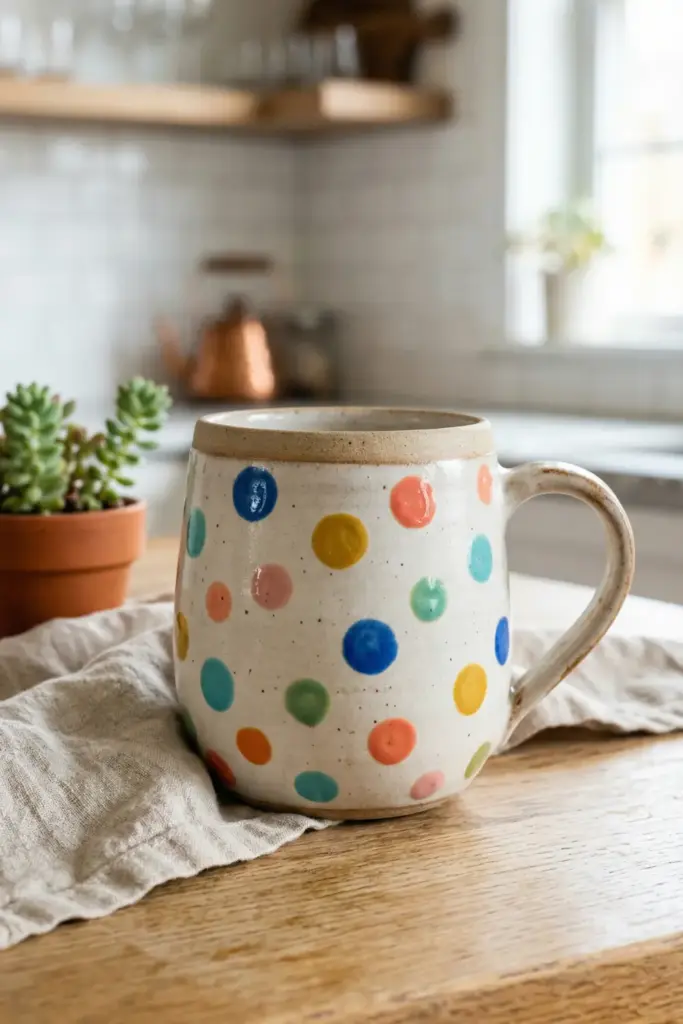
I always recommend dots for beginners because you literally cannot mess them up.
You just dip a pencil eraser into the paint and stamp it onto the ceramic surface.
Does your mom love her morning coffee? She will cherish a colorful, dotted mug.
- Use contrasting colors for maximum visual pop.
- Space the dots unevenly to create a playful pattern.
- Leave the rim blank so the paint avoids her lips.
2. Thumbprint Heart Plate
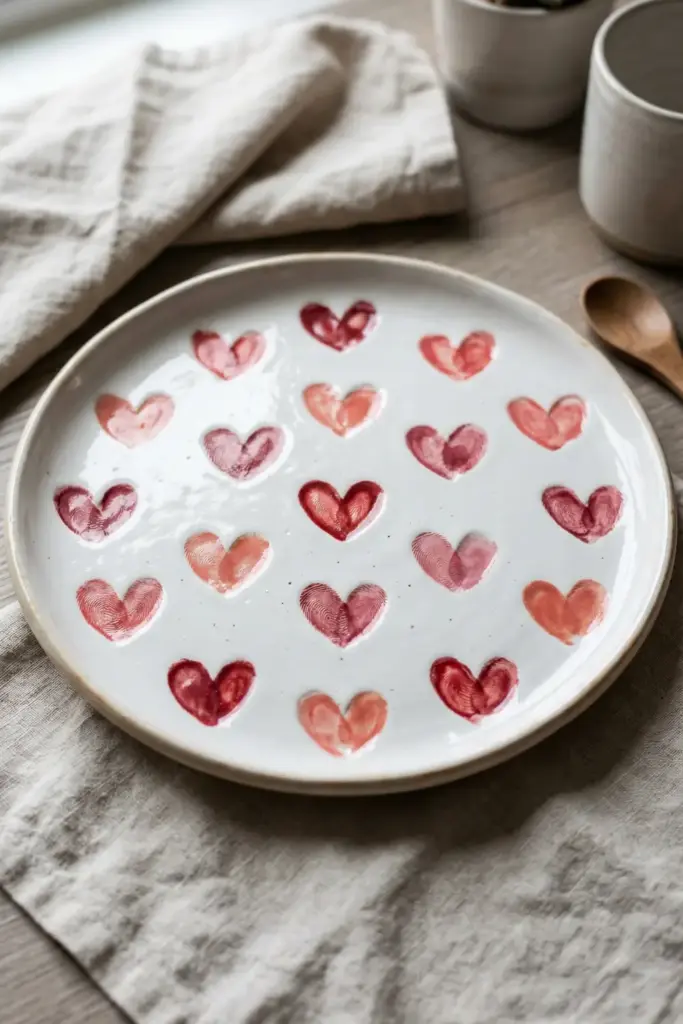
Nothing screams “I love you” quite like leaving your actual fingerprints on a plate.
I did this last year, and it looks incredibly sweet.
You press two thumbprints together in a “V” shape to form a tiny heart.
- Pick a vibrant red or pink for the thumbprints.
- Write a short message around the edge using a fine-tip brush.
- Keep the background white to let the hearts stand out.
3. Floral Fingerprint Bowl
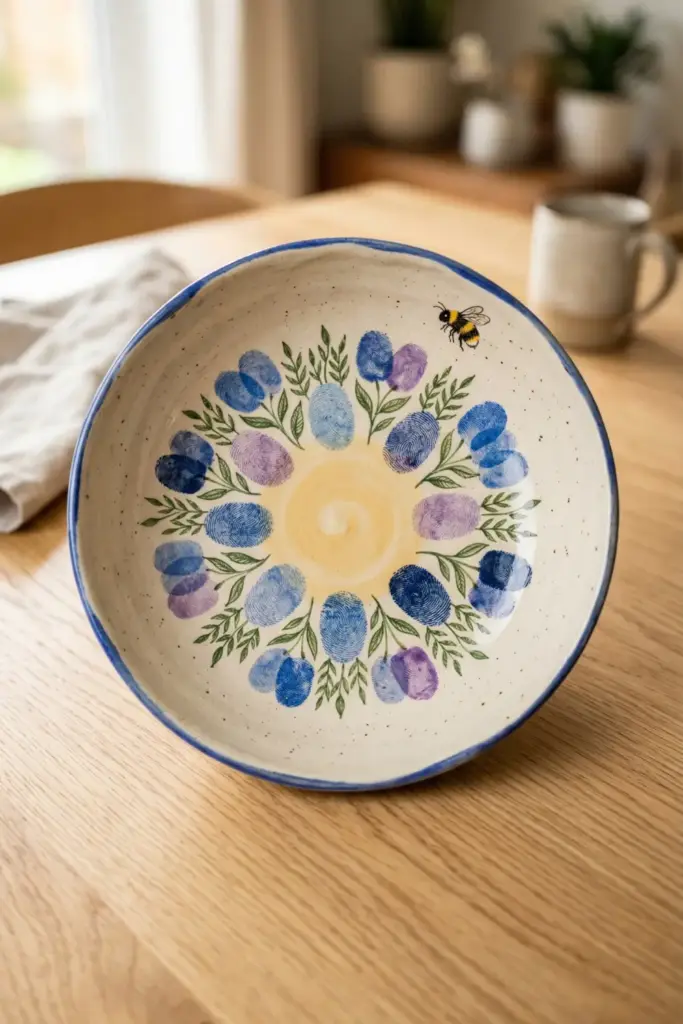
Want to give her a garden that never dies? Fingerprint flowers solve that problem instantly.
You press your index finger around a central yellow dot to create perfect petals.
IMO, this makes the best cereal bowl ever.
- Mix different shades of blue and purple for realistic petals.
- Add tiny green leaves with a small brush.
- Stamp a bumblebee near the rim for extra charm.
4. Abstract Tape Resist Vase
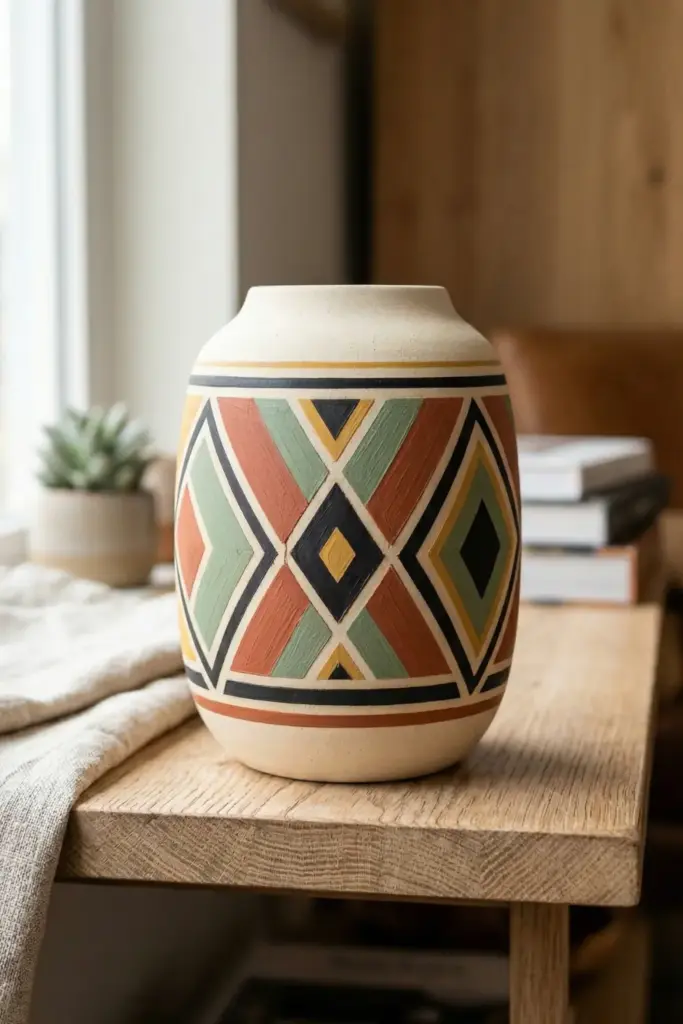
We all lack steady hands sometimes. Masking tape saves the day here.
You place strips of tape randomly over a plain vase, paint over the entire thing, and then peel the tape away.
You get crisp, modern lines every single time.
- Crisscross the tape to form cool geometric triangles.
- Paint thick layers over the exposed ceramic.
- Remove the tape while wet to prevent ugly peeling.
5. Splatter Paint Platter
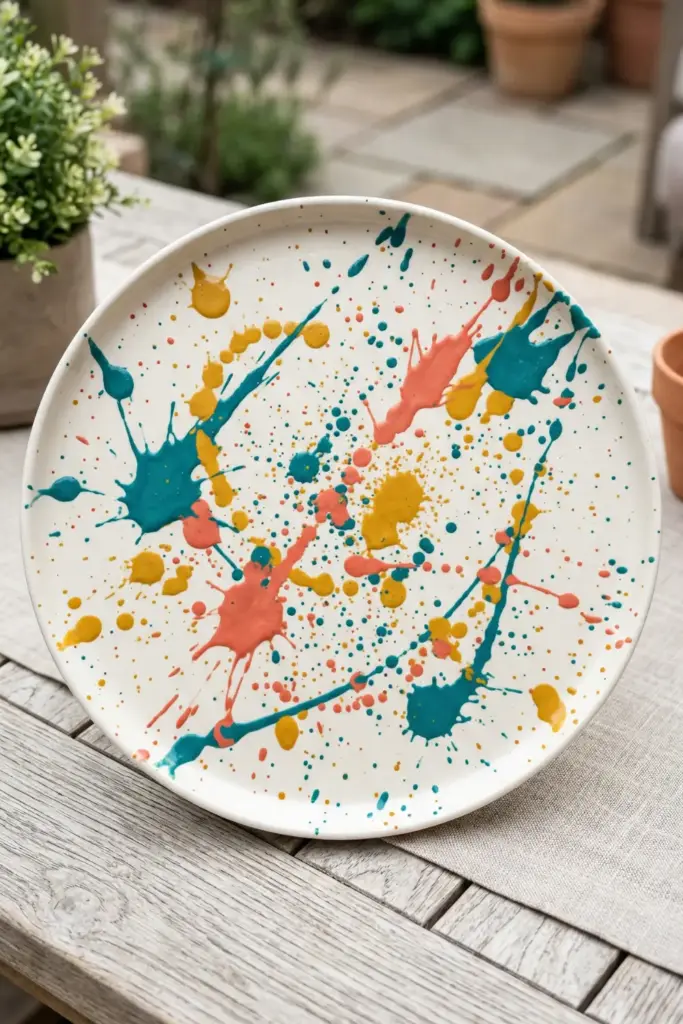
Channel your inner Jackson Pollock and relieve some stress simultaneously.
You literally flick a paint-loaded brush at a large serving platter.
My kitchen wall caught some stray paint once, so you should definitely do this outside!
- Choose three complementary colors so it looks intentional, not messy.
- Flick the brush hard for large, dramatic splatters.
- Tap a smaller brush for fine, mist-like speckles.
6. Ombre Plant Pot
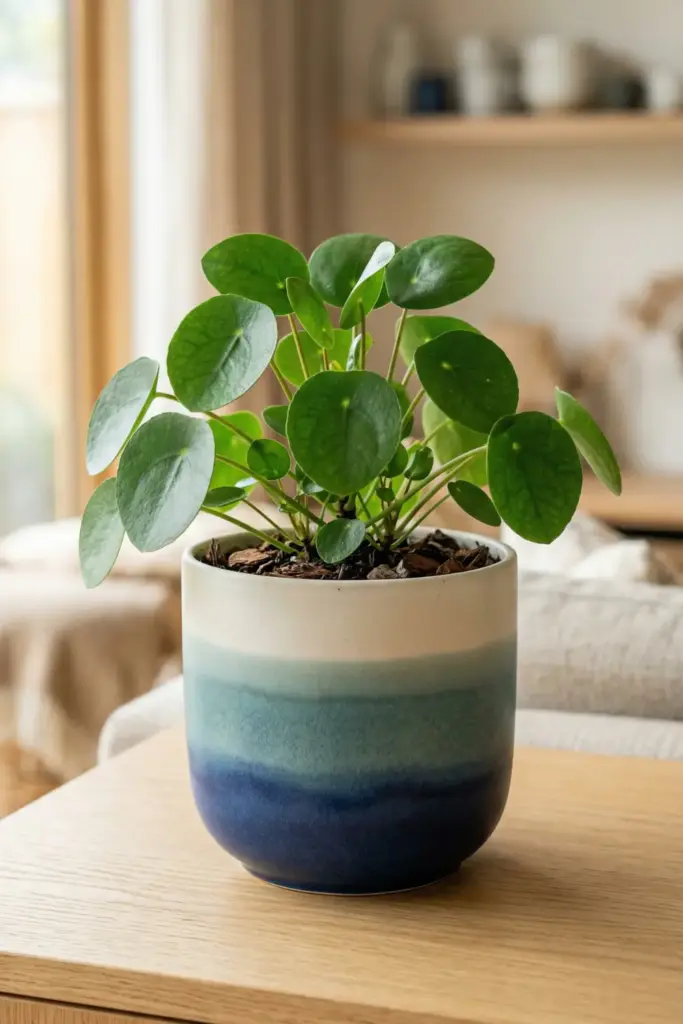
Does your mom hoard houseplants like they hold the secret to eternal youth?
Paint her a trendy ombre pot. You blend one dark color into a lighter shade using a damp sponge.
It looks highly professional with minimal effort.
- Start with the darkest shade at the bottom.
- Sponge the middle section with a 50/50 mix.
- Apply pure white at the very top for a clean finish.
7. Hand-Lettered Jewelry Dish
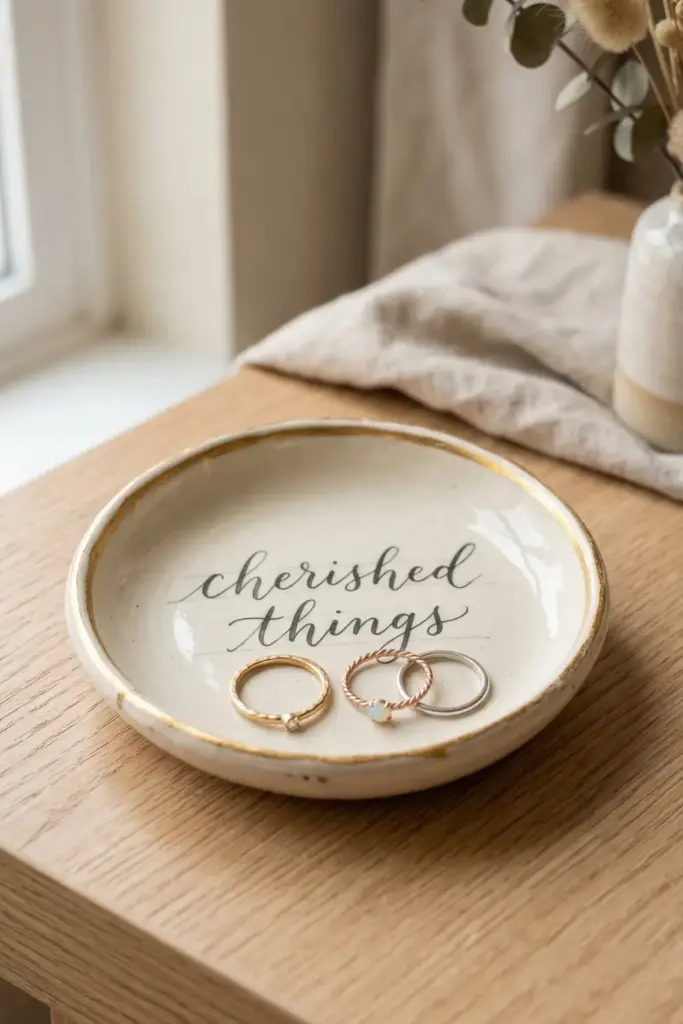
Moms always need a spot for their rings.
You can customize a tiny dish with her favorite quote or a simple “Mom.”
I suggest practicing your cursive on paper first unless you want her to squint at your handwriting.
- Use a detailing pen or a very thin liner brush.
- Sketch the letters lightly with a pencil beforehand.
- Paint a simple gold border around the dish edge.
8. Lace Patterned Teacup
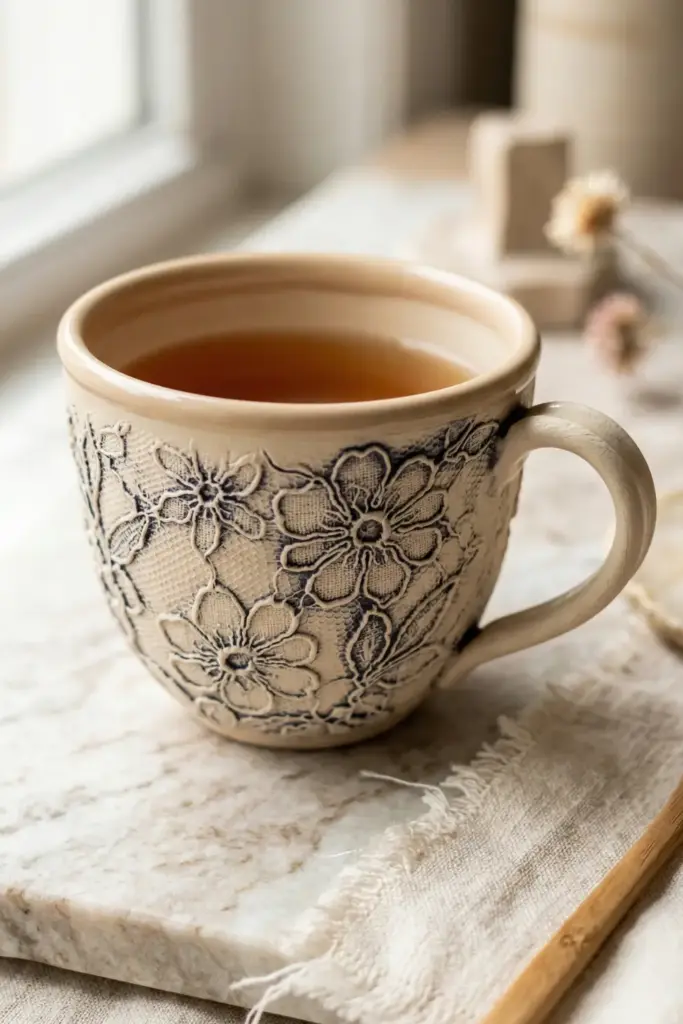
You do not need to paint intricate patterns by hand.
Just raid your sewing kit for a scrap of lace.
You drape the lace over the teacup, sponge paint over the top, and lift it to reveal a stunning texture.
- Tape the lace tightly so it stays put while you paint.
- Dab the sponge gently instead of swiping.
- Use a dark glaze over a light clay body.
9. Stenciled Mandala Trivet
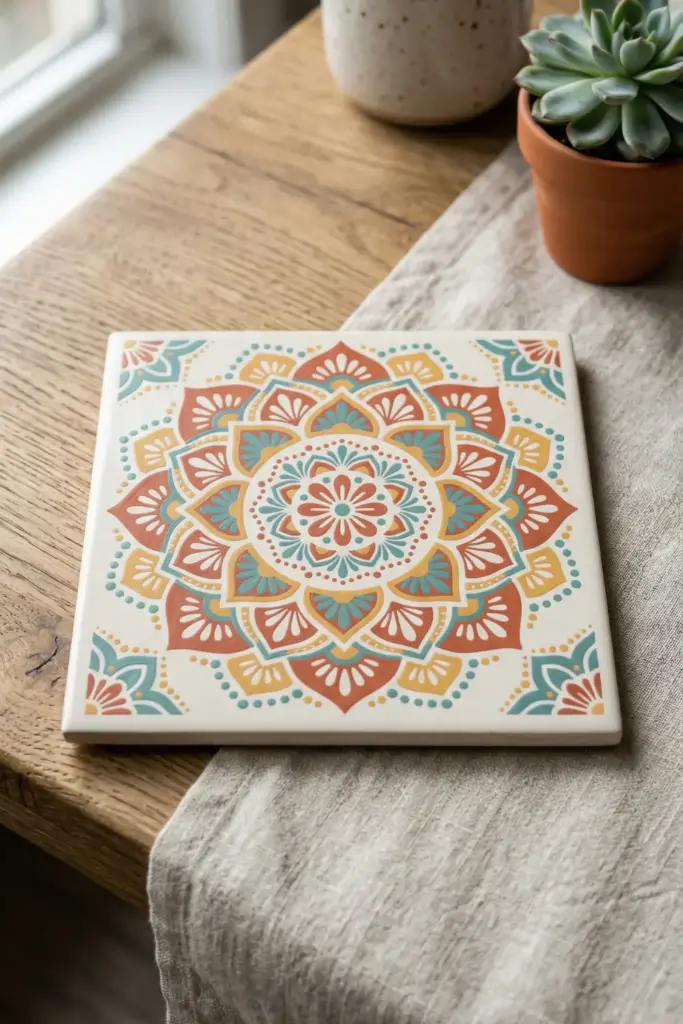
Hot pots ruin tables, so a painted trivet serves a very practical purpose.
Mandalas look complicated, but a simple stencil does all the heavy lifting.
You tape the stencil down and dab your favorite colors through the holes.
- Wash your sponge between colors to avoid muddy mixtures.
- Peel the stencil carefully straight up from the tile.
- Seal the finished piece to handle high heat safely.
10. Sgraffito Scratch Mug
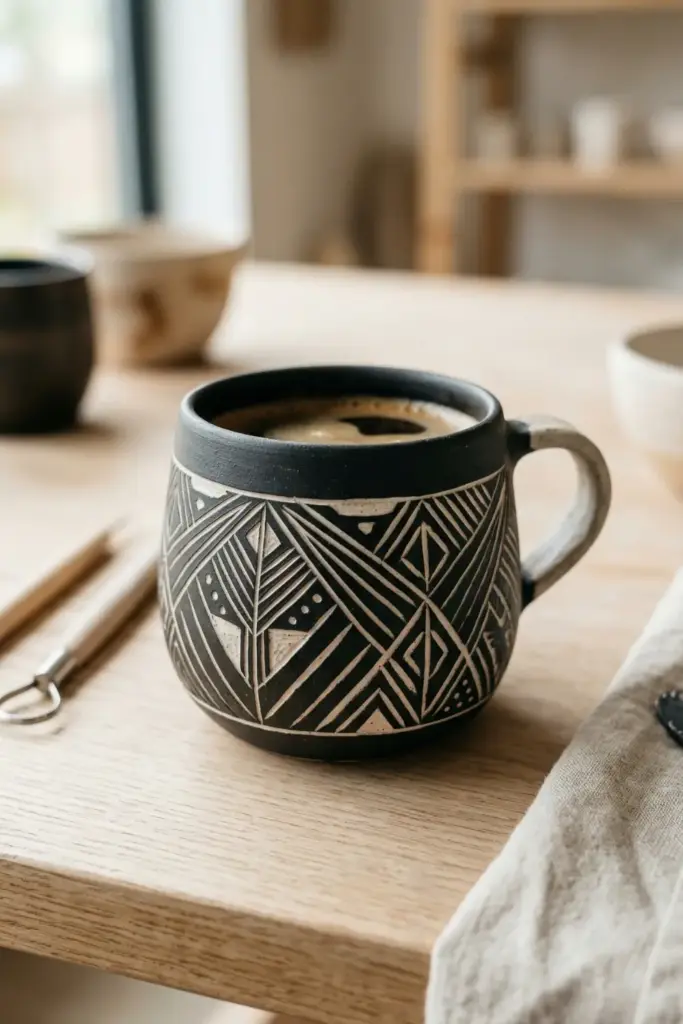
Fancy terms like “sgraffito” just mean scratching through the paint.
You coat the mug in a dark underglaze and carve a design using a wooden tool.
I carved a terrible cat on mine once, but geometric patterns work flawlessly.
- Apply three solid coats of your top color.
- Let the paint dry until it feels like leather.
- Scratch simple lines to reveal the white clay underneath.
11. Bubble Glazed Pitcher
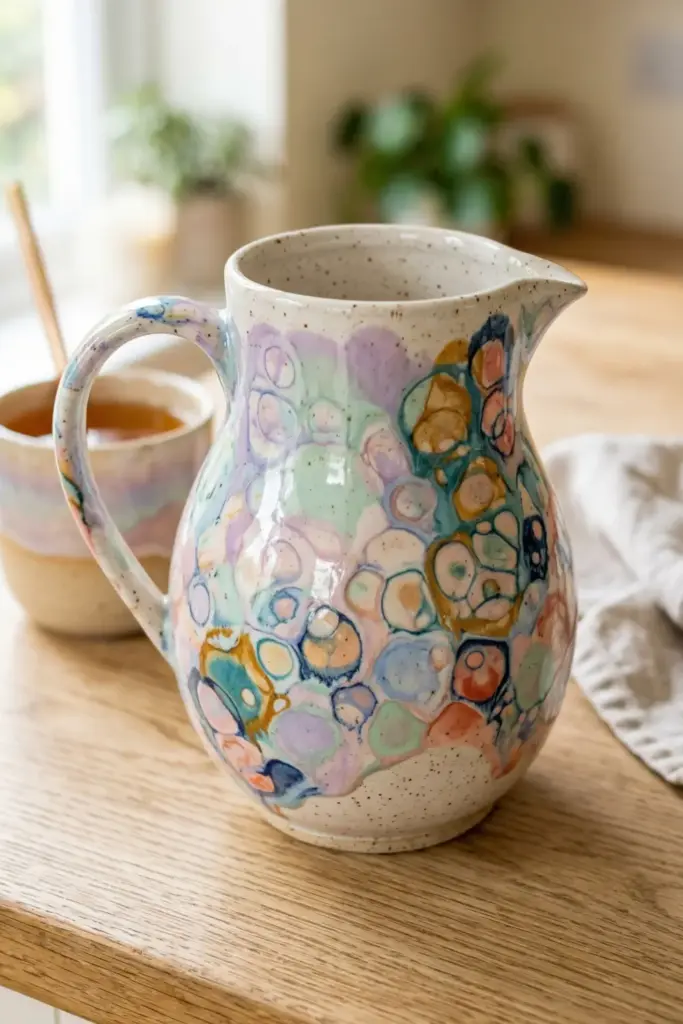
Remember blowing bubbles in your milk? Now you can do it for art.
You mix paint, water, and dish soap in a cup, then blow bubbles until they overflow onto the pitcher.
It creates an incredible marble effect.
- Add a generous squirt of soap to get sturdy bubbles.
- Blow through a straw to push the bubbles over the rim.
- Pop any giant bubbles so they leave delicate rings.
12. Watercolor Wash Plaque
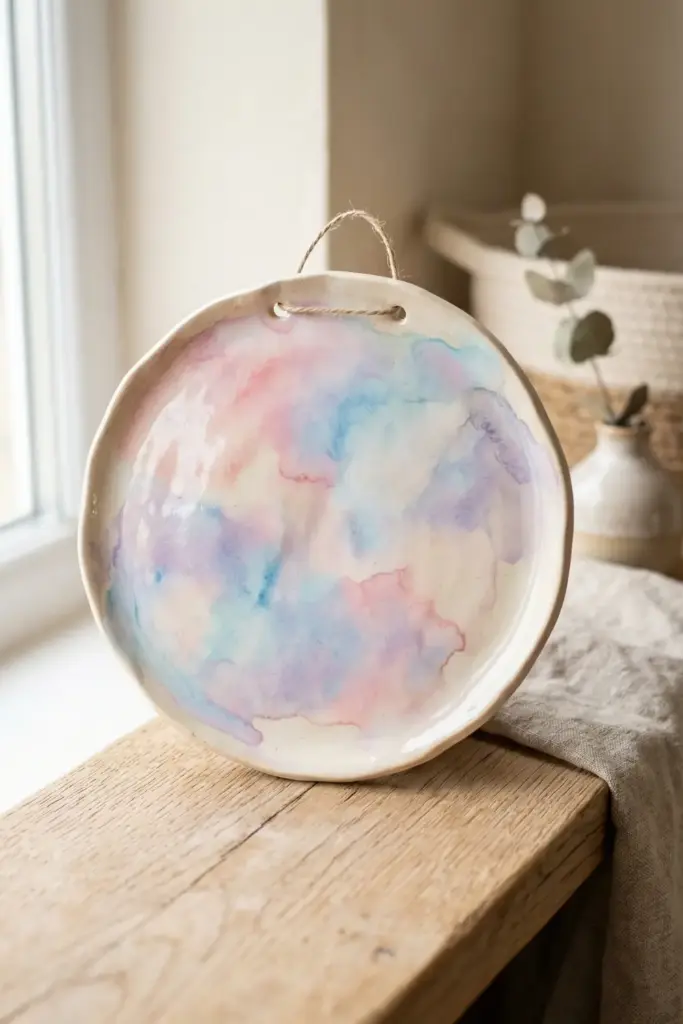
A wall plaque offers a great flat canvas for a soft watercolor look.
You water down your ceramic paints heavily and let them pool together.
The unpredictable blending produces a dreamy, cloud-like background for any sweet message.
- Brush clear water onto the plaque first.
- Drop the diluted paint onto the wet surface.
- Tilt the plaque around to help the colors merge.
13. Stamped Leaf Spoon Rest
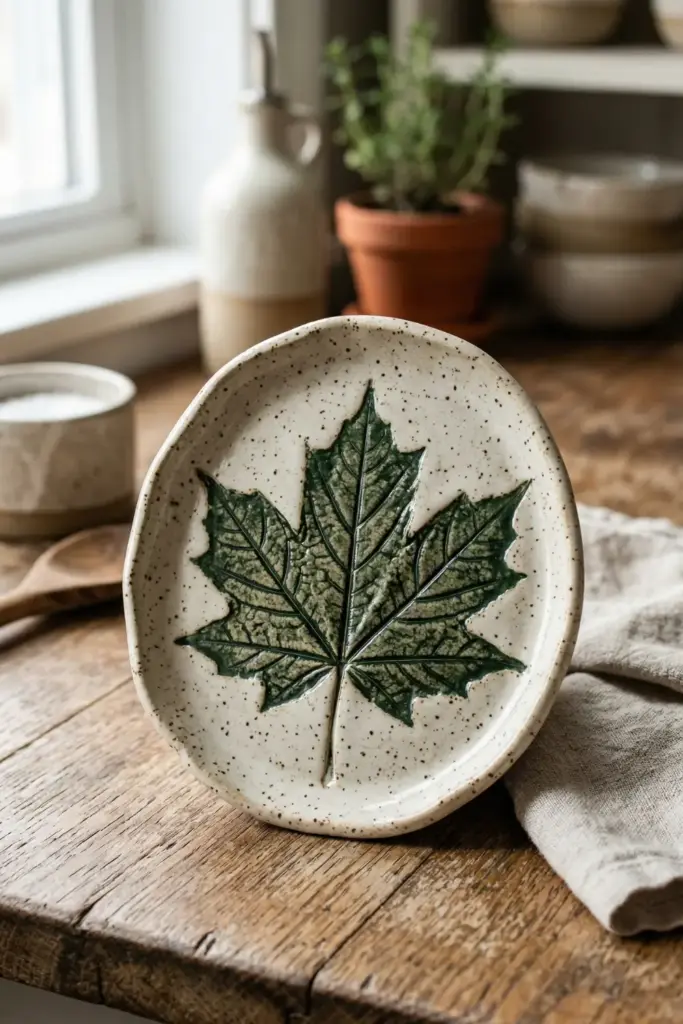
Nature provides the best stamps.
You literally grab a textured leaf from the yard, paint the back of it, and press it onto a spoon rest.
It looks surprisingly rustic and elegant. FYI, thick leaves work the best!
- Find a leaf with deep veins like a maple or oak.
- Press every edge firmly against the ceramic.
- Lift the leaf by the stem to avoid smudging the print.
Essential Preparation Steps
Choosing the Right Pottery
You need a solid foundation before you start painting.
Craft stores sell unpainted pottery pieces for cheap.
You must select items with completely smooth surfaces to make your painting journey much easier.
I always buy extra mugs just in case.
- Check for tiny cracks before you buy the piece.
- Wipe the pottery down with a damp sponge to remove dust.
- Let the clay dry completely before you apply any paint.
Picking the Best Paints
Acrylic paints work great for decorative items, but they fail miserably for food-safe dishes.
You must buy specialized underglazes if your mom plans to drink from her new mug.
I learned that the hard way.
- Buy food-safe underglazes for mugs, bowls, and plates.
- Grab basic acrylics for flower pots and decorative vases.
- Read the label carefully to verify the baking instructions.
Gathering Your Brushes
You do not need a massive collection of expensive brushes.
A few basic shapes handle almost every one of these 13 easy mother’s day pottery painting ideas.
You just need a liner, a flat brush, and a sponge.
- Keep a fine liner brush for writing messages and tiny details.
- Use a broad flat brush for covering large areas quickly.
- Buy synthetic bristles because they withstand rough ceramic surfaces better.
Pro Painting Tips
Fixing Painting Mistakes
Everyone makes mistakes, especially when dealing with permanent paint.
Don’t panic if your brush slips. You can fix almost any error before the piece goes into the kiln or oven.
I scrape off my blunders all the time.
- Wipe wet paint away immediately with a clean cotton swab.
- Scrape dry paint off gently using a wooden toothpick.
- Paint over stubborn spots once the bottom layer dries completely.
Sealing Your Masterpiece
Your beautiful work requires protection from water and scratches.
If you use acrylics, you must seal the surface yourself.
Glazed pieces require professional firing at a local studio.
I highly recommend finding a local kiln for food-safe items.
- Spray a clear acrylic sealer outdoors to avoid inhaling fumes.
- Apply a brush-on varnish for a thicker, glossy finish.
- Take underglaze pieces to a local pottery shop for firing.
Presenting Your Gift
The presentation matters almost as much as the gift itself.
You spent time creating this piece, so you should wrap it thoughtfully.
A plain brown box just looks lazy. Elevate the unboxing experience for your mom.
- Wrap the pottery tightly in colorful tissue paper first.
- Place the wrapped piece inside a sturdy gift box.
- Tie a rustic ribbon around the box for extra flair.
Quick FAQs About Pottery
Do you still have questions? Beginners frequently overthink the process.
Painting pottery requires patience, but the rules remain quite simple.
You just need to trust your creative instincts and have fun.
- Paint at least three coats to achieve solid, opaque colors.
- Wait five minutes between each coat of paint.
- Wash your hands frequently to avoid smudging your design.
Wrapping It Up
These 13 easy mother’s day pottery painting ideas guarantee a smile on her face.
You do not need extraordinary talent, just a little effort and some creativity.
Which design will you try first? Grab your brushes, pick a blank mug, and start painting today.
She will absolutely treasure your handmade gift. 🙂
Would you like me to suggest some specific color palettes for any of the designs above so you can perfectly match your mom’s style?
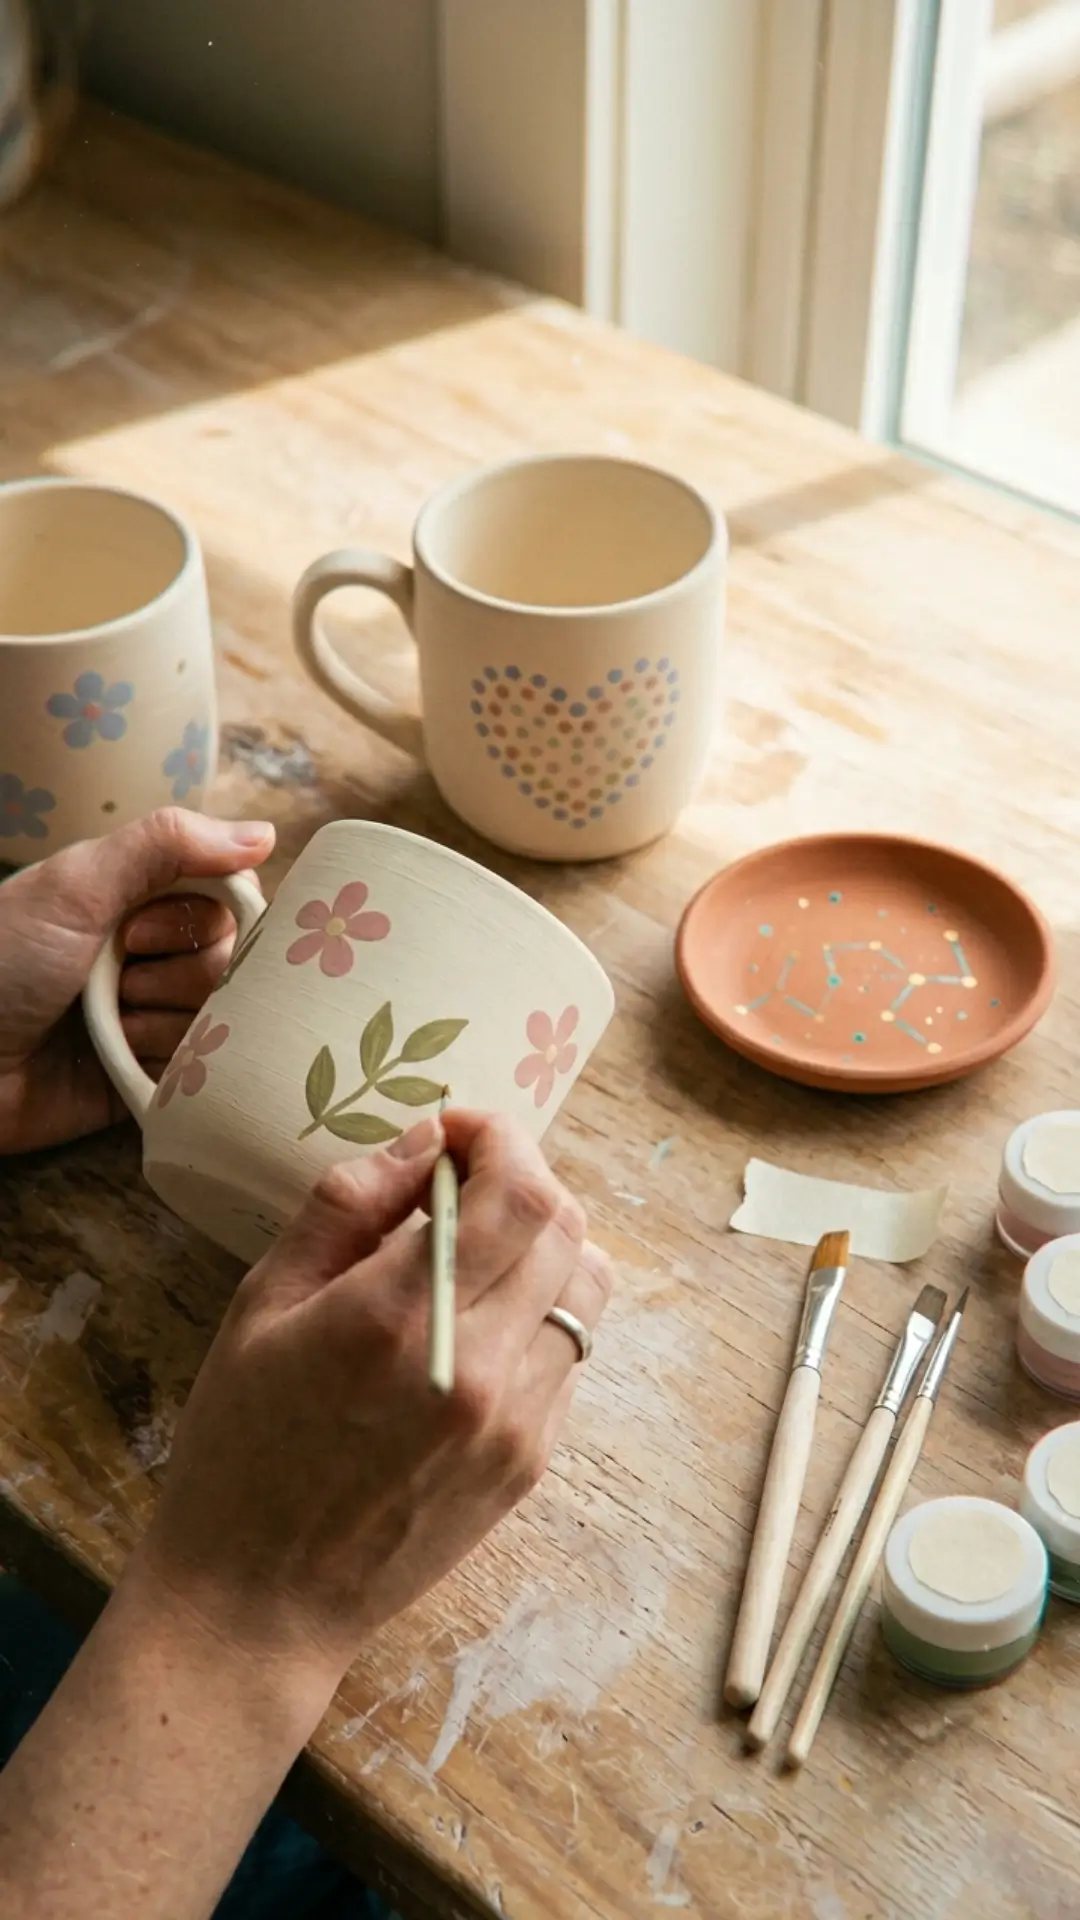
Easy Mother’s Day Pottery Painting Ideas – Simple DIY Gifts She’ll Love
Looking for a heartfelt and creative way to celebrate Mom? These easy Mother’s Day pottery painting ideas are perfect for all skill levels. From hand-painted mugs and planters to decorative plates and bowls, you’ll find simple step-by-step inspiration to make a personalized gift she’ll treasure. Grab your brushes, some ceramic pieces, and let your love shine through every stroke. #MothersDayDIY #PotteryPainting #EasyCraftGifts
Pin it on Pinterest